Post by sotf on Oct 8, 2015 2:01:23 GMT
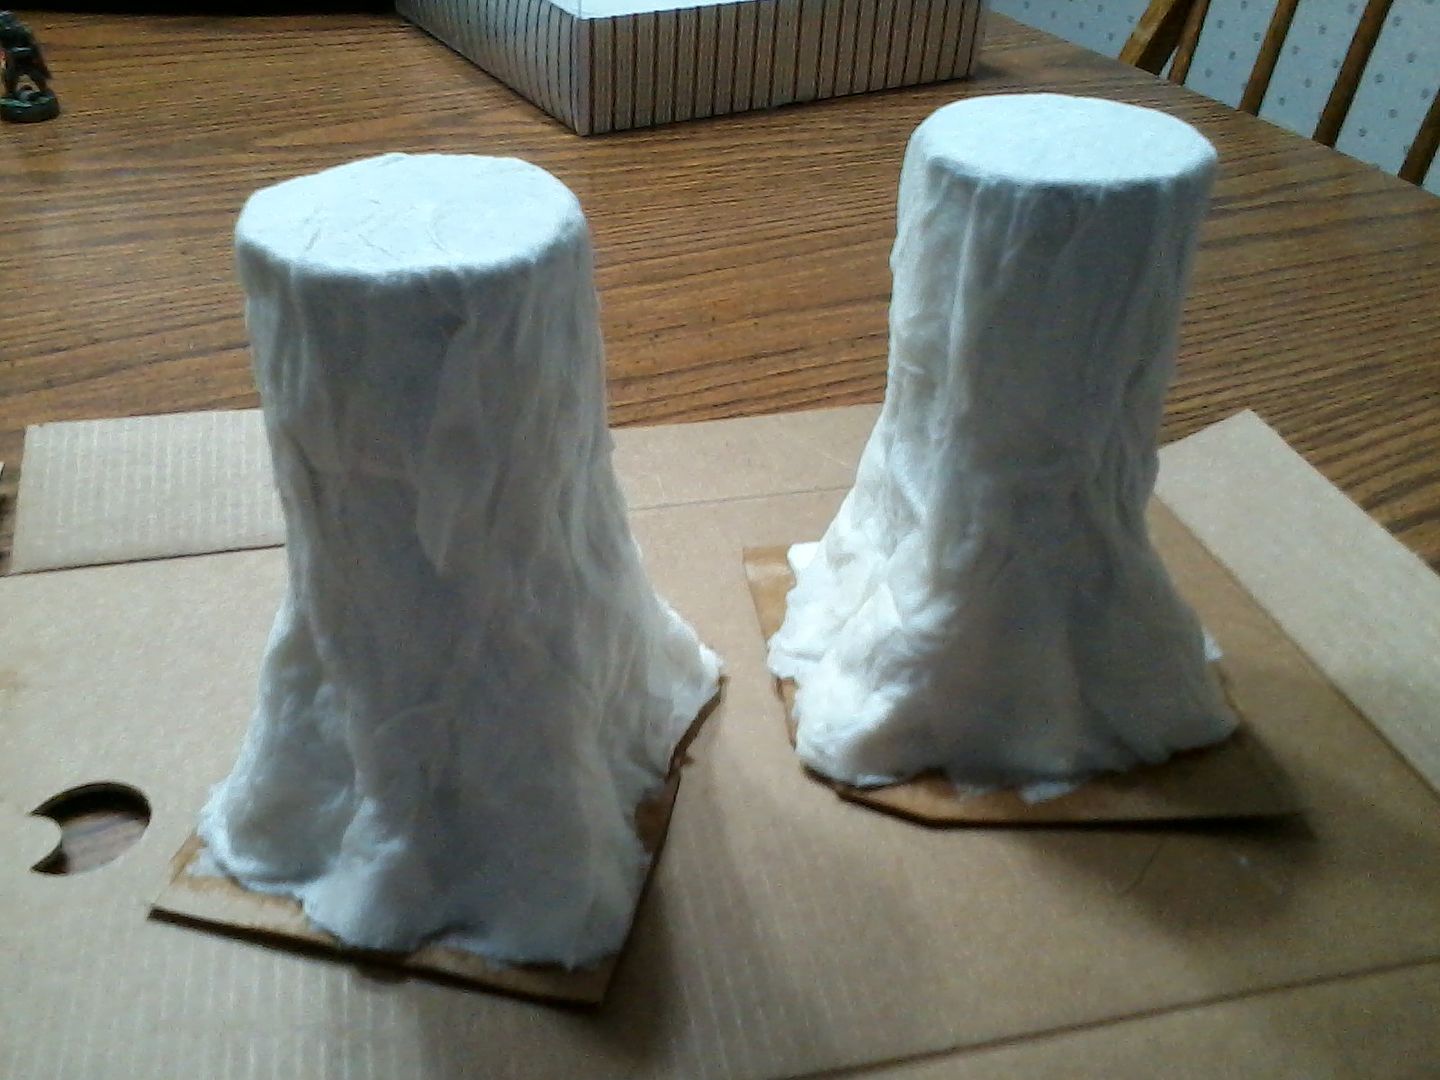
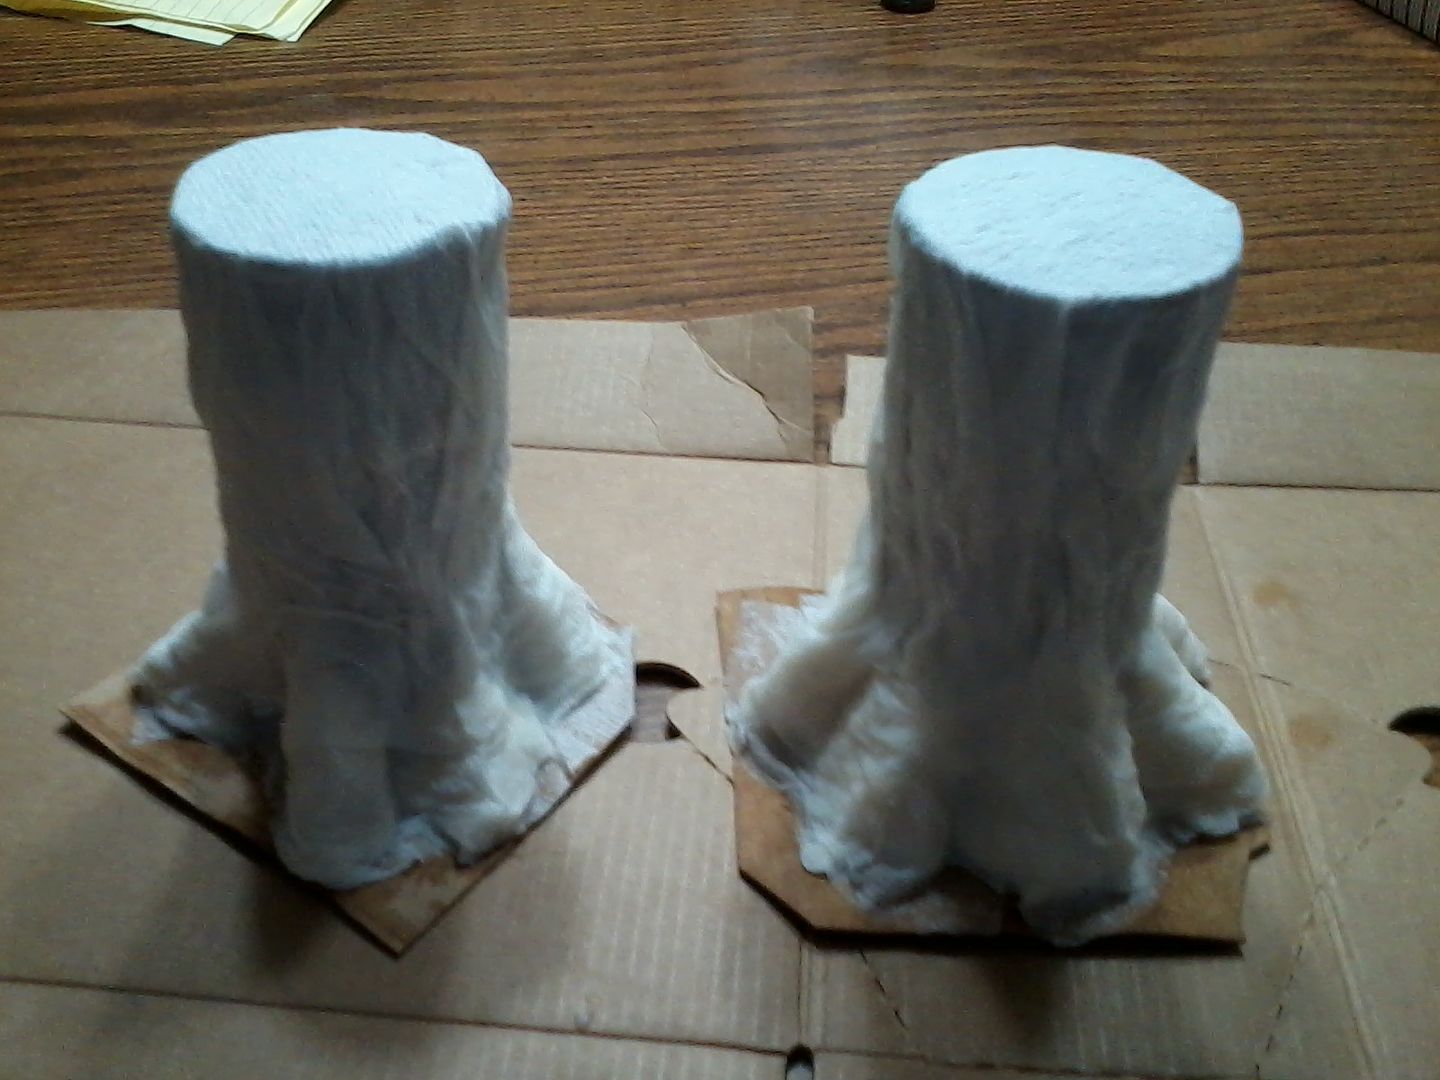
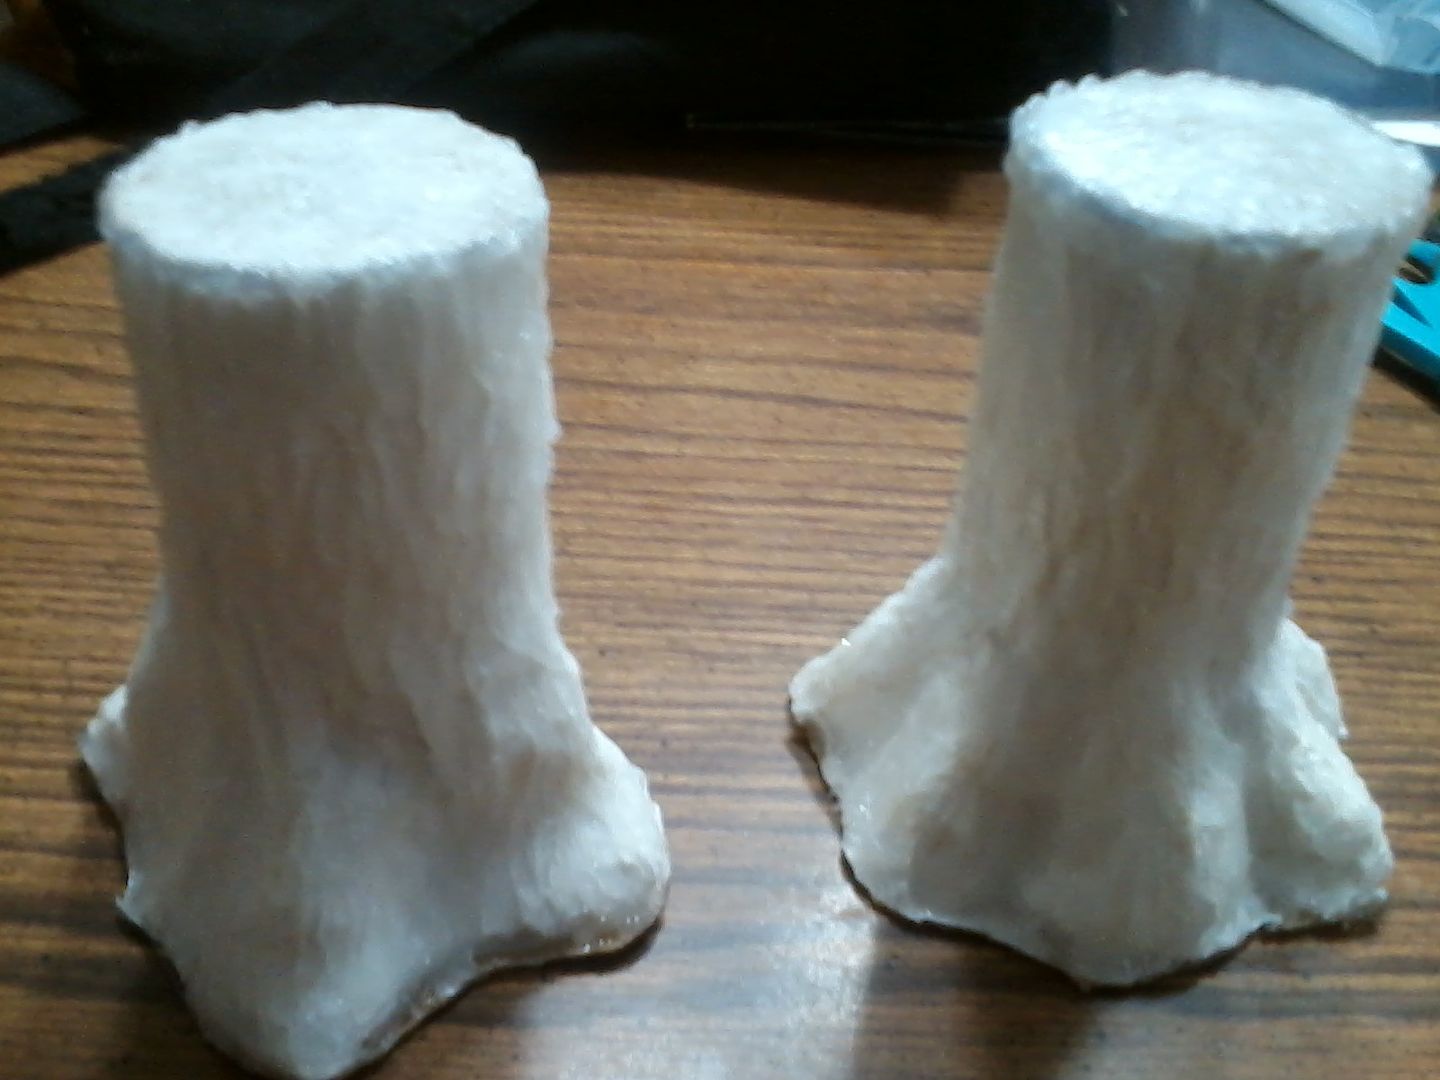
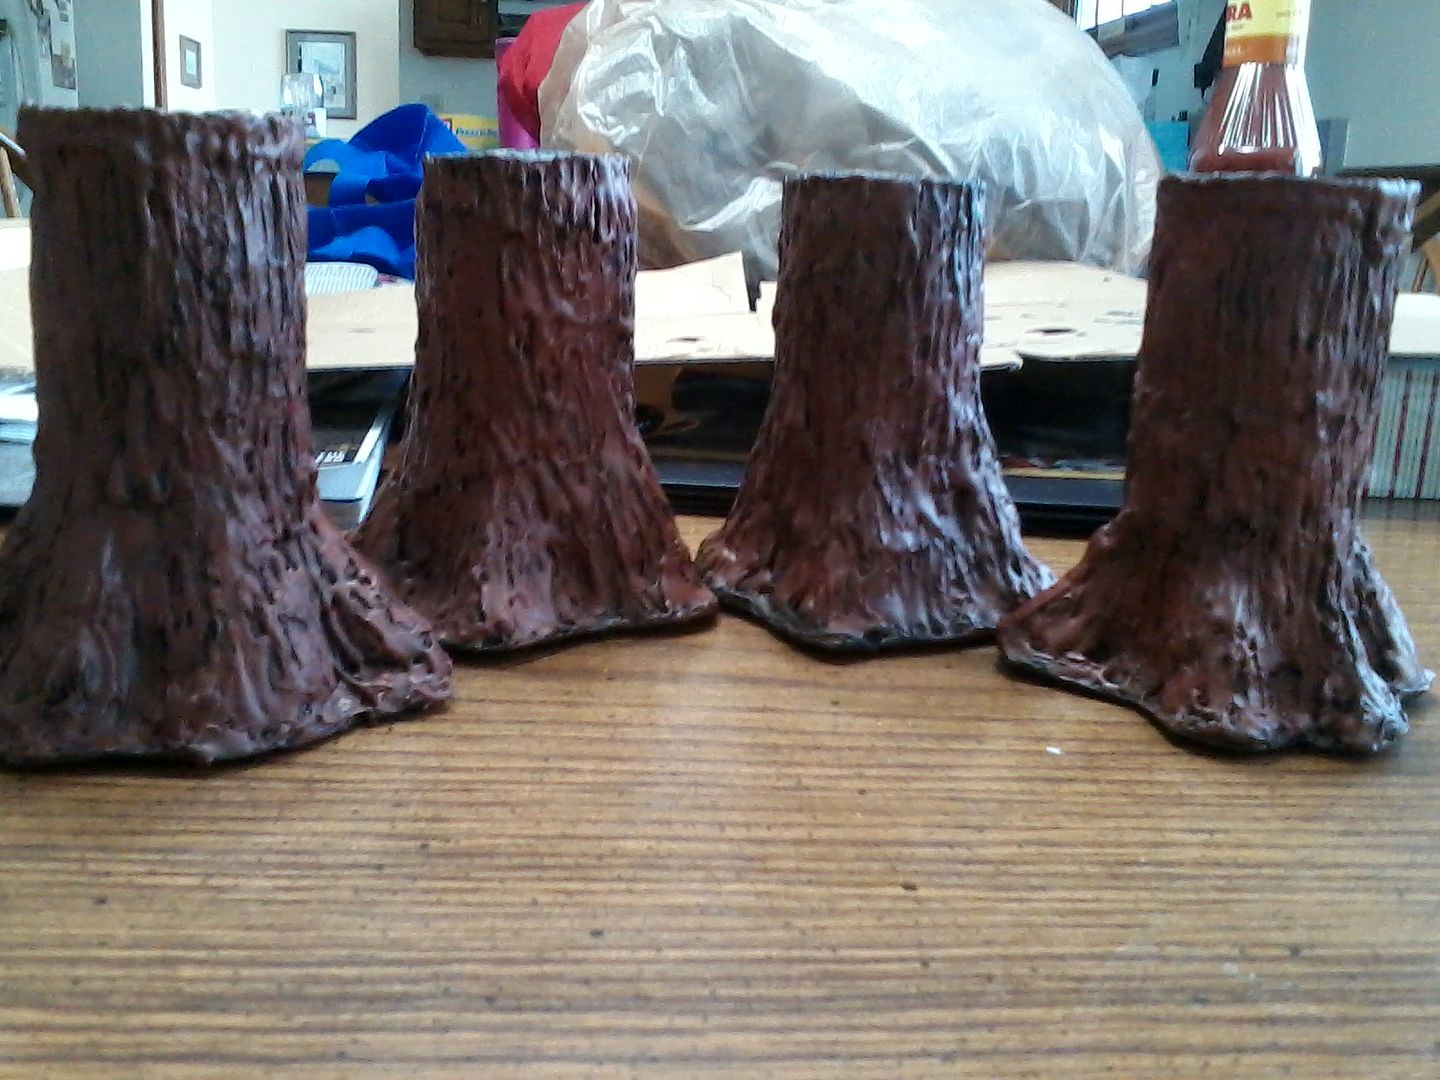
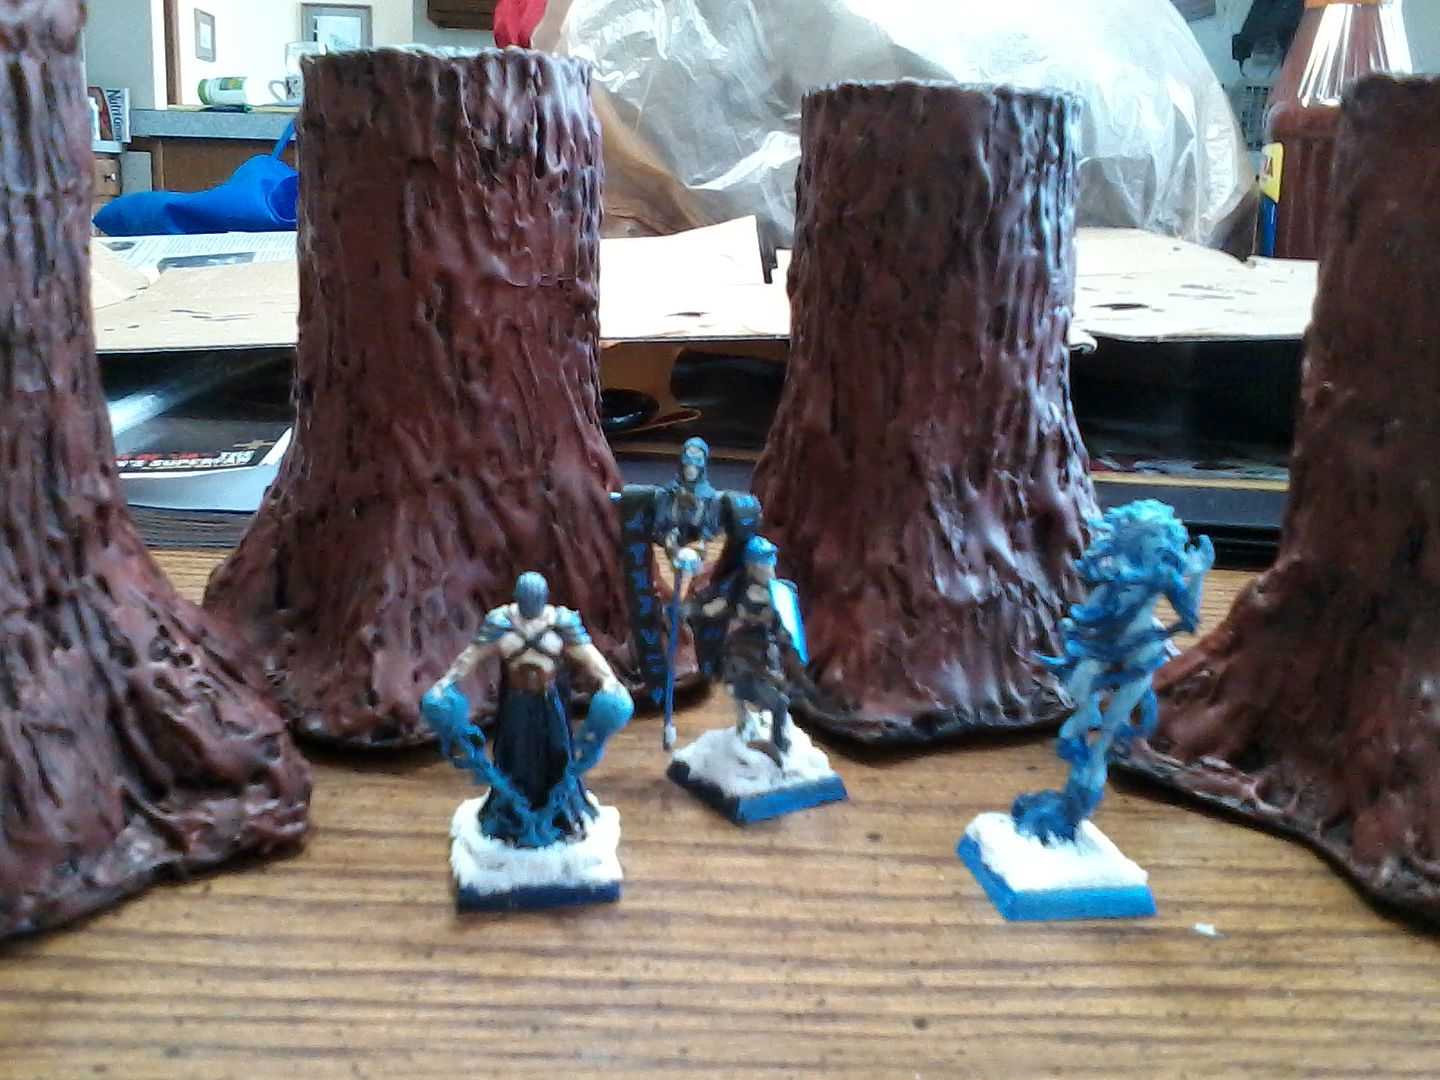
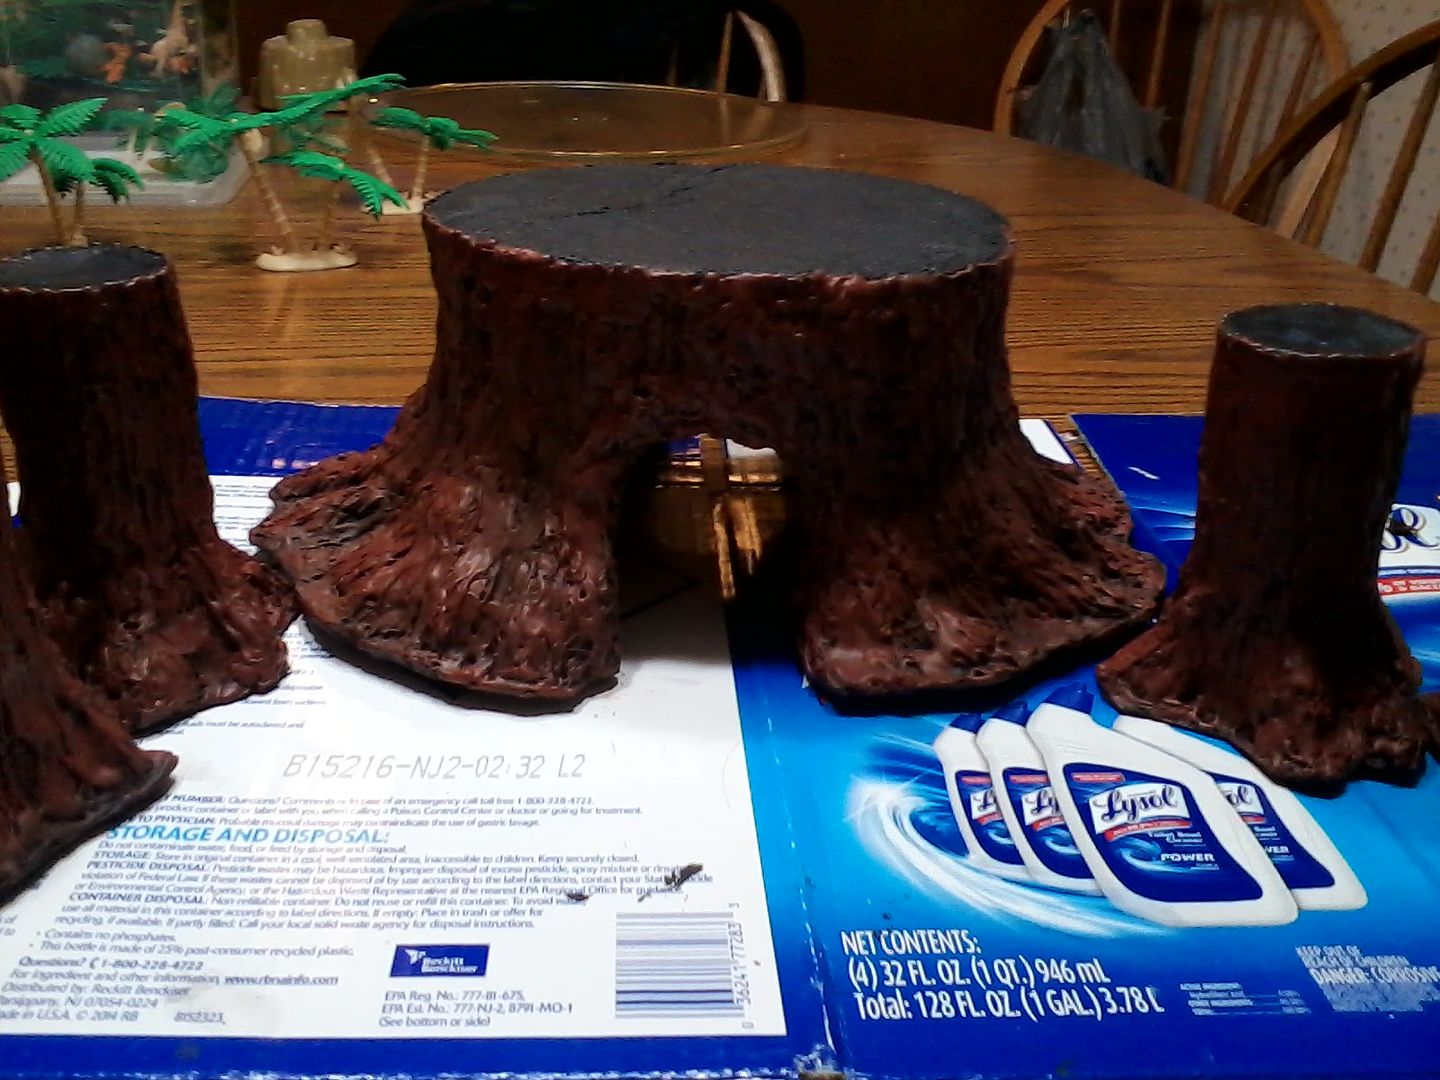
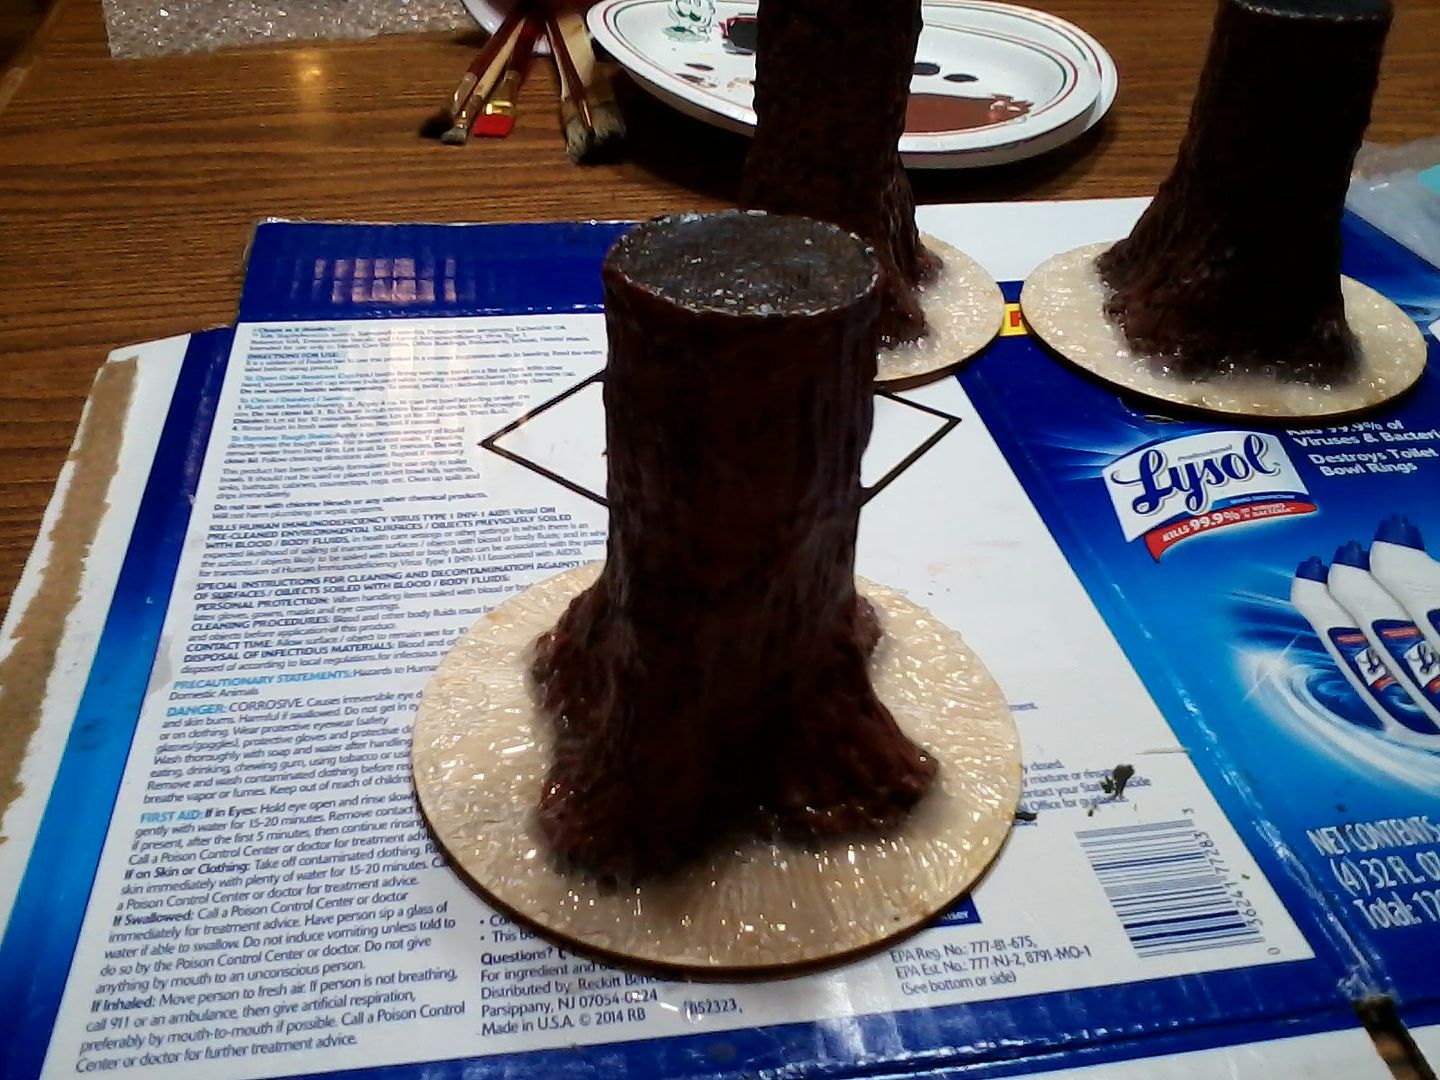
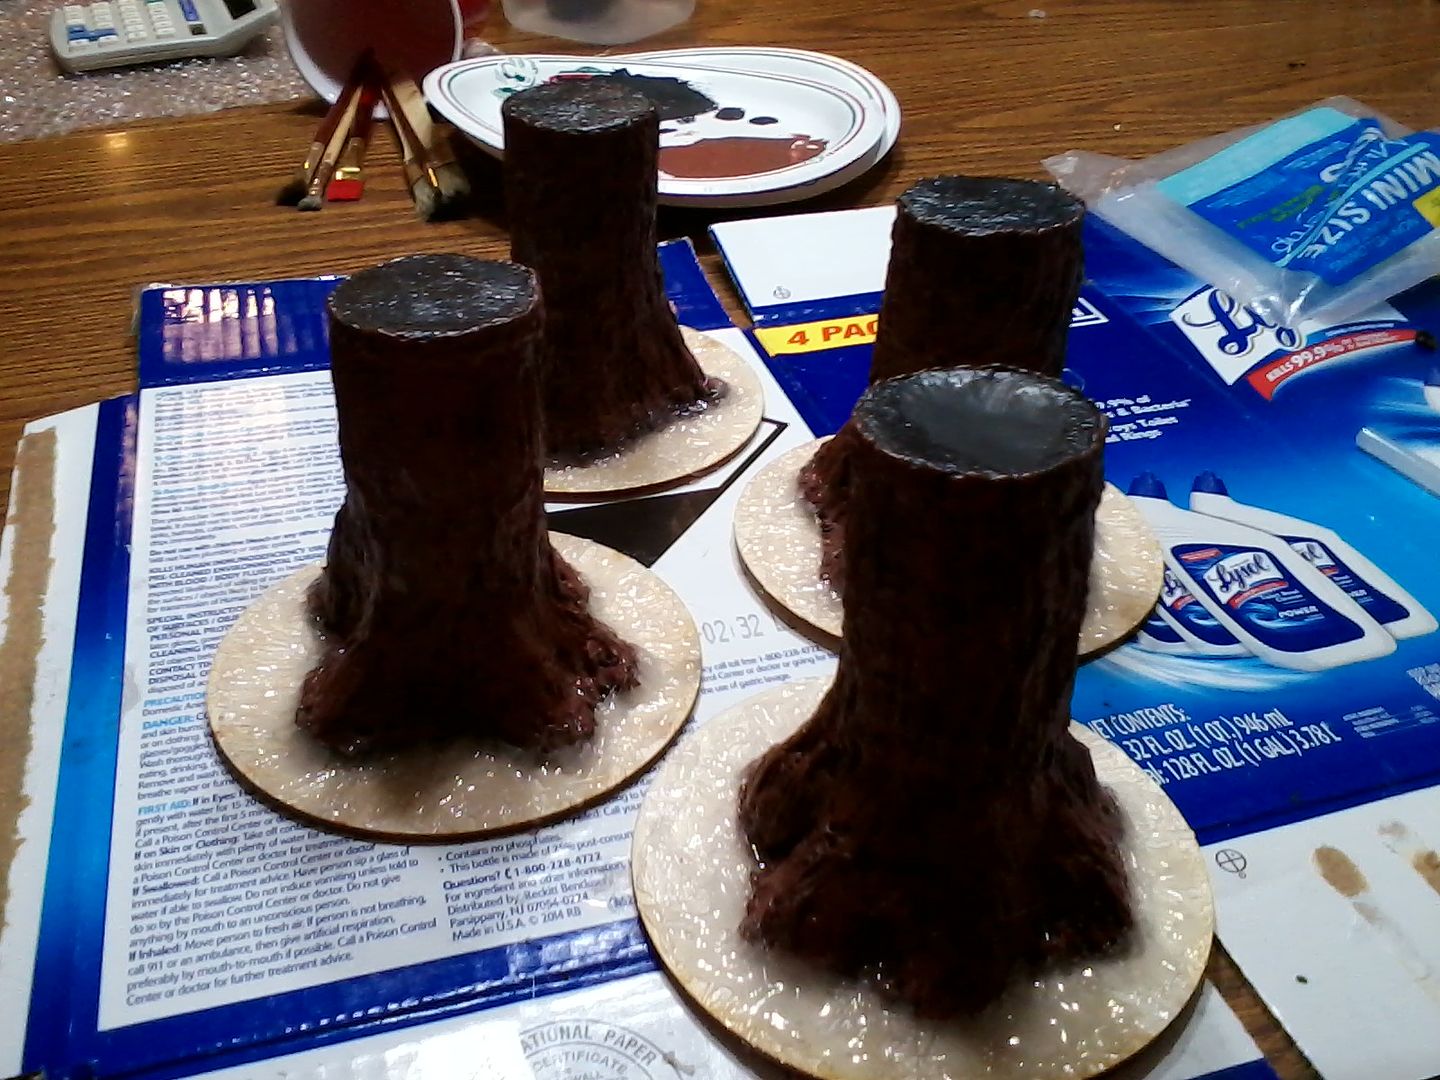
I've got four trees that I've been working on.
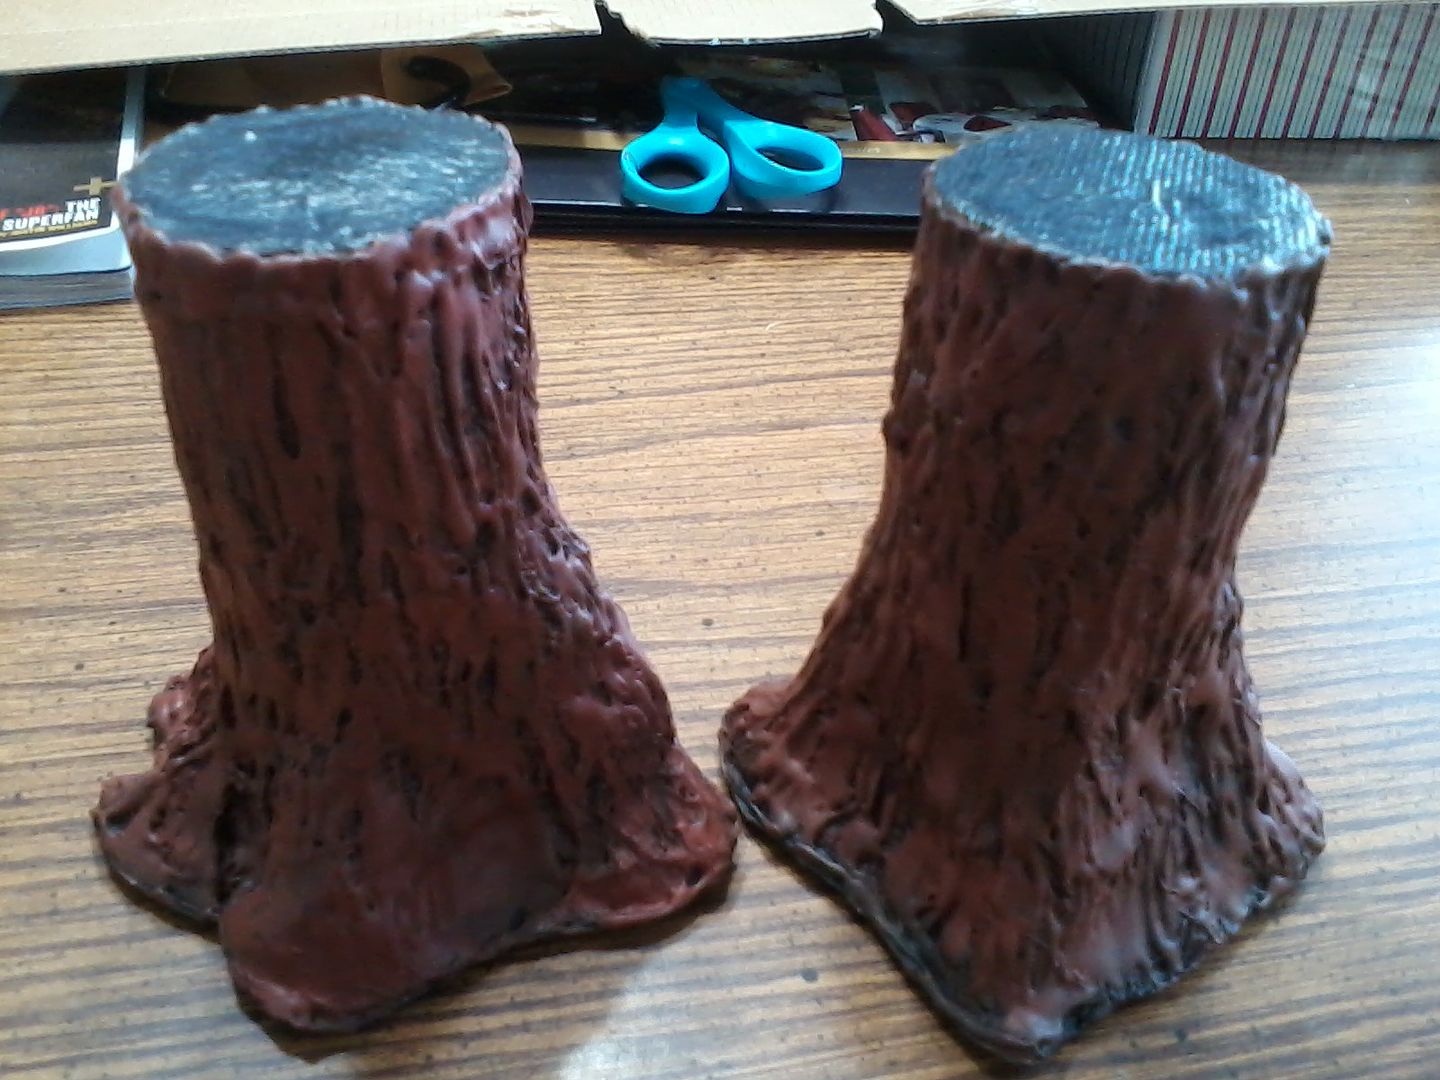
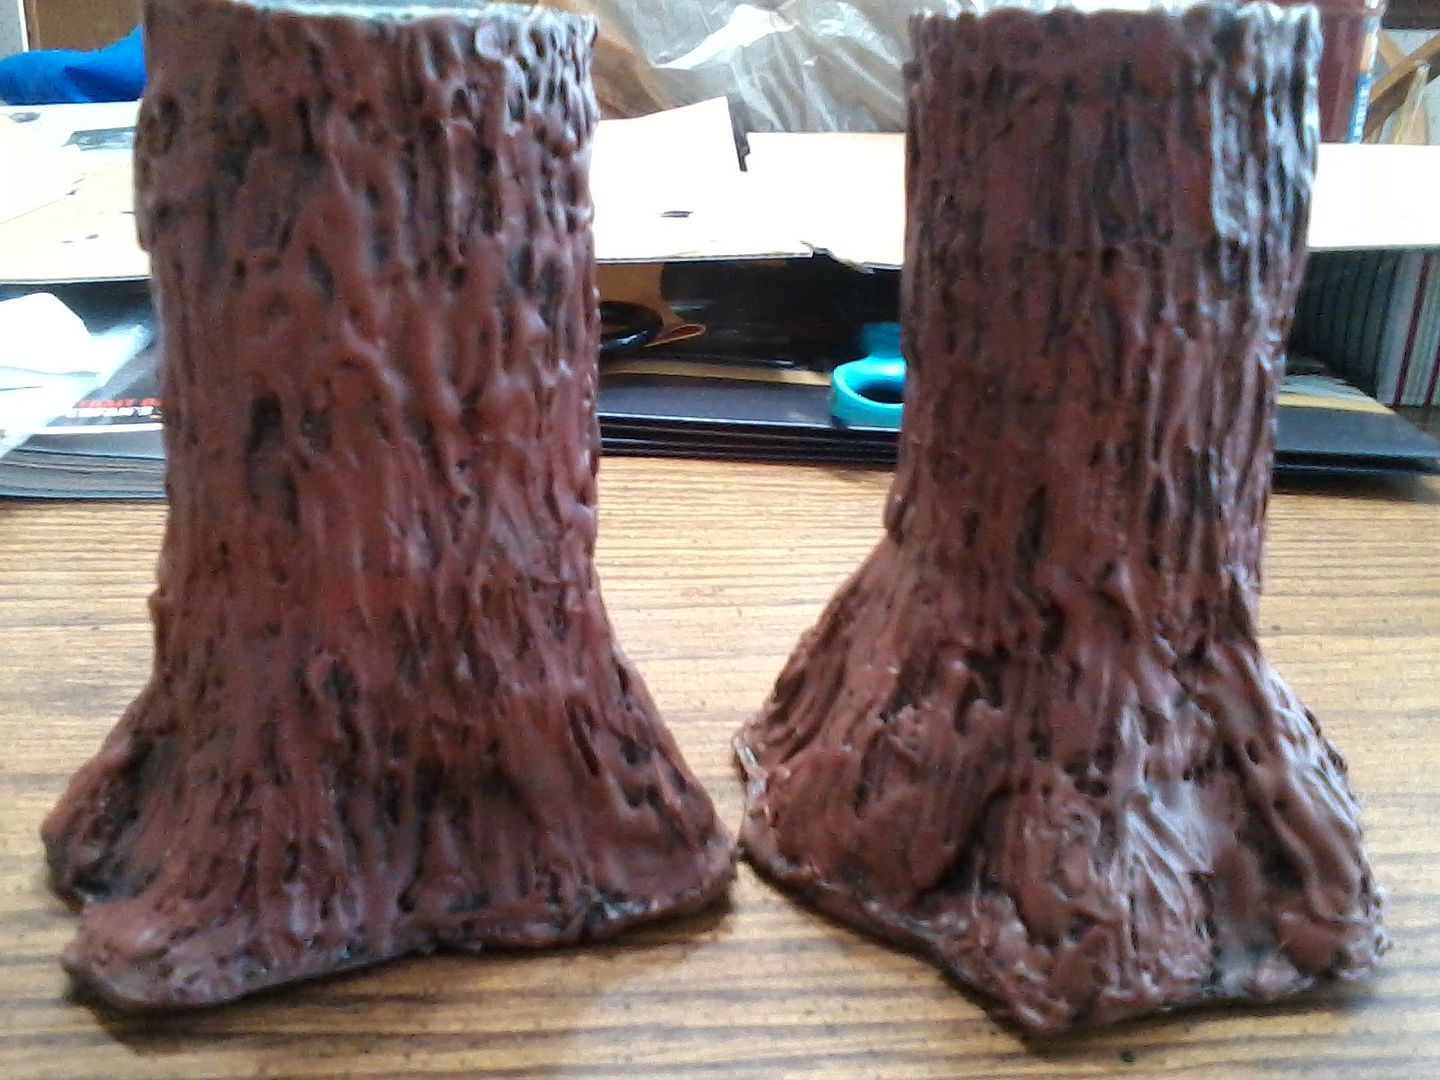
Well, not full trees, but ones that are cut off at a level height that will represent ones that go much higher, but are low enough that the board will be playable once I get these and several more done. These are my prototypes and are only part of the way complete as its been slow going with limited time to work on it due to other projects that needed done.
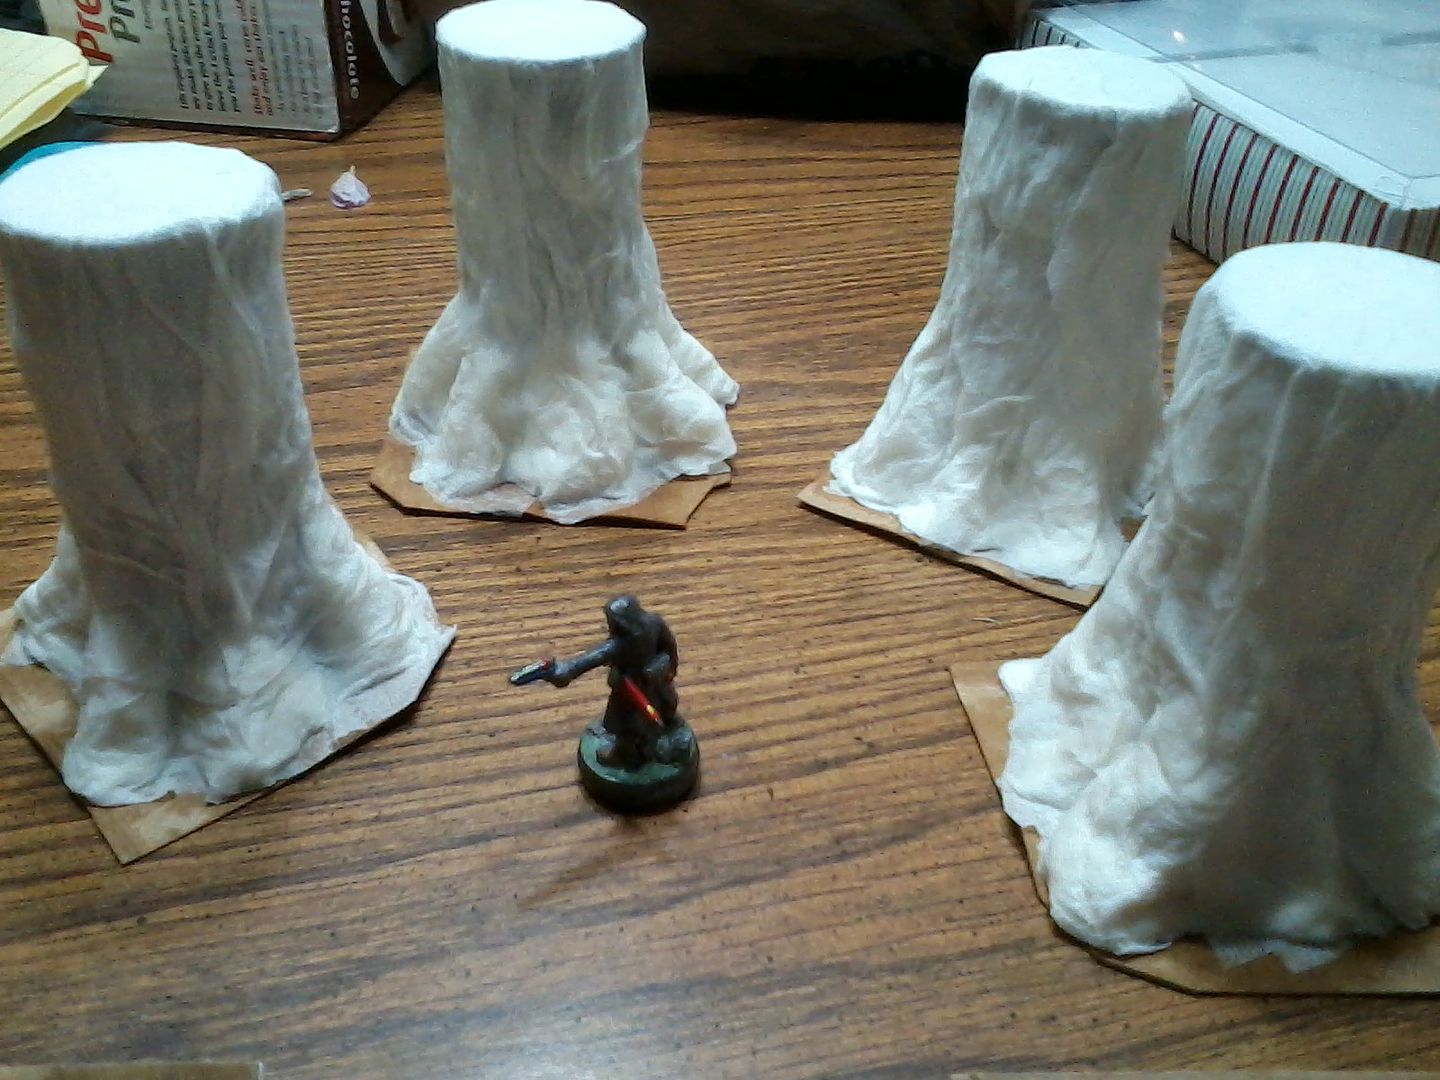
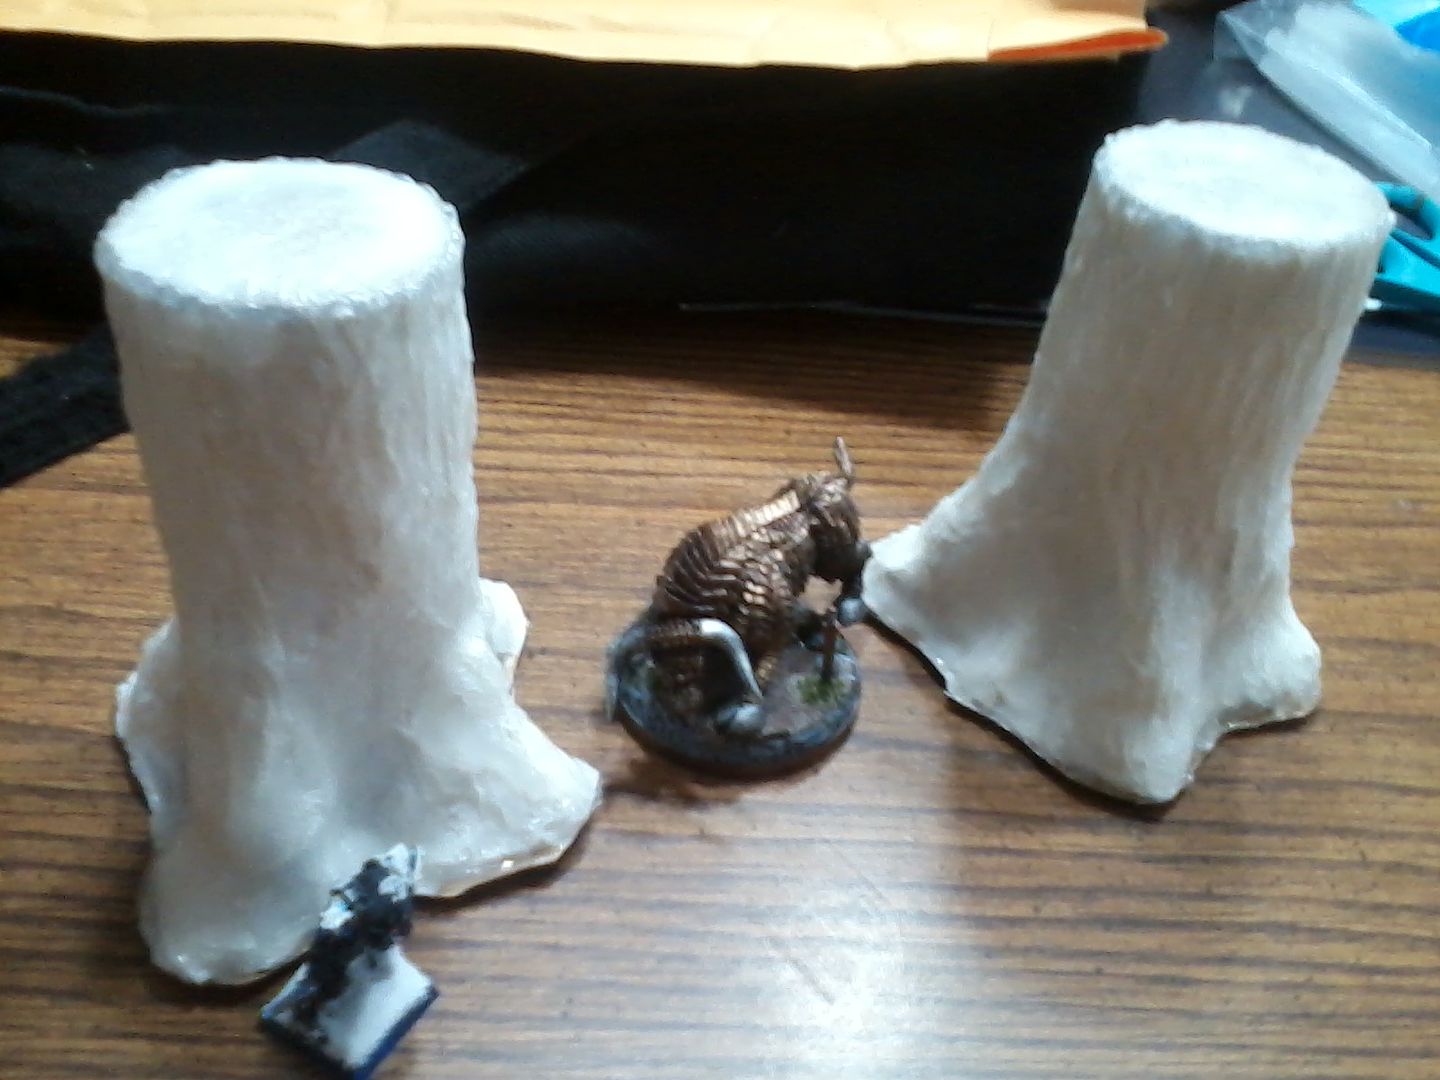
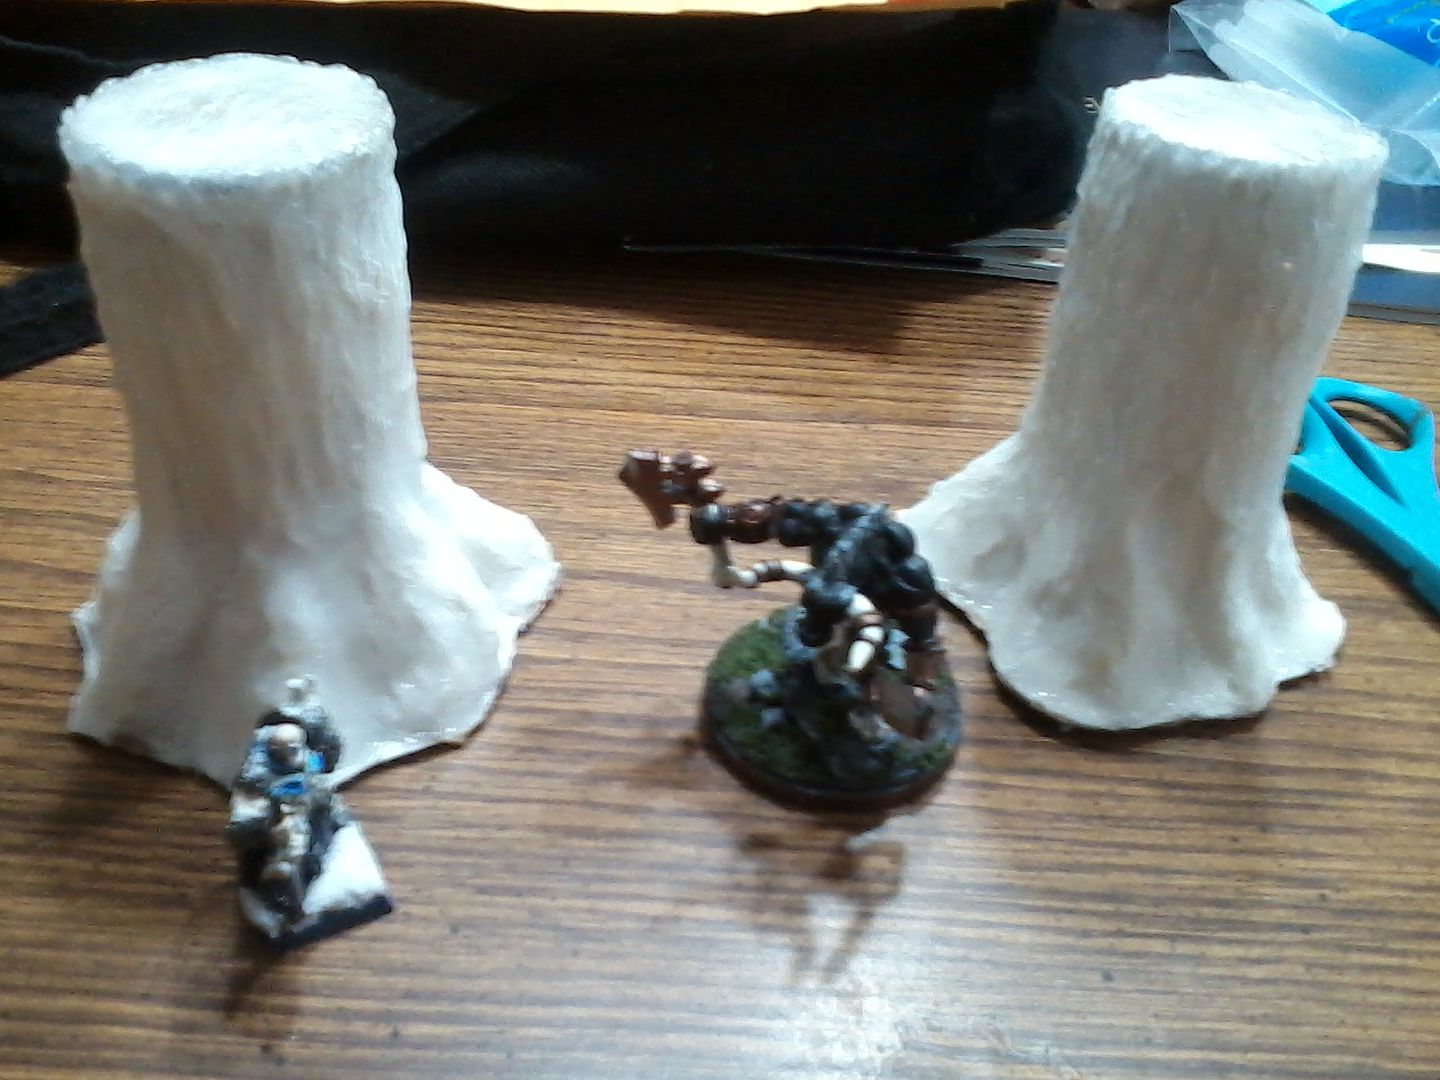
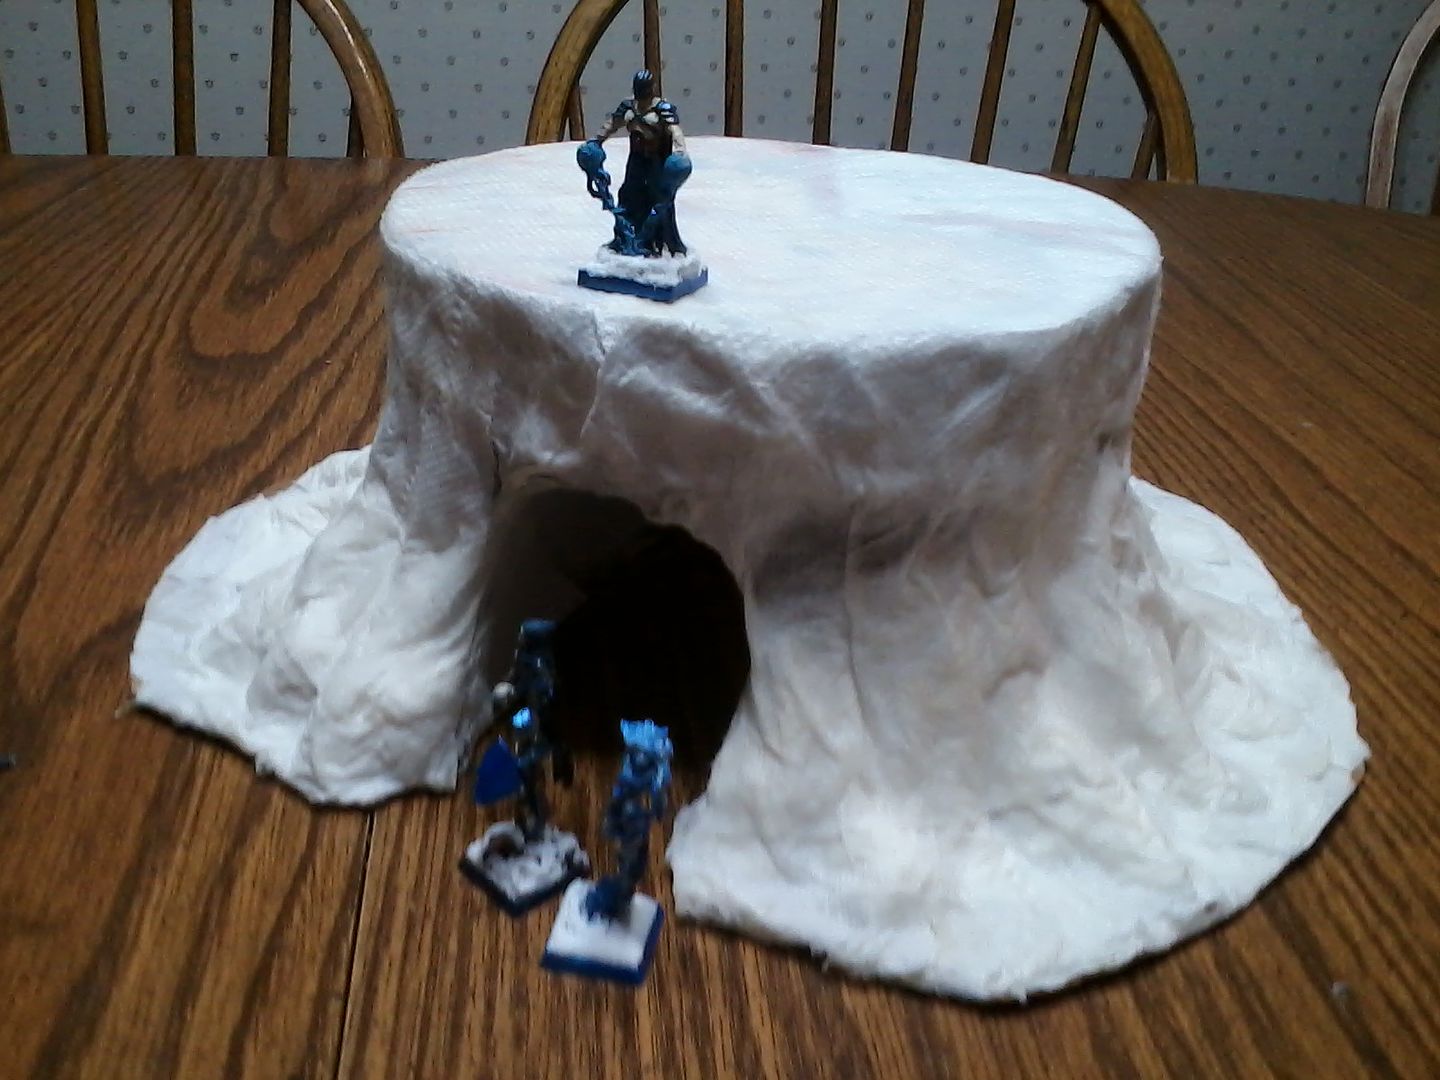
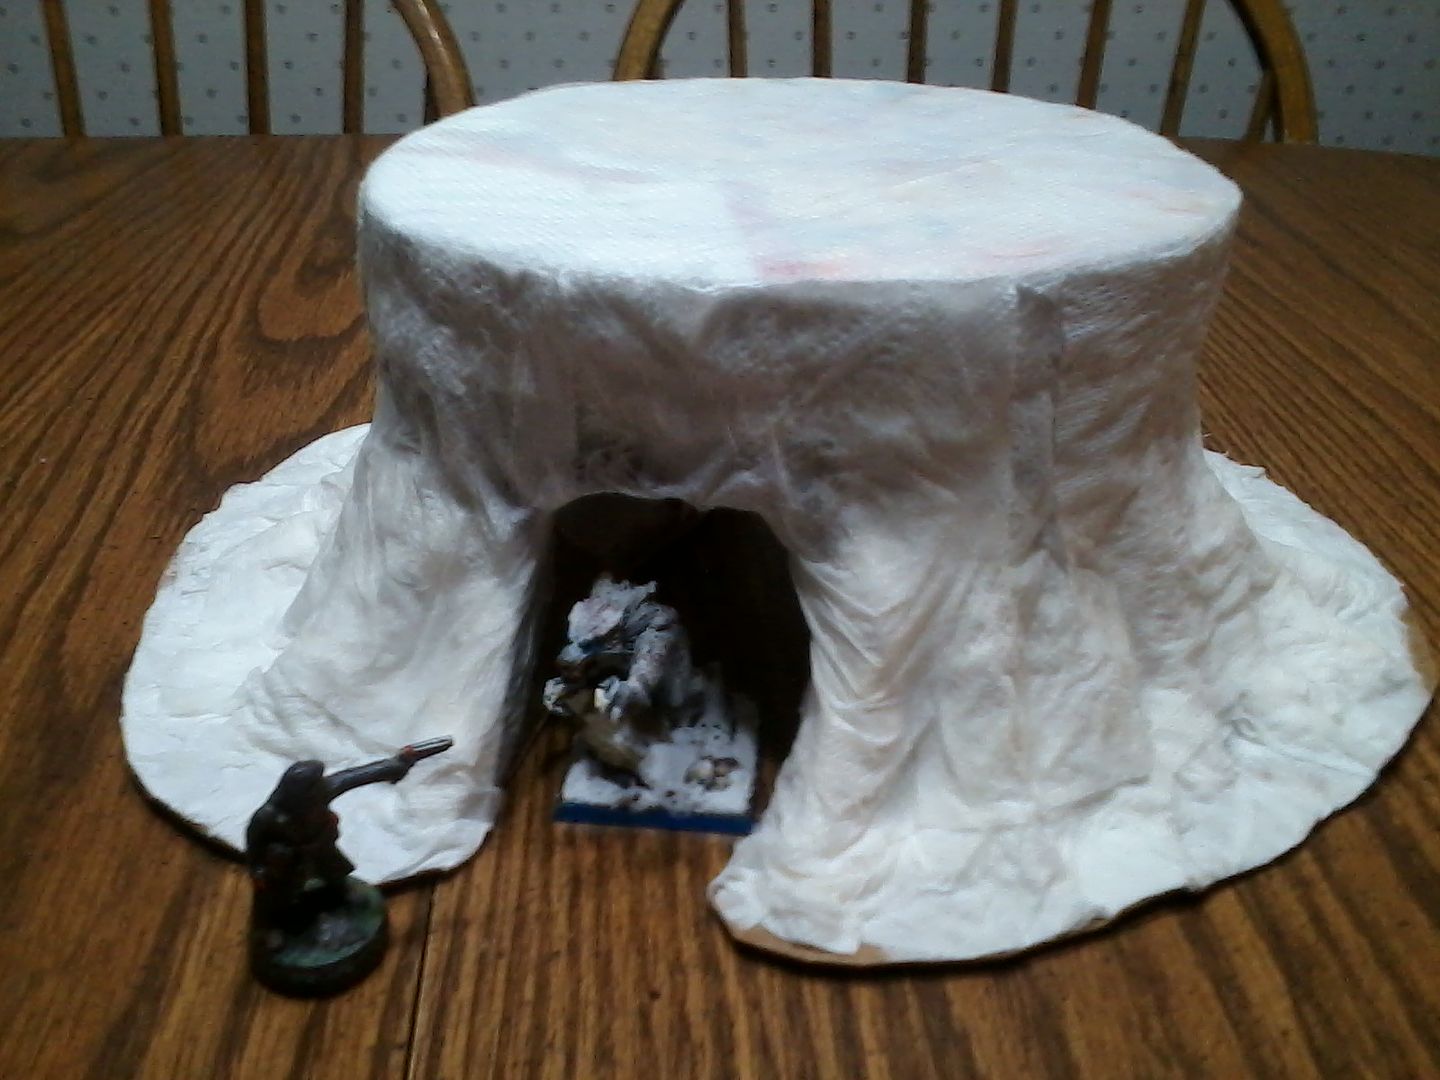
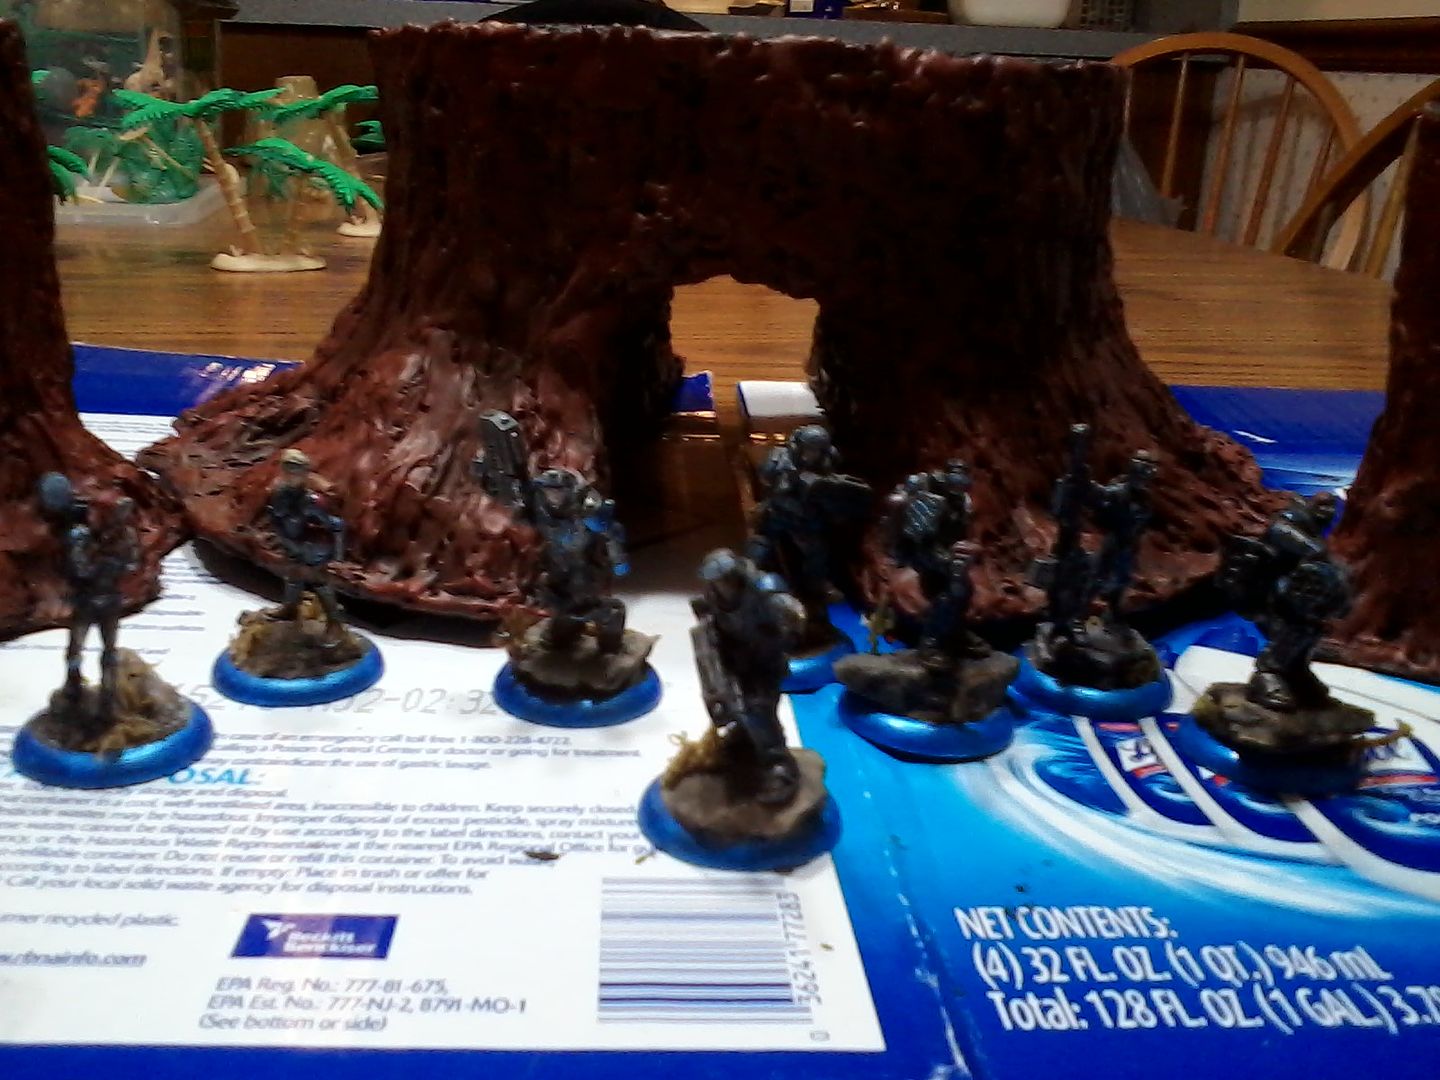
And a pic of all four with a mini for scale.
 [/img]
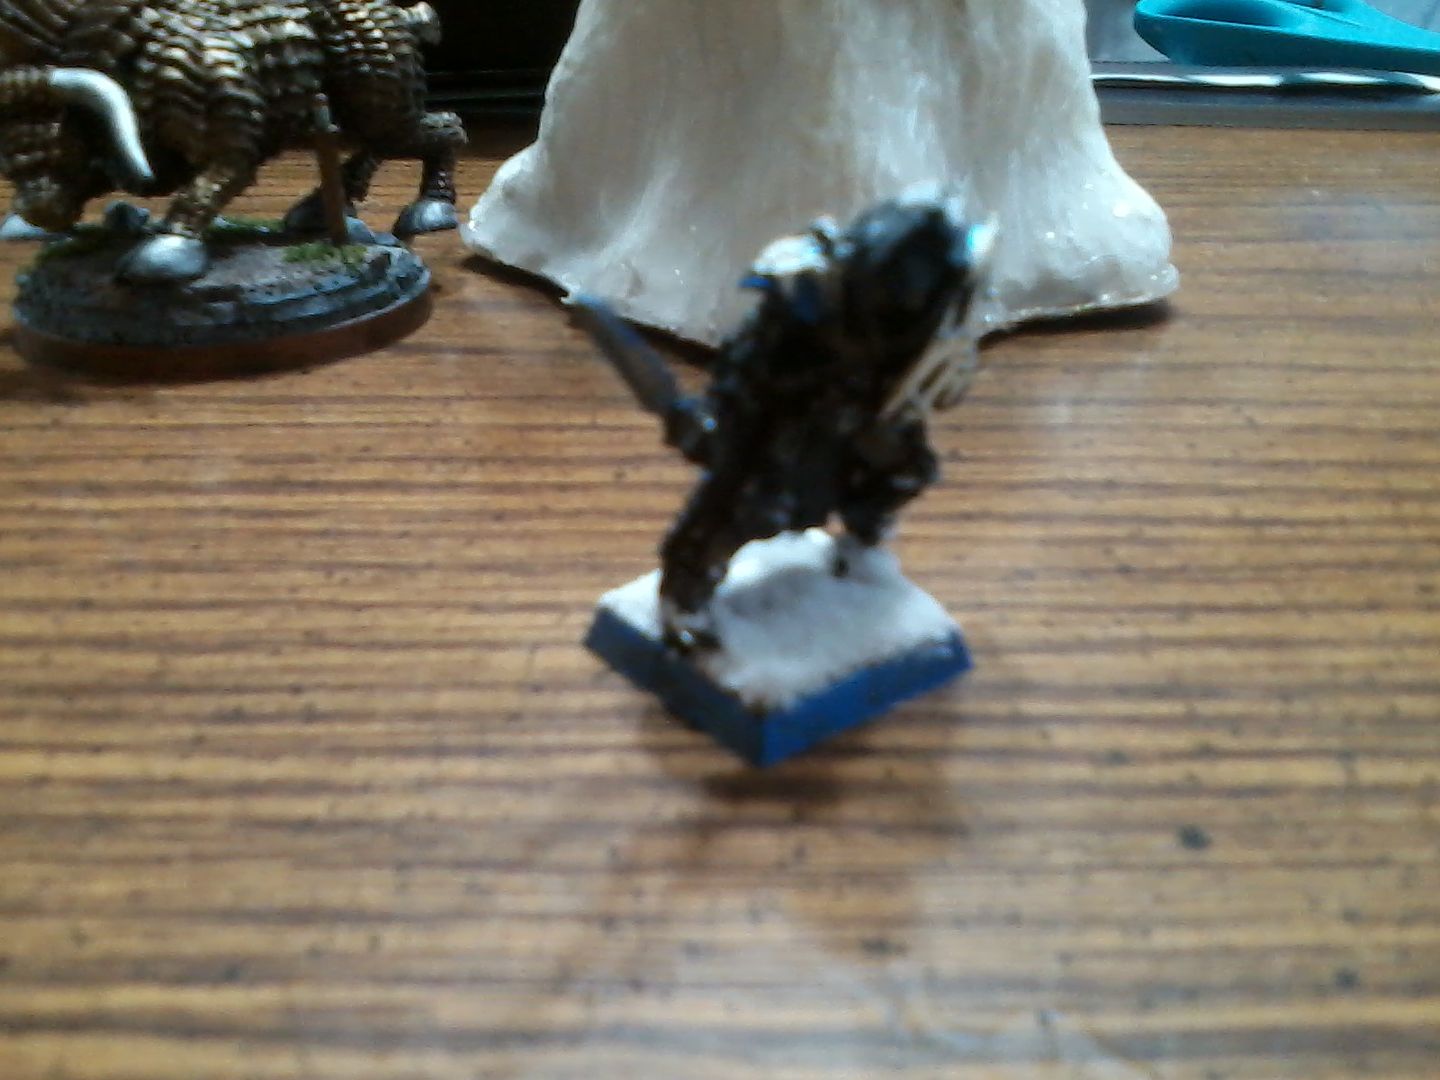
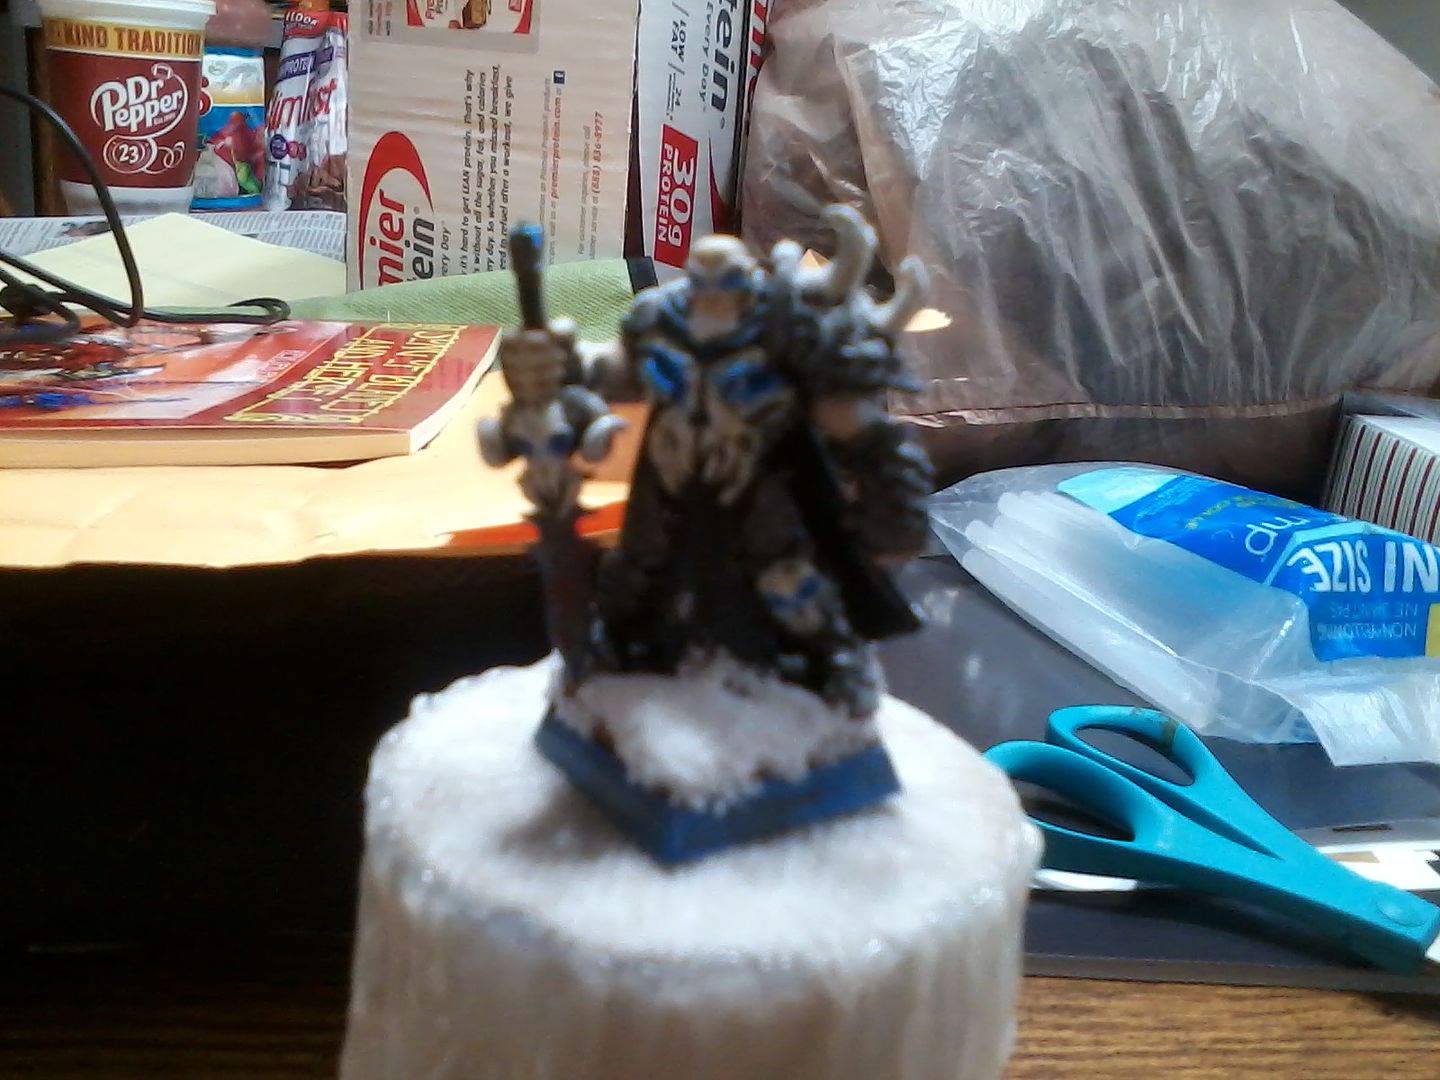
The mini is a bit taller than most due to a double base situation there thanks to a terrain system a friend was using for a Star Wars rp that I used him for my character, the custom mix of tunnels and starship stuff that was rather narrow combined with the rest of the group using more scenic bases that left him looking short...so I flipped a second base over and attached it under the first with lead pellets mixed with glue filling both parts since he was already unbalanced to some extent.
He's originally from a short WEG era thing and variations of him appeared in different campaigns through OCR, RCR, and Saga...still haven't played FF's as of yet.
Anyway, for the trees, so far its a rather simple thing.
It uses the following material
* Cardboard tubes (TP rolls were what I used for these, you can use others, different sizes mix well here and you could use other tubes for the core if you wish)
* Heavy card stock (The boxes that MT Dew, Coke, or whatever works well)
* Weights (I used Washers, but even some stones would work here) (same number as the tubes)
* Toilet Paper
* Paper Towel
* Hot Glue with gun
* White Glue
* Spray bottle with water
* Container of water you can get your hand into and out of easily
* Scissors
* pen/pencil
* Paints
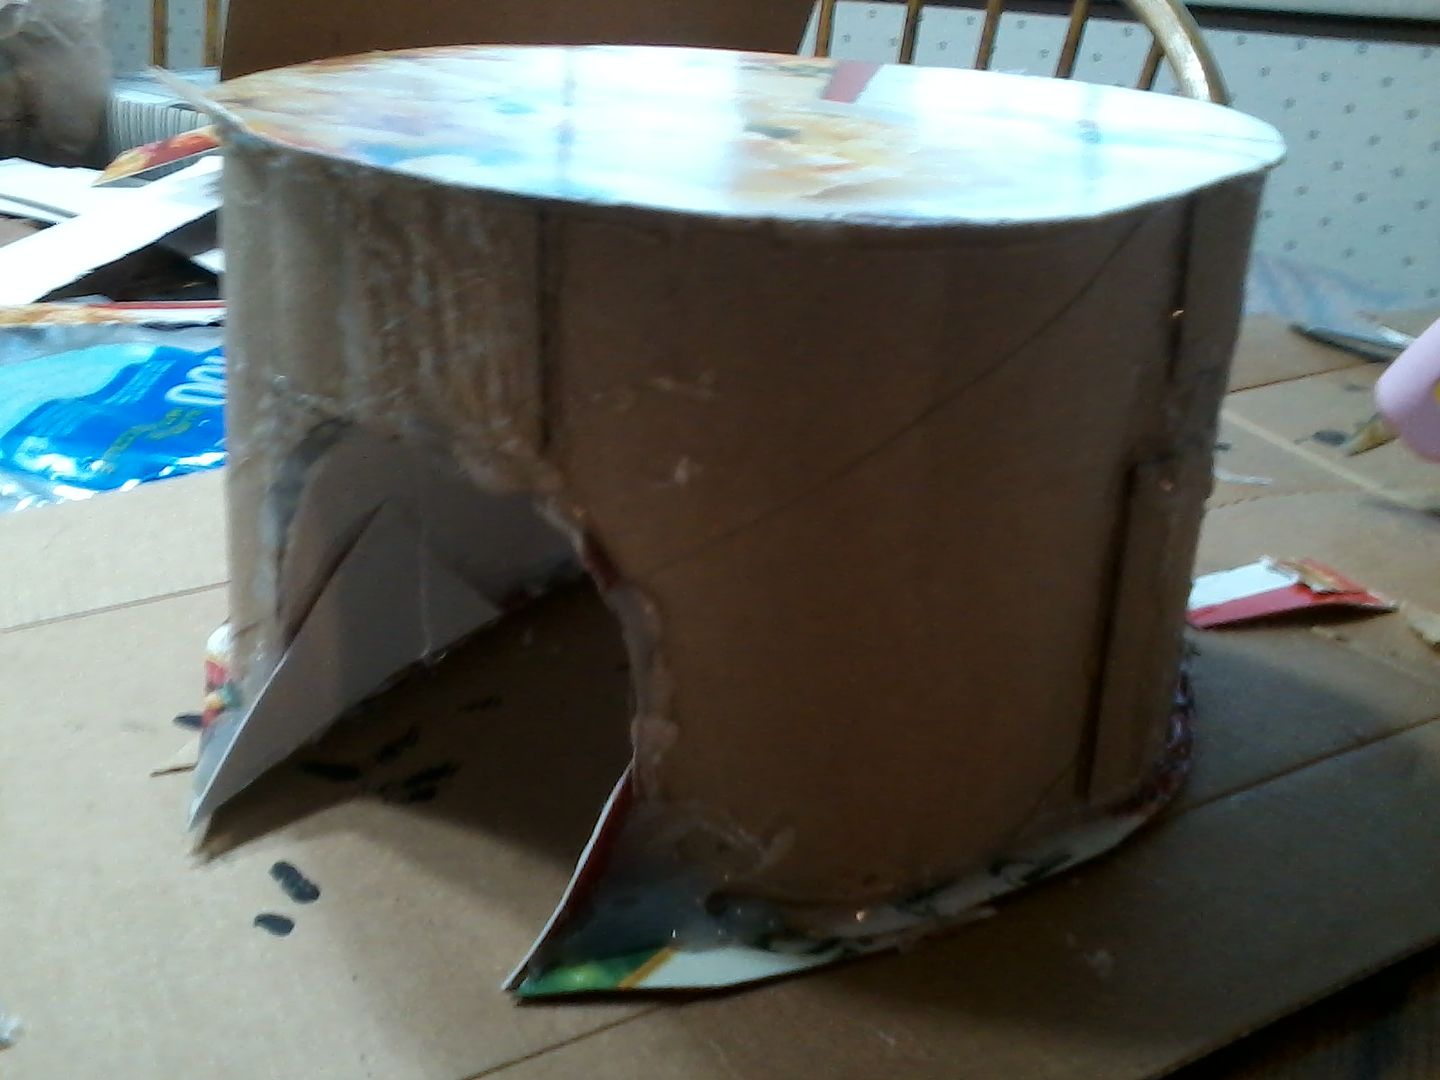
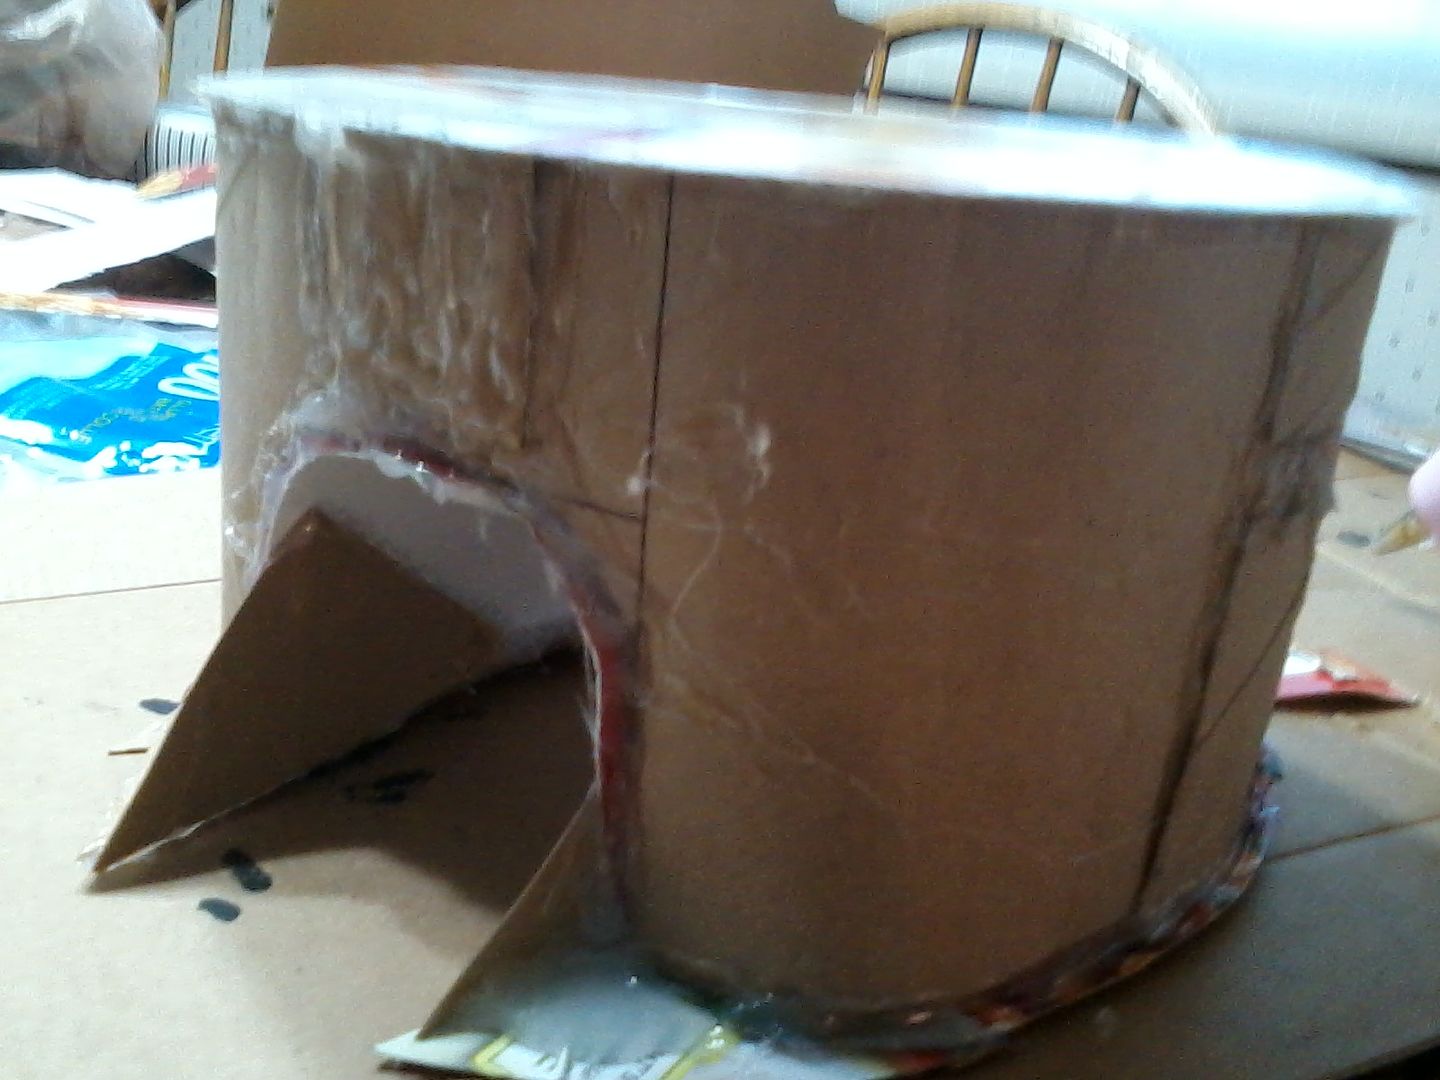
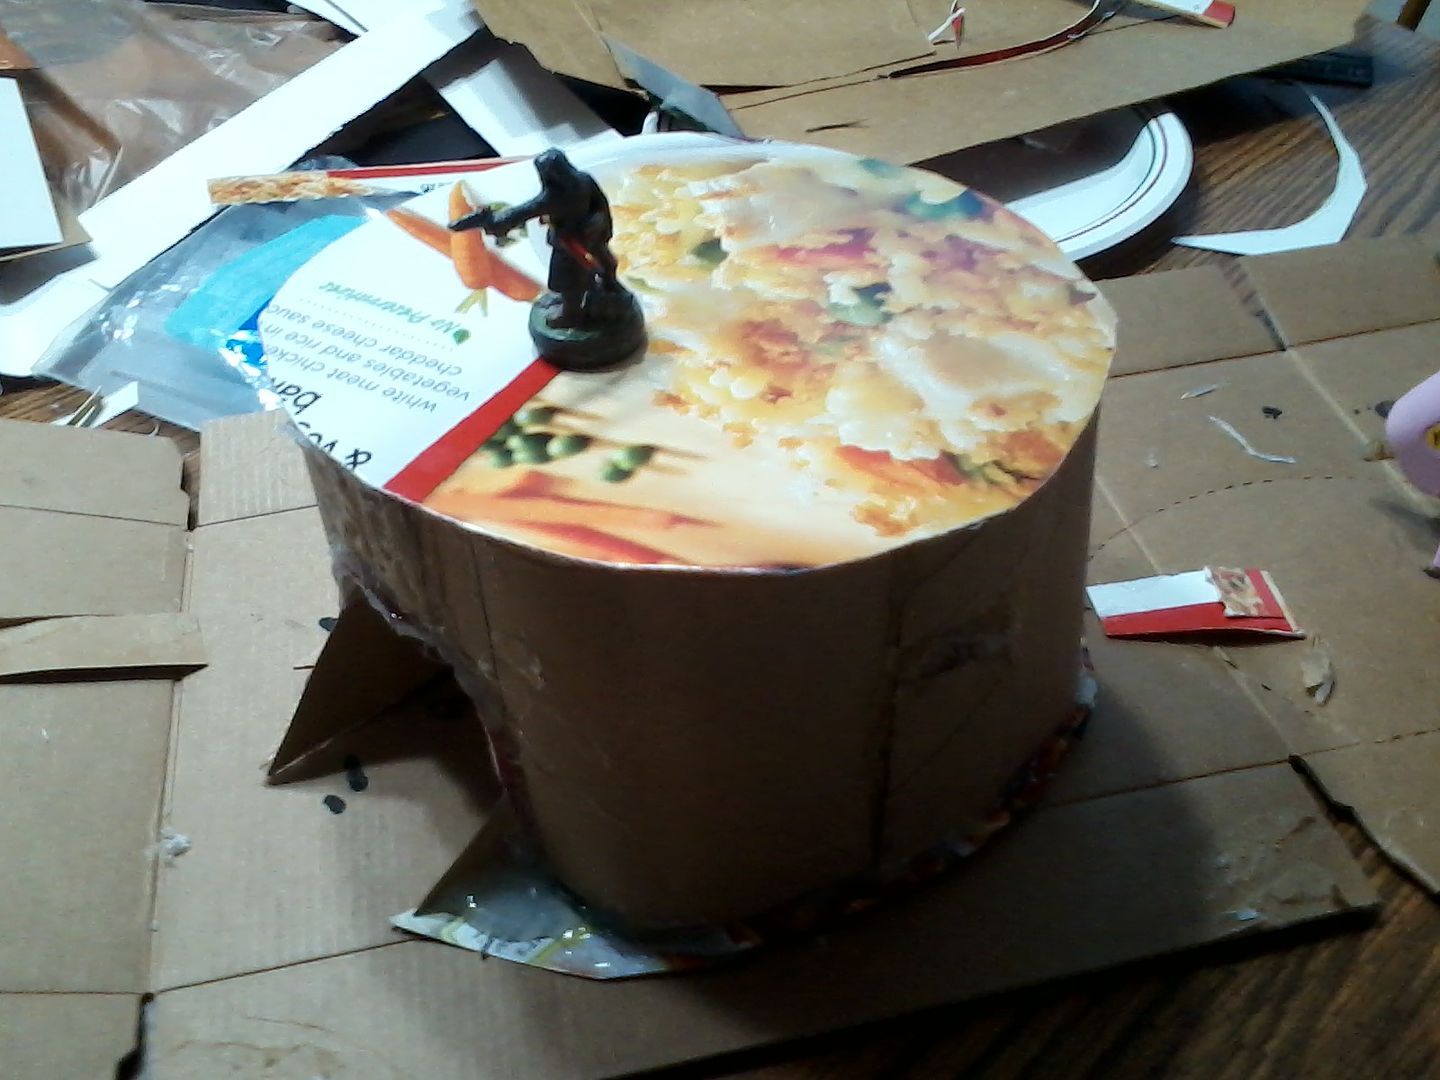
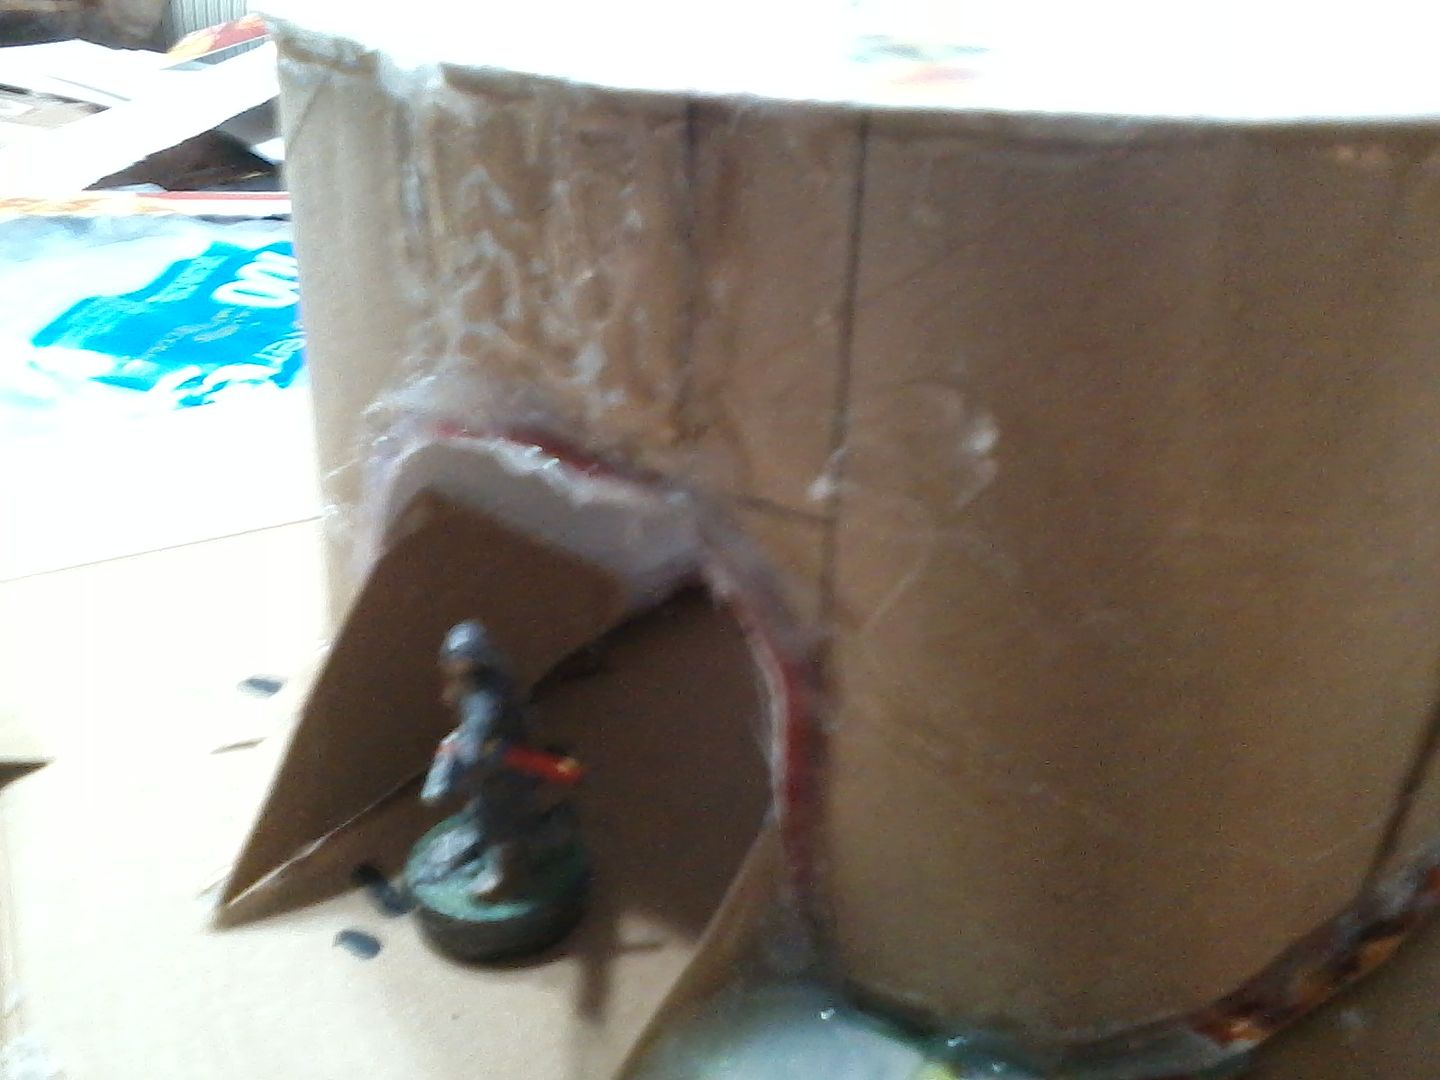
For the first step, take the card stock and figure out how much of it you would need to easily fit over an end. This is a rough cut, but you need to have two of them per tube, give a decent lip when set in place, but don't attach yet.
Next, take your weights and hot glue, glue the weight to half of your card stock pieces, try for the center of them, make sure that they're attached solidly as well. Then glue your tubes in place on that end of each, a bead around the rim and press it firmly in place followed by another ring to make sure it's tightly in place.
Take your paper towels and fill the tube with crumpled pieces, you might want to take your hot glue gun and put beads on before ramming them in place with the pen/pencil, but you mainly just want to fill it. The hot glue is good for the end, make sure that the paper towel is all the way inside and a bit inside can hold it in place rather well.
Seal the open end with the other cut pieces of cardstock, same as you attached the weighted ends, make sure to press down enough to make it a solid seal tightened by the second ring of glue.
Take your scissors and trim the top and bottom as close to the edges as possible. A tiny lip on the ends is fine, but you want to get in close.
Take the white glue apply it to the sides and top of the tree, generous amounts, but on the top make sure it's smoother, then take a paper towel and drape it over the top and down the sides, pull it tightly around and try to keep the top flat. Take your spray bottle and wet the towel to make it move easier and to help it soak up the glue, then take a second paper towel and wrap it around the tube, use the top edge as a guide, and try not to have it above that (If you left a tiny lip when trimming in the previous step, use the lip as a guide) spray it wet and work it around to get the glue into it. Make sure not to cover the bottom of the tube, but it can overhang and will be handled later)
Leave it a day or two to dry out.
Trip the excess paper towel that would be over the lower edge.
Take a larger piece of cardstock (Try to give at least a half inch in all directions more than the width of the tube) (You can easily do this if you use a box that larger cans came in for bulk buys because they leave an impression that is useful in a later step) and glue your tubes bottom to the center of each piece.
Use TP to make root shapes on the cardstock connecting to the tree, soak it and place it. 4-7 roots per tree is a good baseline for trees of this size, you may need to adjust for larger or smaller ones.
Then carefully put glue over the roots and the glued paper towel. While its wet take sheets of TP and layer it over the roots to create a more natural shape along with covering the sides, a piece centered on the top after you finish a layer works well, but other than those keep the pieces off as you want to keep the top as flat and level as possible for the finished product. After each piece is in place spray it down with your spray bottle.
Let it dry completely.
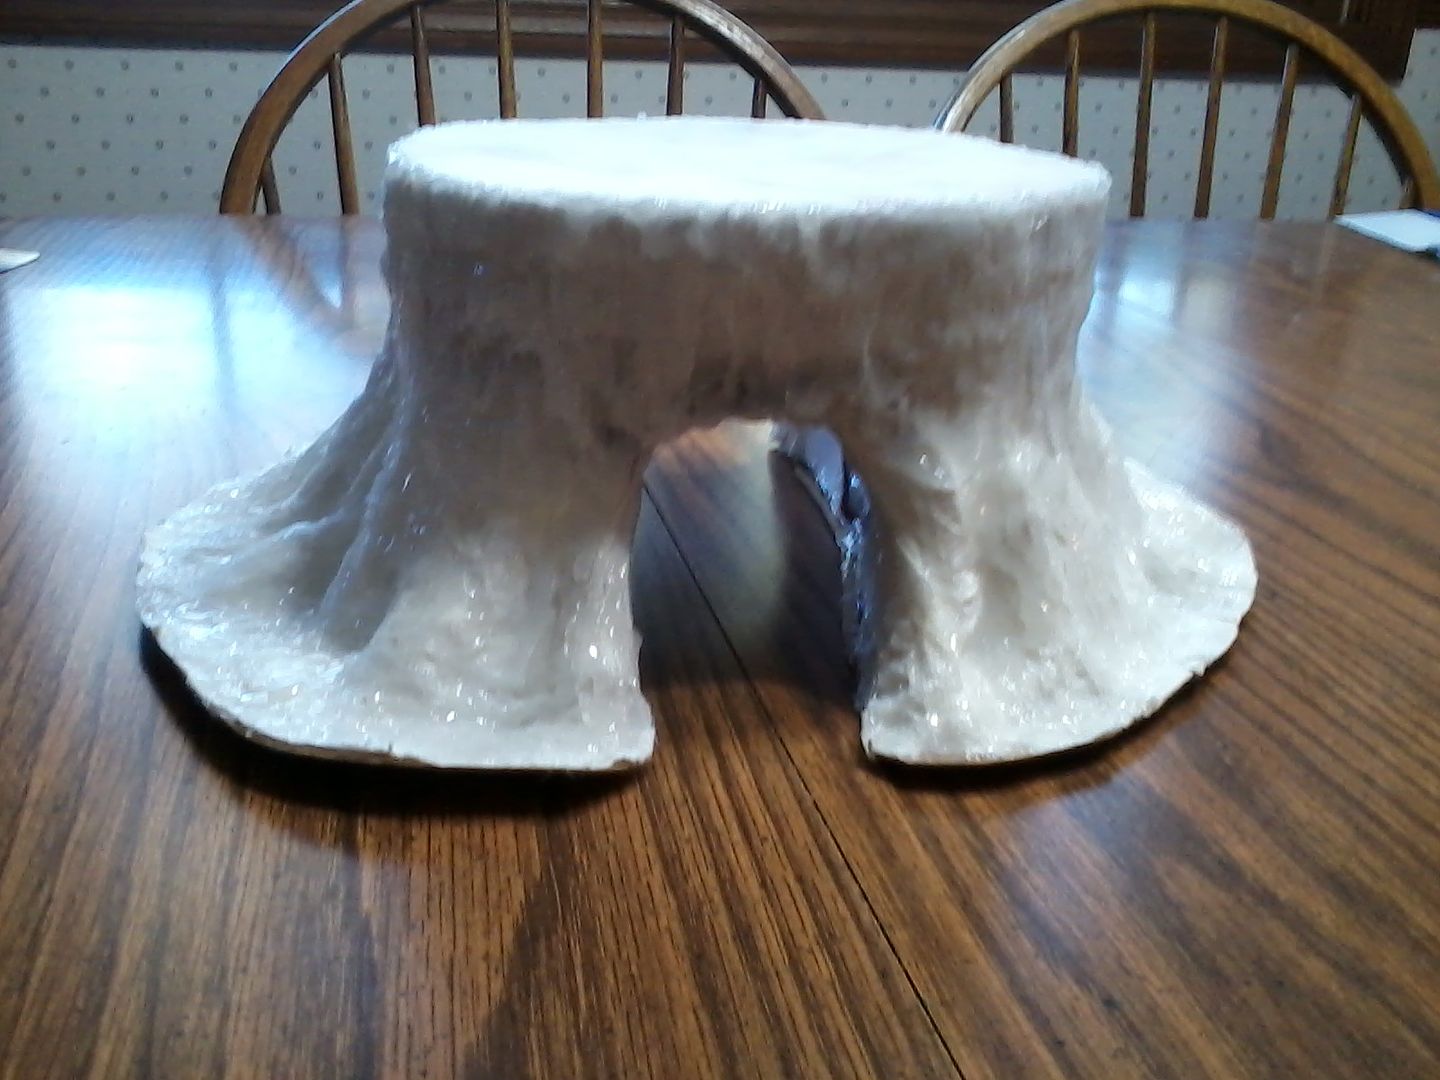
Repeat the layer of TP again, making sure that you try to get a good coverage of the paper towel and other things for the shape.
Continue layers until you're happy with the look, the ones above are at this step with three layers over the roots and paper towel.
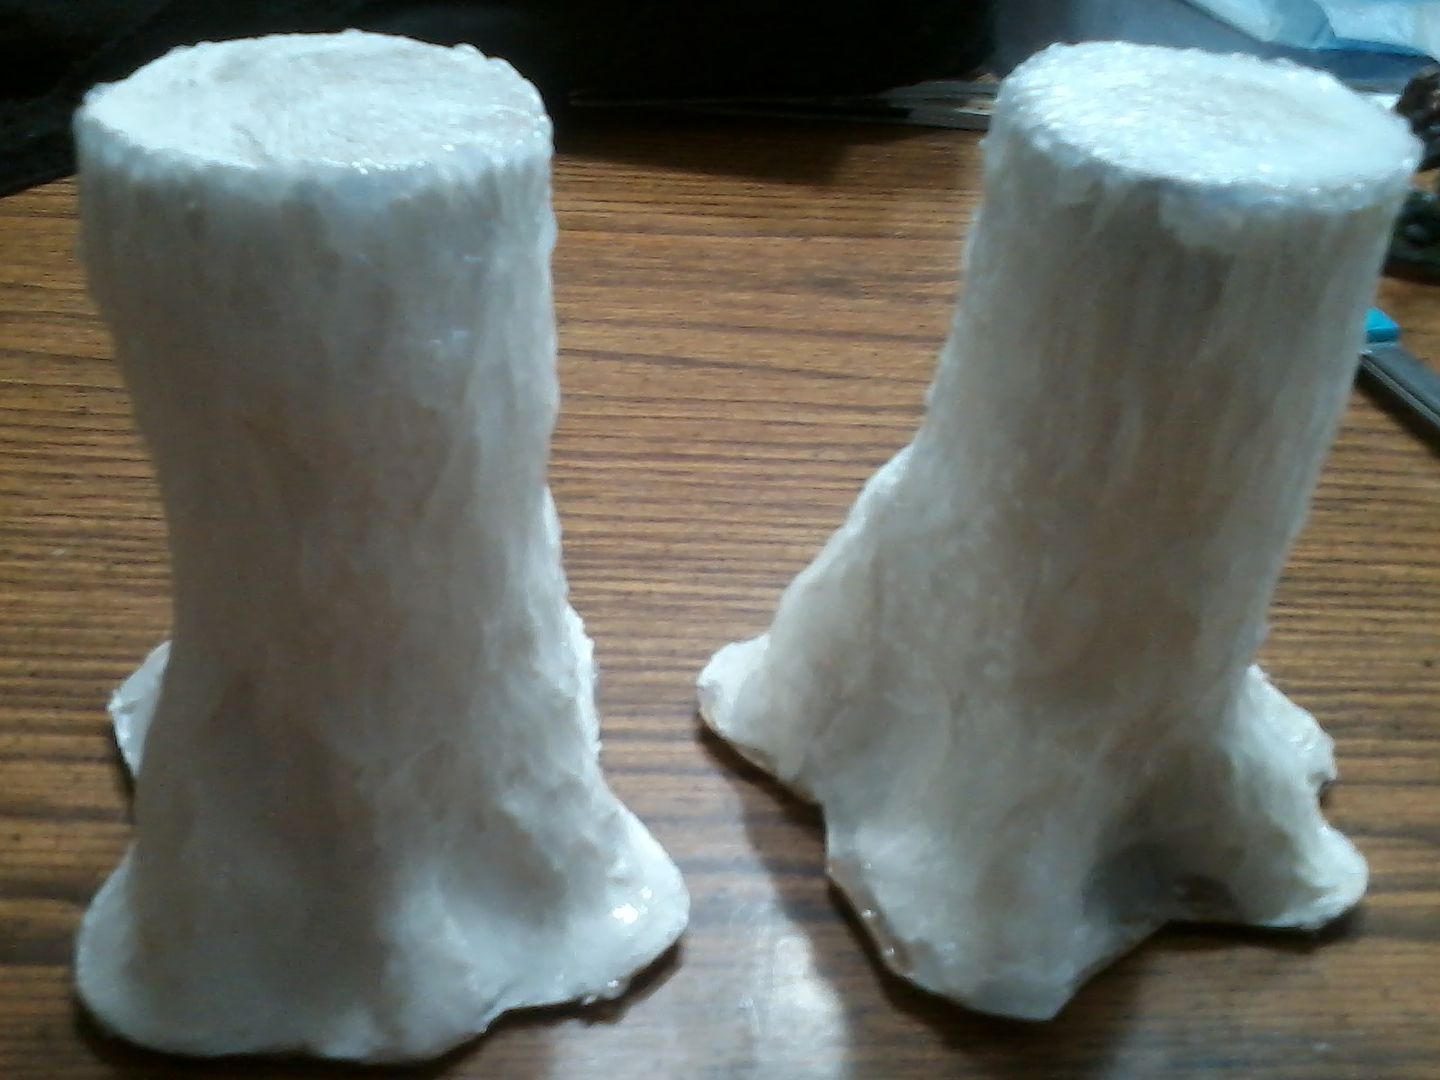
The next step is to take your hot glue gun and sculpt the bark over it.
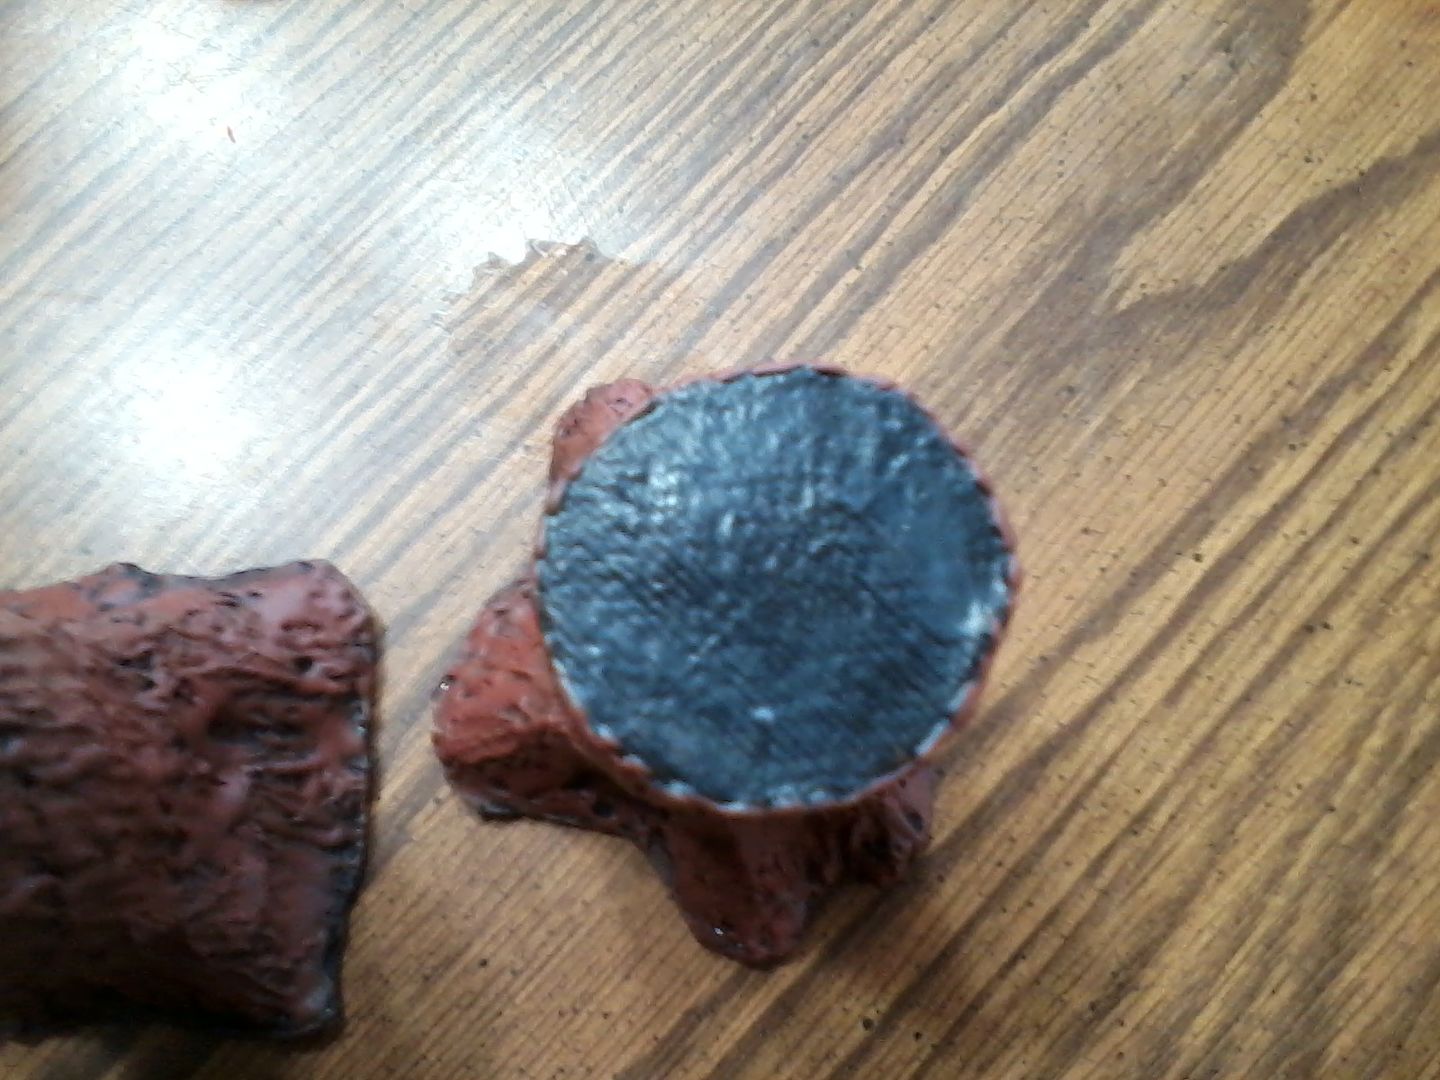
Trim the card around the root structure as close to the roots as you can, then you can base it as you wish or leave it as is. The end result should be solid at this point even on the underside and would paint well enough with the rest to just blend in.
Paint it up, hit it all black, then a dark red-brown, followed by a heavy drybrush of a lighter shade, and a light one of an even lighter one. Touch up the top and underside black (helps represent that it isn't a "terrain part" but a representation of just part of a tree.
Well, not full trees, but ones that are cut off at a level height that will represent ones that go much higher, but are low enough that the board will be playable once I get these and several more done. These are my prototypes and are only part of the way complete as its been slow going with limited time to work on it due to other projects that needed done.


And a pic of all four with a mini for scale.

The mini is a bit taller than most due to a double base situation there thanks to a terrain system a friend was using for a Star Wars rp that I used him for my character, the custom mix of tunnels and starship stuff that was rather narrow combined with the rest of the group using more scenic bases that left him looking short...so I flipped a second base over and attached it under the first with lead pellets mixed with glue filling both parts since he was already unbalanced to some extent.
He's originally from a short WEG era thing and variations of him appeared in different campaigns through OCR, RCR, and Saga...still haven't played FF's as of yet.
Anyway, for the trees, so far its a rather simple thing.
It uses the following material
* Cardboard tubes (TP rolls were what I used for these, you can use others, different sizes mix well here and you could use other tubes for the core if you wish)
* Heavy card stock (The boxes that MT Dew, Coke, or whatever works well)
* Weights (I used Washers, but even some stones would work here) (same number as the tubes)
* Toilet Paper
* Paper Towel
* Hot Glue with gun
* White Glue
* Spray bottle with water
* Container of water you can get your hand into and out of easily
* Scissors
* pen/pencil
* Paints
For the first step, take the card stock and figure out how much of it you would need to easily fit over an end. This is a rough cut, but you need to have two of them per tube, give a decent lip when set in place, but don't attach yet.
Next, take your weights and hot glue, glue the weight to half of your card stock pieces, try for the center of them, make sure that they're attached solidly as well. Then glue your tubes in place on that end of each, a bead around the rim and press it firmly in place followed by another ring to make sure it's tightly in place.
Take your paper towels and fill the tube with crumpled pieces, you might want to take your hot glue gun and put beads on before ramming them in place with the pen/pencil, but you mainly just want to fill it. The hot glue is good for the end, make sure that the paper towel is all the way inside and a bit inside can hold it in place rather well.
Seal the open end with the other cut pieces of cardstock, same as you attached the weighted ends, make sure to press down enough to make it a solid seal tightened by the second ring of glue.
Take your scissors and trim the top and bottom as close to the edges as possible. A tiny lip on the ends is fine, but you want to get in close.
Take the white glue apply it to the sides and top of the tree, generous amounts, but on the top make sure it's smoother, then take a paper towel and drape it over the top and down the sides, pull it tightly around and try to keep the top flat. Take your spray bottle and wet the towel to make it move easier and to help it soak up the glue, then take a second paper towel and wrap it around the tube, use the top edge as a guide, and try not to have it above that (If you left a tiny lip when trimming in the previous step, use the lip as a guide) spray it wet and work it around to get the glue into it. Make sure not to cover the bottom of the tube, but it can overhang and will be handled later)
Leave it a day or two to dry out.
Trip the excess paper towel that would be over the lower edge.
Take a larger piece of cardstock (Try to give at least a half inch in all directions more than the width of the tube) (You can easily do this if you use a box that larger cans came in for bulk buys because they leave an impression that is useful in a later step) and glue your tubes bottom to the center of each piece.
Use TP to make root shapes on the cardstock connecting to the tree, soak it and place it. 4-7 roots per tree is a good baseline for trees of this size, you may need to adjust for larger or smaller ones.
Then carefully put glue over the roots and the glued paper towel. While its wet take sheets of TP and layer it over the roots to create a more natural shape along with covering the sides, a piece centered on the top after you finish a layer works well, but other than those keep the pieces off as you want to keep the top as flat and level as possible for the finished product. After each piece is in place spray it down with your spray bottle.
Let it dry completely.
Repeat the layer of TP again, making sure that you try to get a good coverage of the paper towel and other things for the shape.
Continue layers until you're happy with the look, the ones above are at this step with three layers over the roots and paper towel.
The next step is to take your hot glue gun and sculpt the bark over it.
Trim the card around the root structure as close to the roots as you can, then you can base it as you wish or leave it as is. The end result should be solid at this point even on the underside and would paint well enough with the rest to just blend in.
Paint it up, hit it all black, then a dark red-brown, followed by a heavy drybrush of a lighter shade, and a light one of an even lighter one. Touch up the top and underside black (helps represent that it isn't a "terrain part" but a representation of just part of a tree.






 Cheers!
 Cheers!