Nicely executed.
Must have been something in the air. I recently did a few generic boards myself.
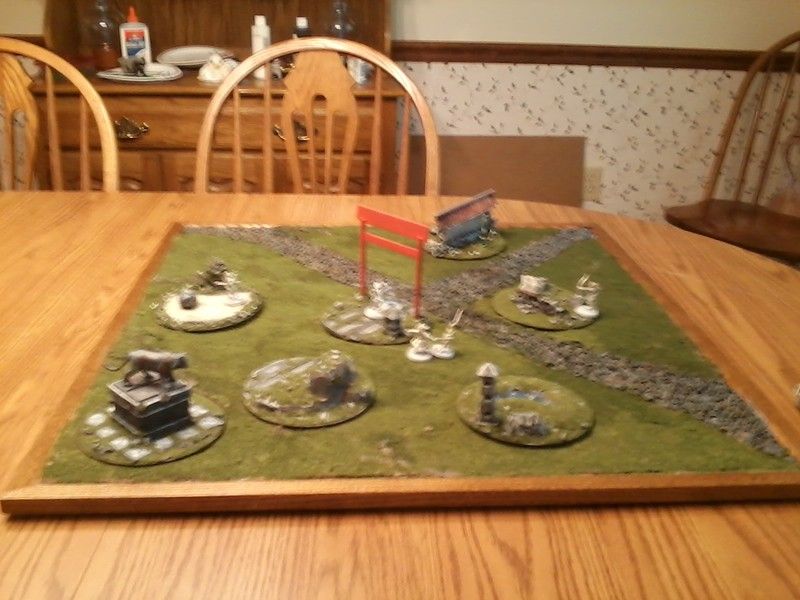
Generic tends to be the better option for most things, 40K is about the only game that can, locally, get enough use to justify one more specific for it, and having it be flat enough to be easily used with just about any specific terrain while still being rolling enough to look interesting works well for it.
Oddly enough, a water board would have been cheaper to make...
Figure that I might as well give some instructions on making one of these.
General Materials
1 Picture frame, should be large enough for what you want. 2'x2' is what I used, though I've seen this used with 3'x3' and one 4'x4' by a friend who took my idea for this to rush build several boards for a naval wargame event. Make sure they either have a wooden backing or an acrylic pane, that leaves something solid for the actual board to be built on. If it's a water board, make sure it's the acrylic
5+ 2" wooden rounds. 5 works for 2x2, but larger than that, you probably want 9 of them.
Plenty of hot glue (Duh)
Varnish of your choice
Felt disks cut to match the wooden discs size in enough for all of them
White Glue
Water Board Materials
Paints appropriate for the water area you want.
Plains Board Materials
Cork sheets
Smaller aquarium gravel (Some larger pieces are fine for strategic placement on the board as well)
Fine Sand
Flock
Patching plaster
Black Primer spray
paints for path and ground color as well as stones.
Water Board Instructions
Peel the coating off the back of the acrylic
Paint it, start with the lightest colors and work to darker ones, across the revealed side. You want to do this in one step and let the edges of them blend for a more natural gradient. Remember that it's supposed to look like water from the other side.
Seal over the paint.
Peel the coating off the front of the acrylic
Put white glue around the rim of the frame and place the acrylic in place. Make sure you attach it down entirely with whatever method the frame uses. If the frame included a wooden backer, put a thin layer of glue on the back of the acrylic and make sure it's sealed into place.
Once the glue is dry, take hot glue and put a ring around the edge of the backer/acrylic to lock it in place entirely.
Take your wooden rounds and attach the felt to them with hot glue.
Take the rounds and on the uncovered side attach them to the corners of the board and one in the center (For larger boards place the others on the middle of each side).
Use the hot glue gun to add ripples to the top of the board, waves and what not. Be very careful to keep it close to flat, and don't go overboard here.
After the glue has set, use white paint and a very careful touch to add a few peaks to the ripples, making them look like waves.
Let dry and you've got a board great for any naval battles, or with the right terrain pieces, a starting point for some docks underneath the rest of a layout.
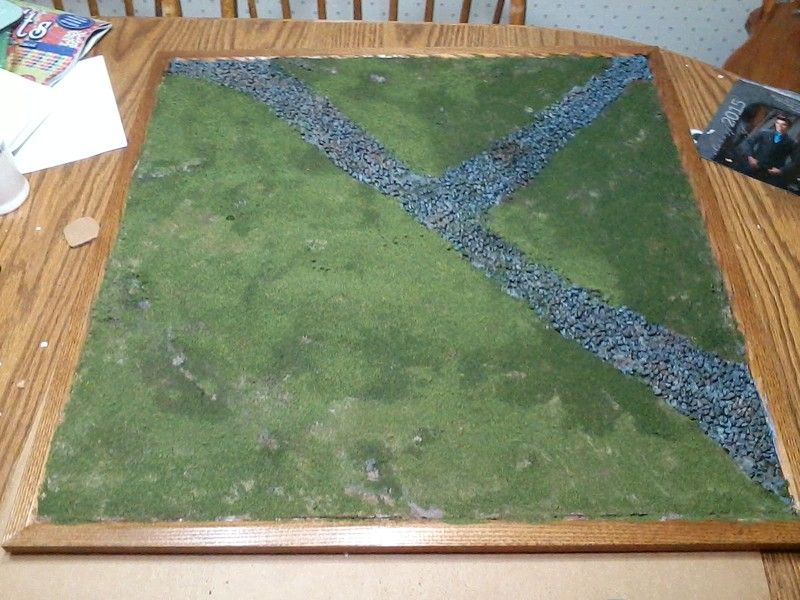
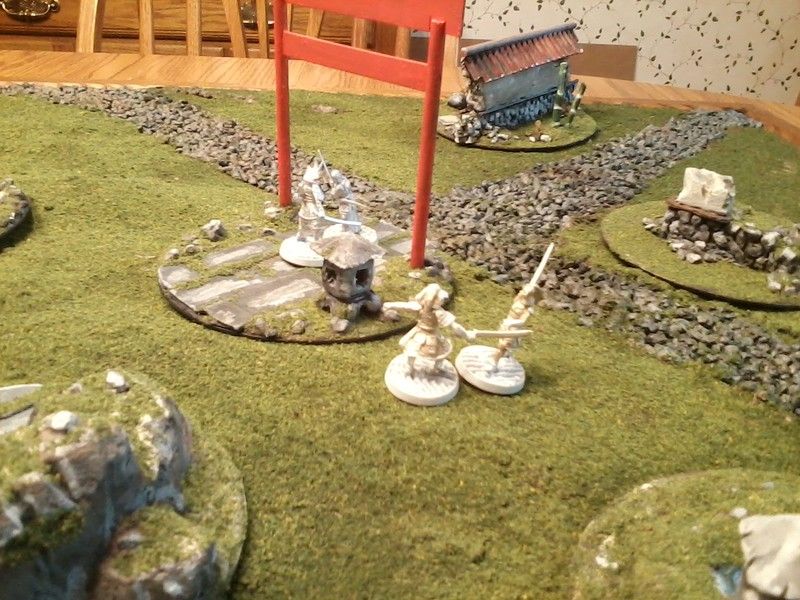
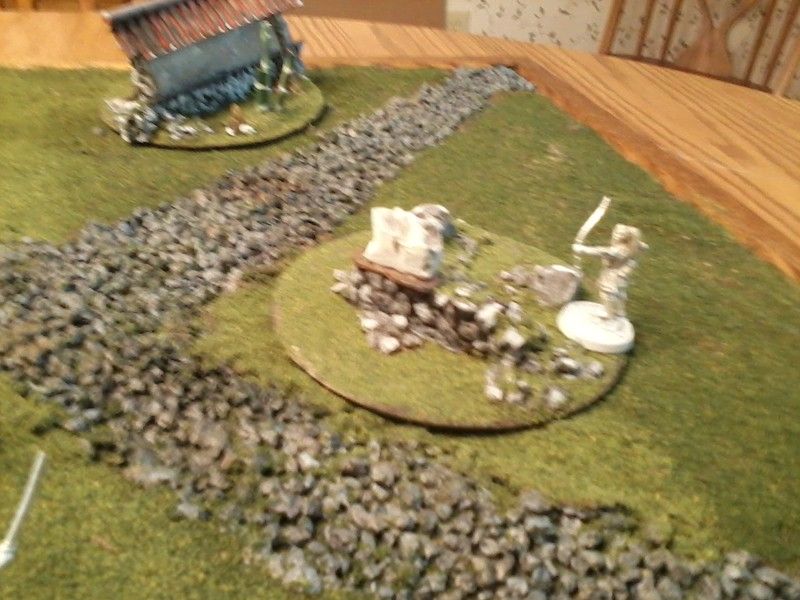
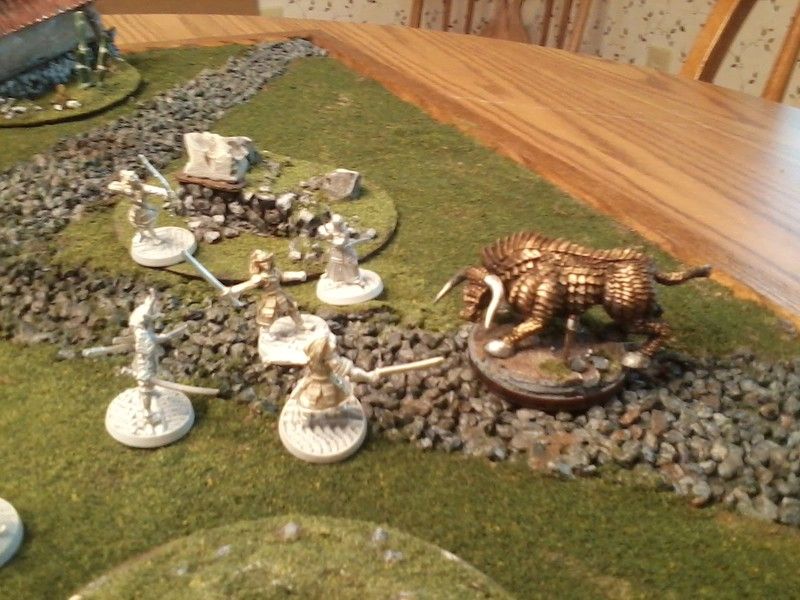
Plains Board
Peel the covering off the acrylic if you're using that, both sides and use white flue to attach it to the backing if there is a wooden or other non-cardboard one (Save the cardboard for other projects, here it tends to end up being a problem)
Use white glue to cover one side with the cork sheet, put heavy, flat objects ontop of it to keep it from distorting as it dries.
Hit the edges with hot glue, being careful just to use it as an anchor and as thin as you can.
Temporarily slide it into the frame, and mark the edges of the play area on it before removing it again.
Take another cork sheet and cut it to that size and then cut out the path section (if you want one in it). Then glue it down, using the earlier marks as a guide...leave the path areas empty for now. Again use something heavy to keep it held down. You can also add small sections as disruptions in the path if you wish.
Use the hot glue on the edges of it, when you're doing the area down to where the path is going to be, try for an organic look there as if dirt was dug out to make room for the stones later on.
It works to add another layer of cork to a few corners as slight rises, essentially repeating portions of the previous steps, though you may want a bit more ridge line than dirt fill look. A few other points for interest along the edges also works here.
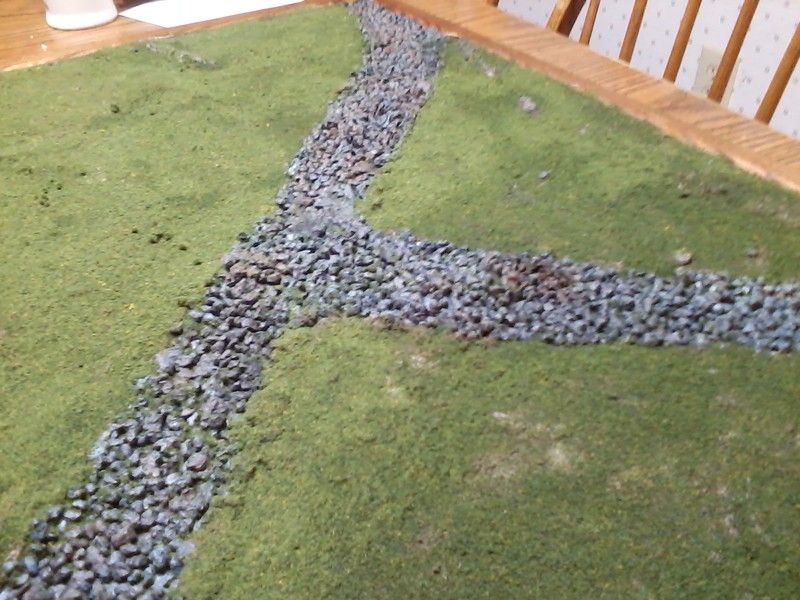
Take some of the aquarium gravel and any of the larger stones you want to use, attach them along the ridge lines and in other places that look interesting, keep track of their location though.
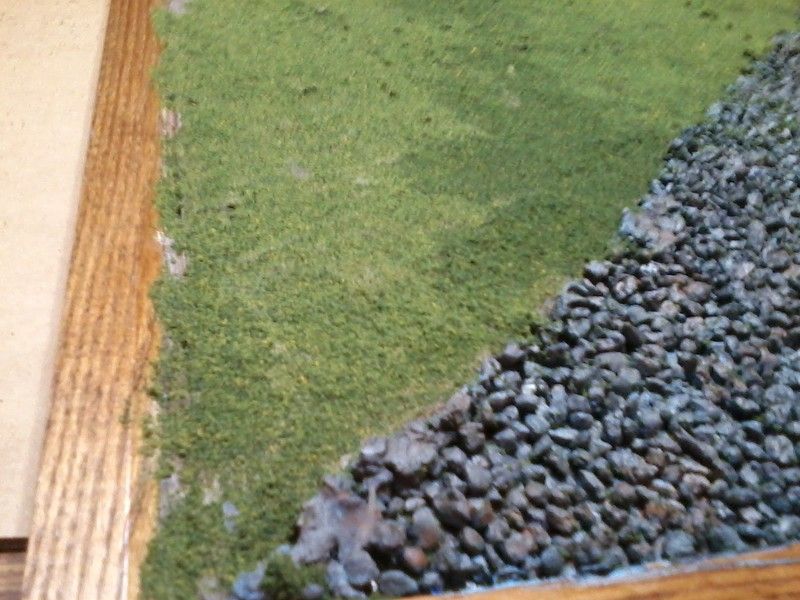
Take the patching plaster and water it down to about toothpaste texture and use a sponge to apply it over the board. You want to remove the look of the cork and make sure it's slightly rougher and more like real dirt
While the plaster is still wet, shake on the sand. This is a messy step, so be warned. Don't cover the path area, some along the edges works well to prevent a machined look. Keep your added gravel pieces from being covered up.
Once the plaster is dry, hit any sharper plaster spikes and other such things with sandpaper, be careful though.
In workable sections use the white glue to glue down aquarium gravel filling the path sections. Make sure you don't go over the edges of where the frame is marked.
Use the spray primer at this point. You don't need or really want to hit the underside of it here.
Paint it up as dirt and stone. If you really want you can skip the flock and go with a desert/wasteland board with this and skip the next step.
Flock the board, making sure to keep from covering everything up such as the stones and some of the more interesting points created with the plaster.
Seal the board after everything is dry. You want a harder surface to play on.
Use white glue along the edge of the frame and lock it in place and hot glue the edges.
Attach the felt to the wooden rounds on one side and attach them to the underside of the board as described in the water board.
Have fun with either type of board.


 Cheers!
 Cheers!