


Merchant and Market Series (#4 The Fortune Teller)
Sept 6, 2015 4:45:05 GMT
DMScotty, tauster, and 22 more like this
Post by curufin on Sept 6, 2015 4:45:05 GMT
The Merchant and Market Series is an on going project with the goal of creating a bazaar full of interesting market stalls and the merchants who run them.
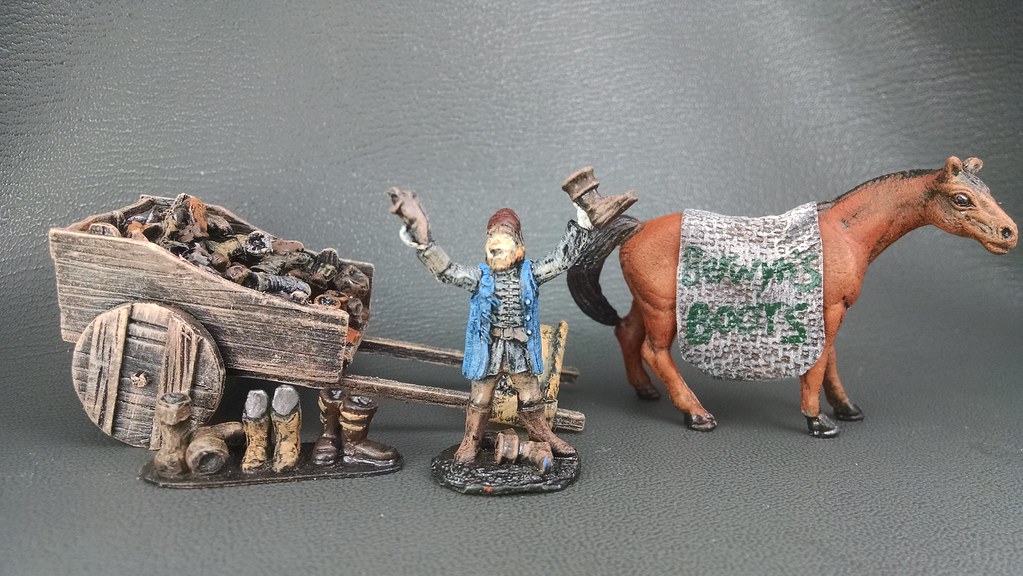
#1- The Cobbler - Berwyn's Boots. Who doesn't need a fine pair of boots; perfect for long walks across the country or kicking in orc skulls.
The Walkthough:
I started my gluing the craft sticks edge to edge with some wood glue. You've all seen me do this before. I did the same with a bunch of coffee stirrers.
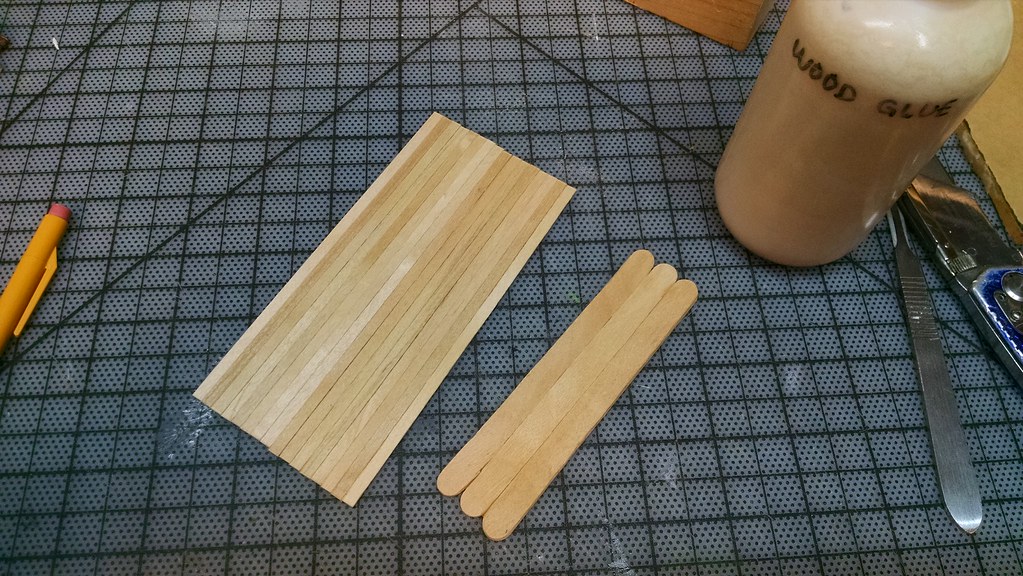
From the craft sticks, I cut a piece that will serve as the bottom of the wagon. I also cut two wagon sides from the coffee stirrers.
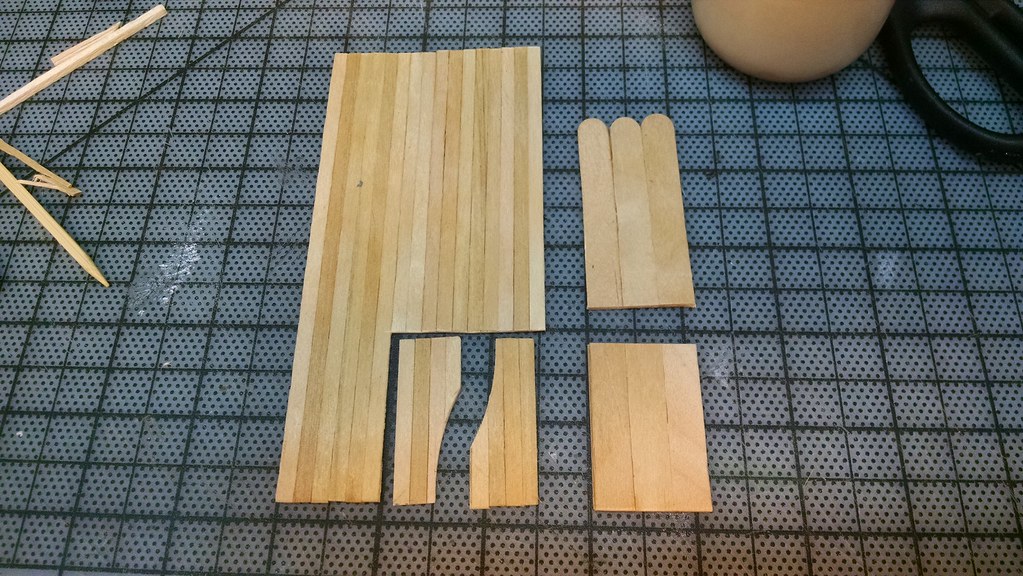
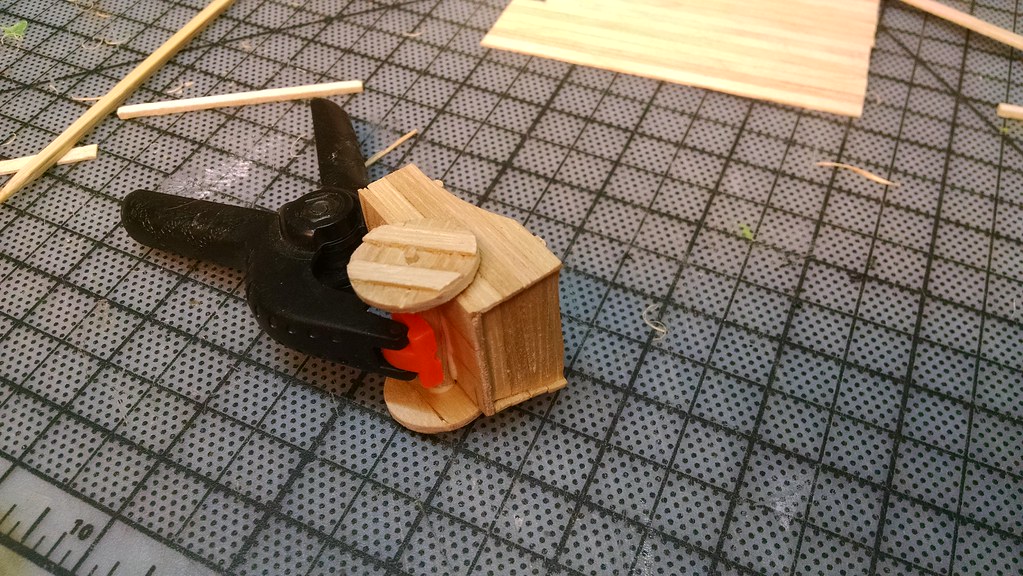
I sanded the bottom edge of the two sides on an angle so the sides would angle slightly outward when attached to the bottom. I used wood glue and some masking tape to hold the side in place. So I wouldn't have to wait for the wood glue to dry, I put a small bead of hot glue on the inside seam. A coffee stir stick was added for the upright supports of the wagon sides.

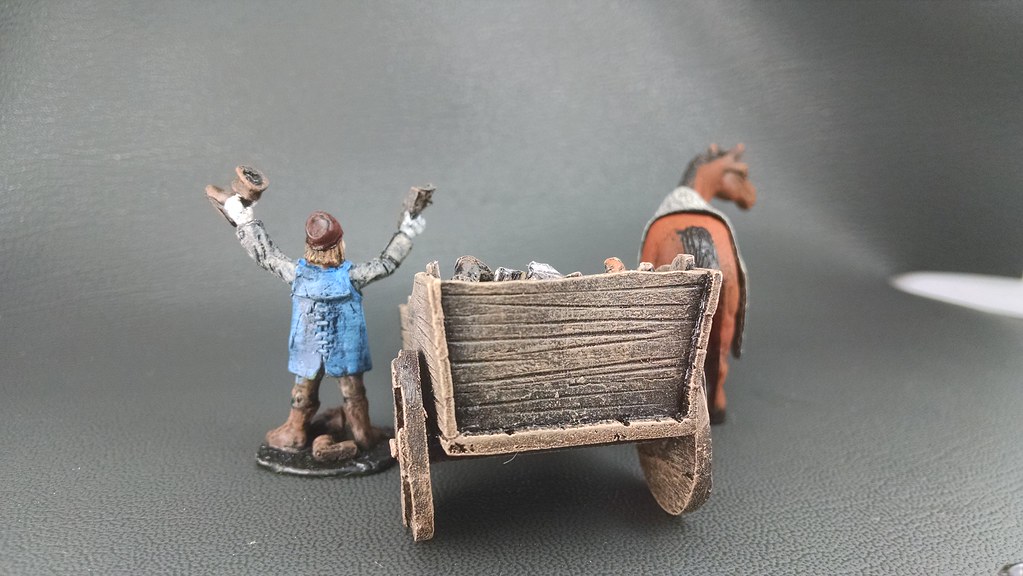
With the sides in place, I traced the back of the wagon on the stir stick sheet and then cut it out and glued it in. The wagon axle is a section of a long fireplace matchstick that I drilled a hole into each end and glued a piece of toothpick in. I cut the wheels from the left over craft sticks that the bottom was cut from.
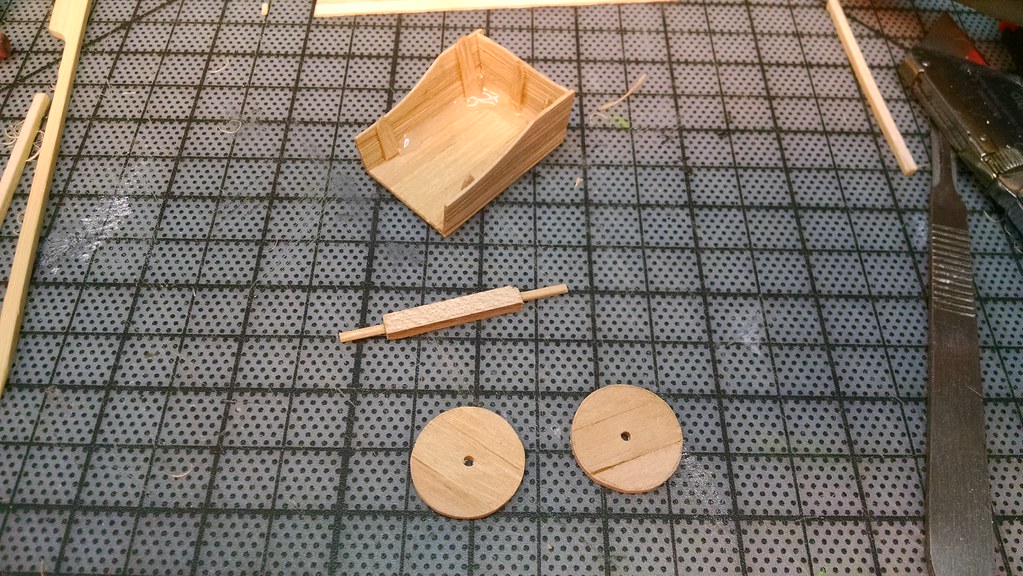
Glue the wheels to the axle and the axle to the wagon. I added some coffee stirrers to the wheels for support.
The front rails of the wagon (or whatever you call them) are just match sticks glued in place.

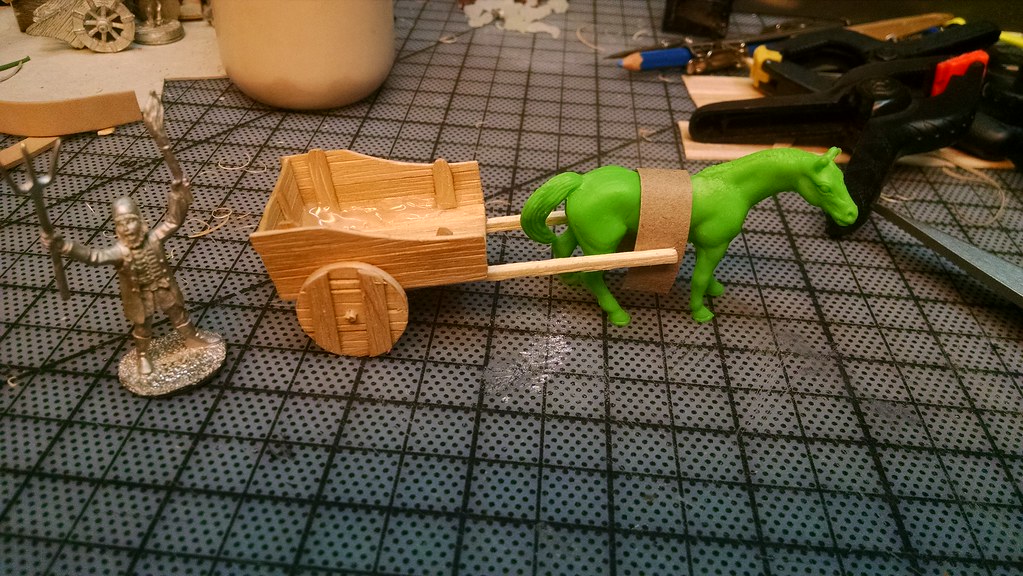
Yay! It's a wagon! The horse is from a pack of horses from the dollar store.
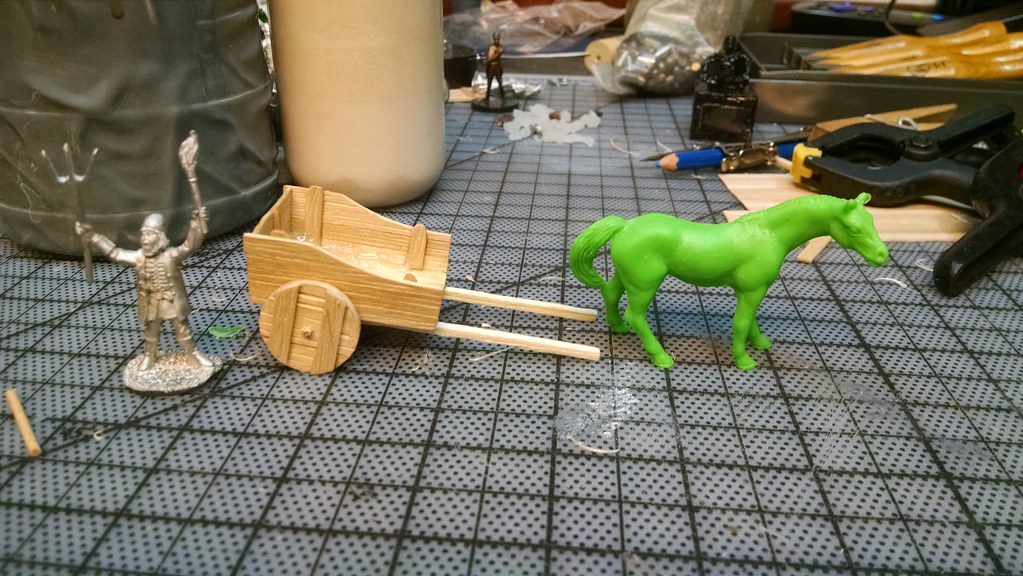
I originally wanted the wagon attached to the horse but the horse is a little big in scale. This becomes crystal clear when the two are attached.....so I had to come up with something different for the horse to do. Anyway, the strap thingy is a piece of cardstock glued to the match sticks. [not pictured- I rimmed the cardstock with some string as a little someting extra]
Now to fill the cart with boot - There are a couple ways to do this:
#1 - Use thedmg 's serendipitously timed boot making video.
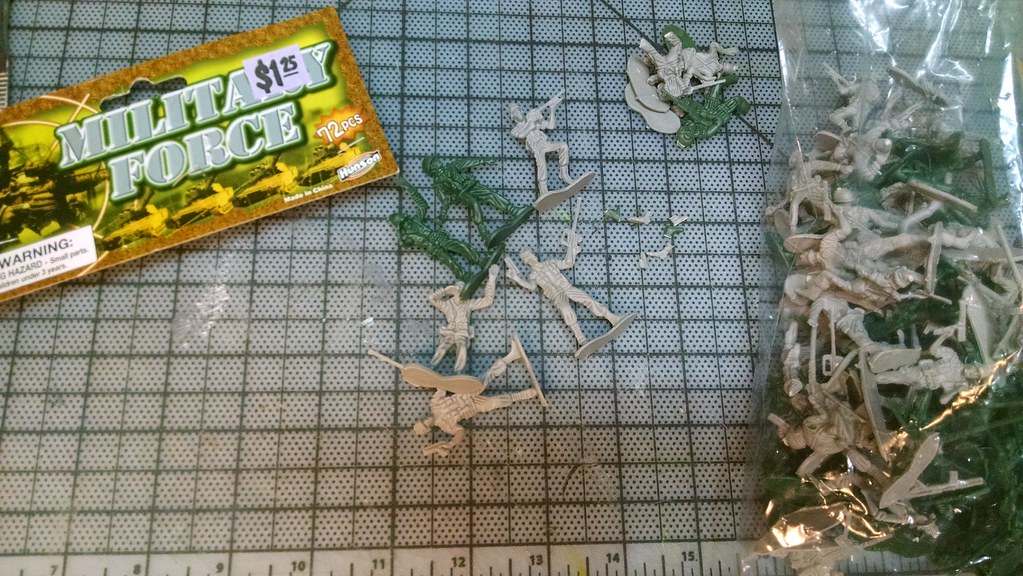
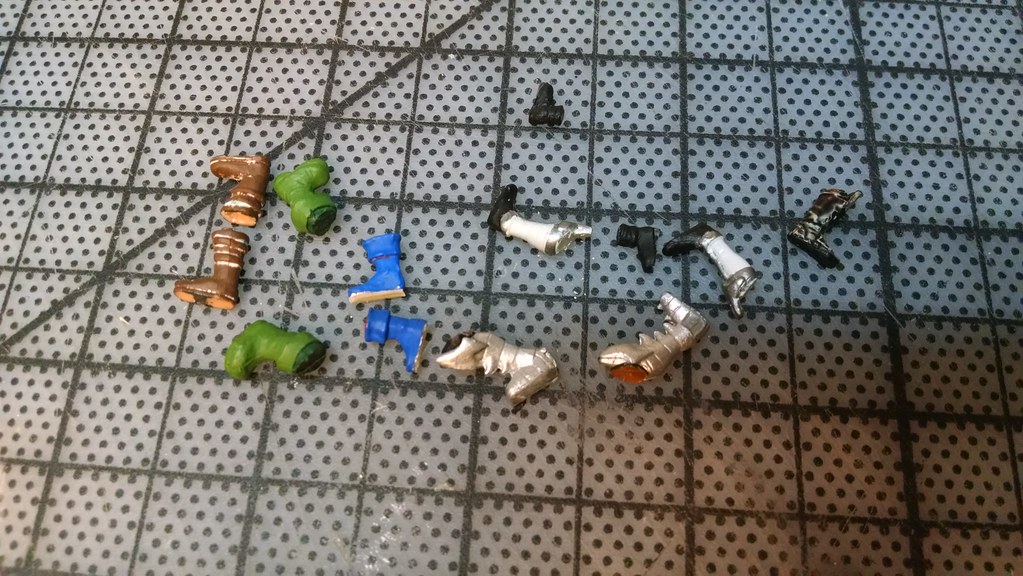
#2 - Cut the feet off of some cheap arm men.
#3 - Cut the feet off of hero clix (or other miniatures).
#4 - Sculpt your own.
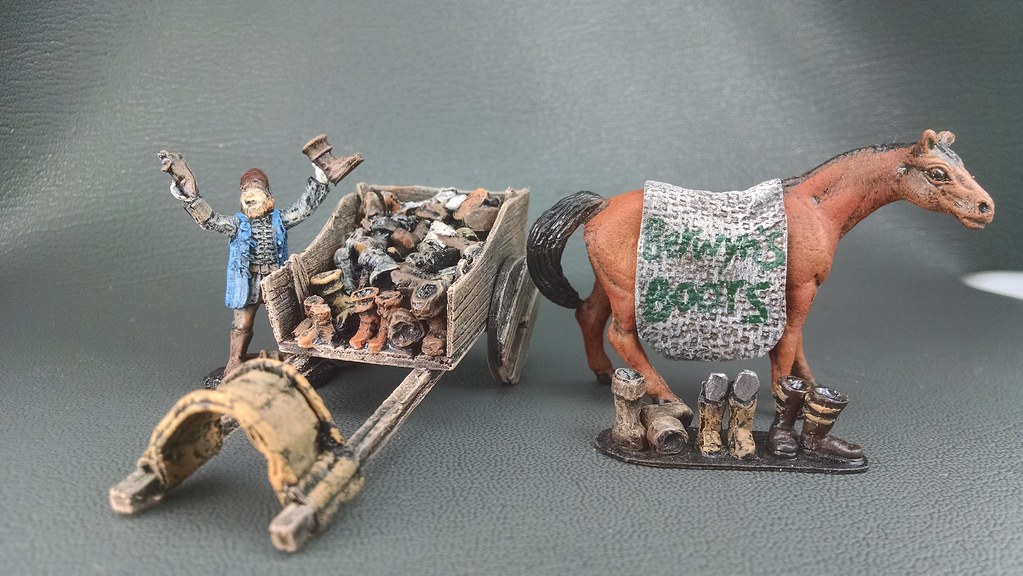
I put a large blob of hot glue in the bottom to partially fill the cart so I would need less boots. Then, just glue in the boots.
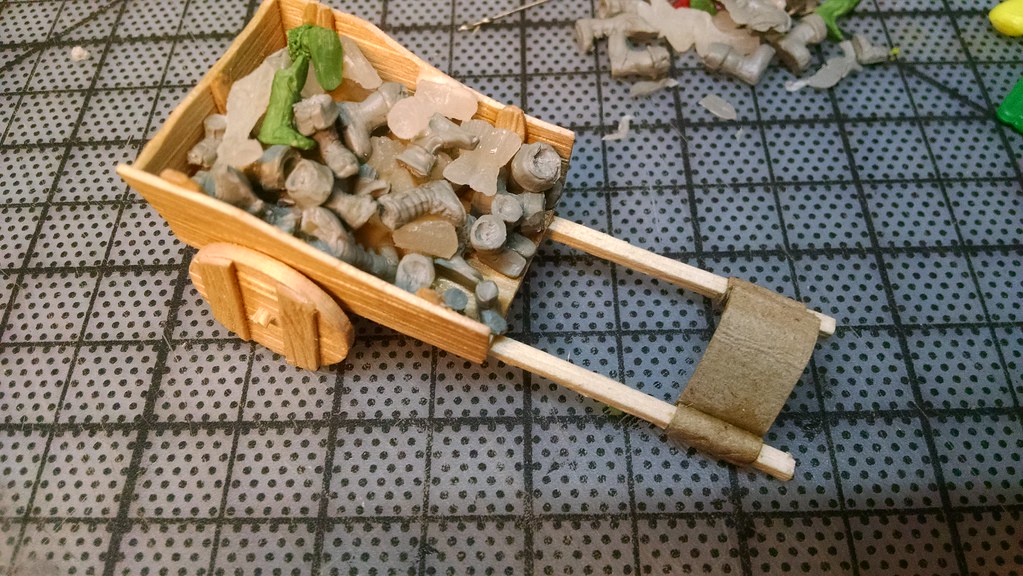
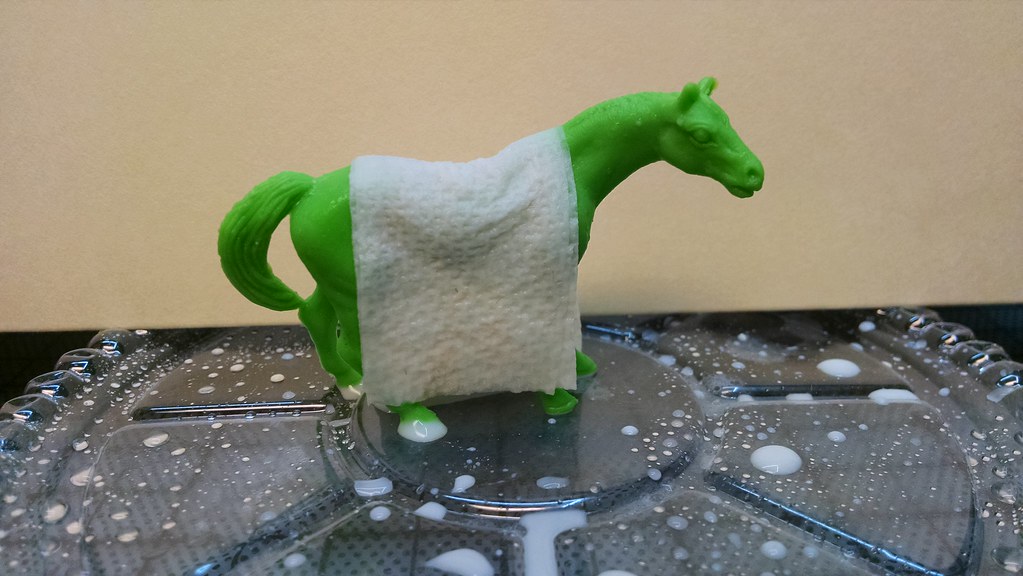
Since the horse was too big to pull the wagon, I decieded he would be the cobbler's sign. I made a horse blanket out of some water/pva soaked paper towel and drapped it over the horse. Once dried, I trimmed it to size.
The cobbler started life as part of a townsfolk mob from reaper. I removed his hands and replaced them with the hands of a Thule priest clix.
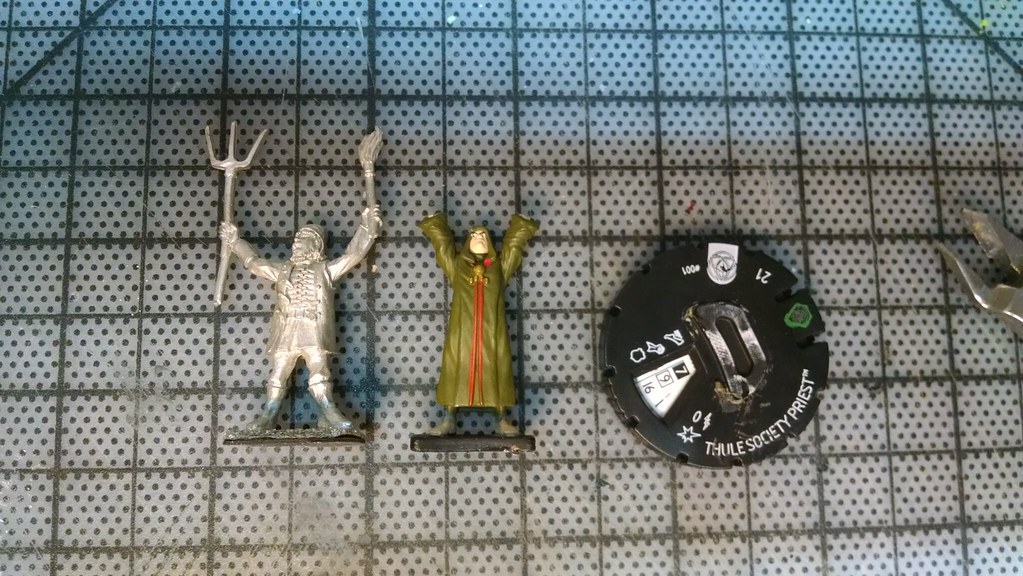
I glued some boots in his hands. I also glued some left over boots on a piece of cardstock. Then painted it up.

"Boots for sale, I gots boots for sale"

#1- The Cobbler - Berwyn's Boots. Who doesn't need a fine pair of boots; perfect for long walks across the country or kicking in orc skulls.
The Walkthough:
I started my gluing the craft sticks edge to edge with some wood glue. You've all seen me do this before. I did the same with a bunch of coffee stirrers.
From the craft sticks, I cut a piece that will serve as the bottom of the wagon. I also cut two wagon sides from the coffee stirrers.
I sanded the bottom edge of the two sides on an angle so the sides would angle slightly outward when attached to the bottom. I used wood glue and some masking tape to hold the side in place. So I wouldn't have to wait for the wood glue to dry, I put a small bead of hot glue on the inside seam. A coffee stir stick was added for the upright supports of the wagon sides.
With the sides in place, I traced the back of the wagon on the stir stick sheet and then cut it out and glued it in. The wagon axle is a section of a long fireplace matchstick that I drilled a hole into each end and glued a piece of toothpick in. I cut the wheels from the left over craft sticks that the bottom was cut from.
Glue the wheels to the axle and the axle to the wagon. I added some coffee stirrers to the wheels for support.
The front rails of the wagon (or whatever you call them) are just match sticks glued in place.
Yay! It's a wagon! The horse is from a pack of horses from the dollar store.
I originally wanted the wagon attached to the horse but the horse is a little big in scale. This becomes crystal clear when the two are attached.....so I had to come up with something different for the horse to do. Anyway, the strap thingy is a piece of cardstock glued to the match sticks. [not pictured- I rimmed the cardstock with some string as a little someting extra]
Now to fill the cart with boot - There are a couple ways to do this:
#1 - Use thedmg 's serendipitously timed boot making video.
#2 - Cut the feet off of some cheap arm men.
#3 - Cut the feet off of hero clix (or other miniatures).
#4 - Sculpt your own.
I put a large blob of hot glue in the bottom to partially fill the cart so I would need less boots. Then, just glue in the boots.
Since the horse was too big to pull the wagon, I decieded he would be the cobbler's sign. I made a horse blanket out of some water/pva soaked paper towel and drapped it over the horse. Once dried, I trimmed it to size.
The cobbler started life as part of a townsfolk mob from reaper. I removed his hands and replaced them with the hands of a Thule priest clix.
I glued some boots in his hands. I also glued some left over boots on a piece of cardstock. Then painted it up.
"Boots for sale, I gots boots for sale"


 Cheers!