Making cobblestone bases with green stuff
Mar 4, 2015 16:10:59 GMT
tauster, Sleepy Hollow Mike, and 7 more like this
Post by michka on Mar 4, 2015 16:10:59 GMT
I was just reading a post from Alexis, asking for ideas on mkaing bases. This reminded me that I have made a tutorial once before. Over on Lead Adventure Forum I did a photo tutorial on how I make cobblestone bases for fantasy miniatures. I'm copying much of the original text from that post, so it might not be Deja Vu. You might have seen this before. Here we go...
1. Cut the slotta supports out of the slotta bases. Trim around the inside edges of the base so the washer fits inside the base in step three. (Don't forget to scrap off all the logos and other unnecessary printing inside the base.)
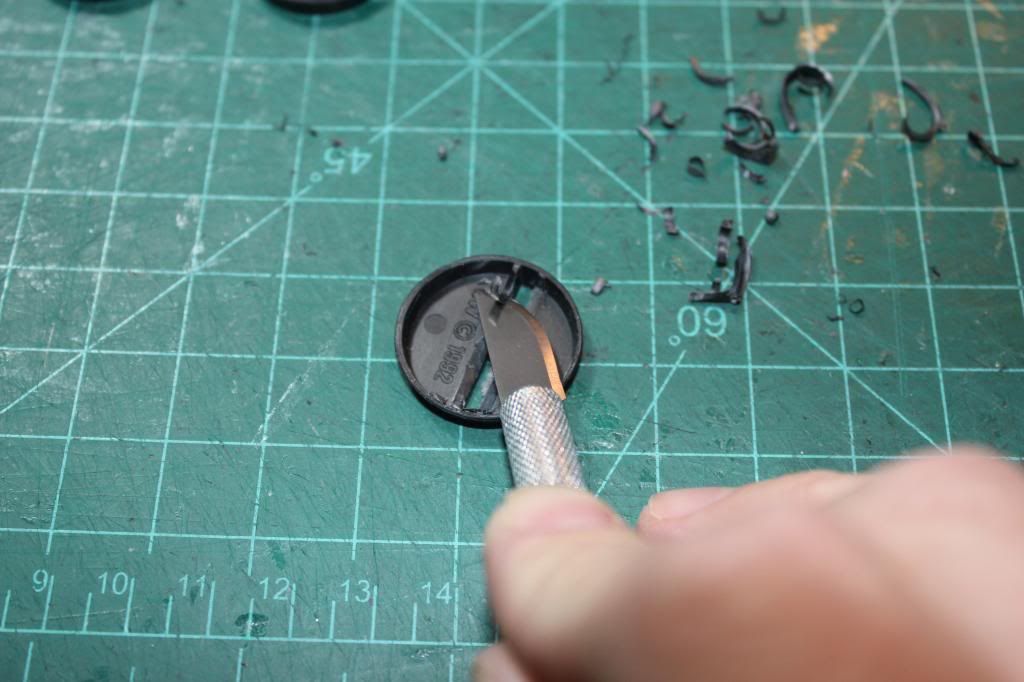
2. Draw a circle around a 3/4inch washer onto a piece of .040 sheet plastic. This should fit inside the top of a hollowed out slotta base.
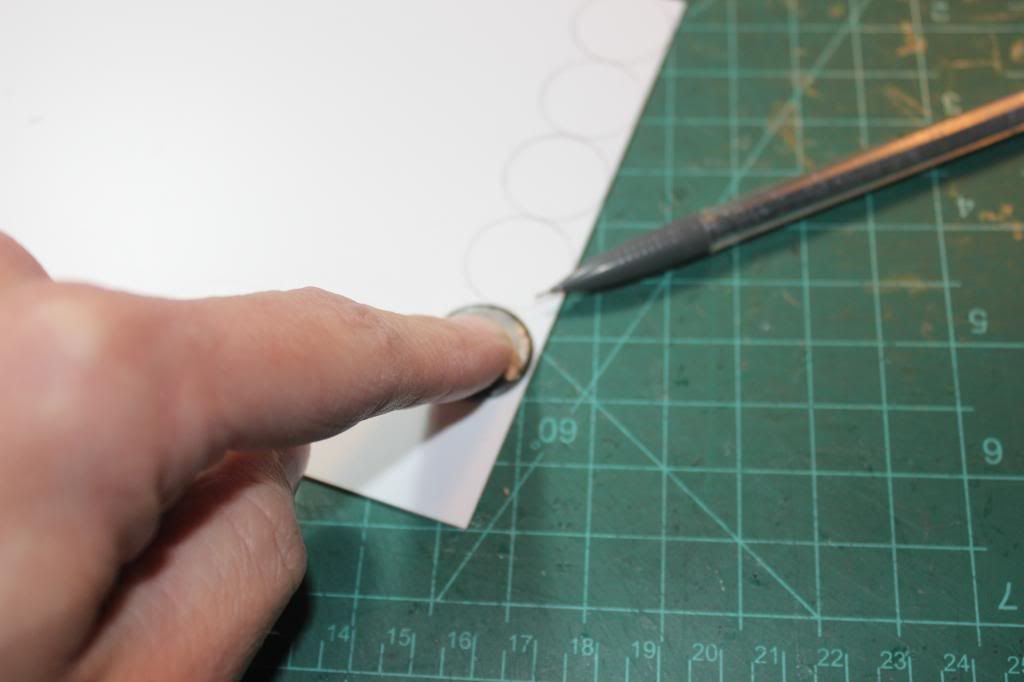
3. Glue the plastic circle into the hollowed out slotta base. Then glue a 7/8th inch washer on top of the plastic circle inside the base. Flip the base over and putty up the slot on top. Wait for the putty to dry. The washer provides weight to the base, and gives the base something to attach it to magnet sheet for transport.
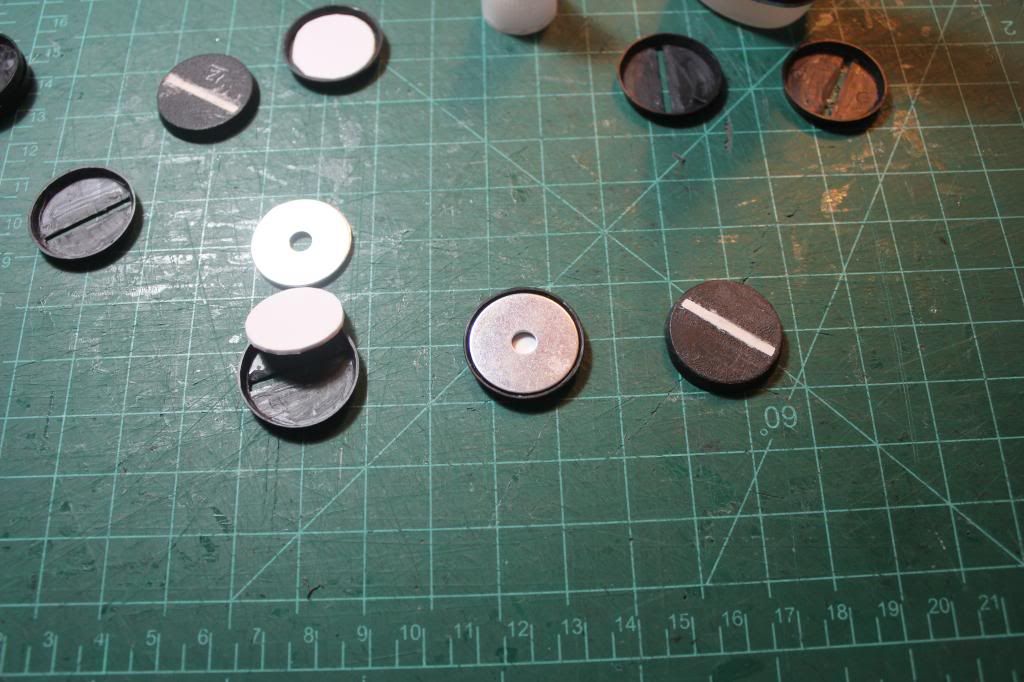
4. Mix up some green stuff. Then press it in place on top of the base. Flatten the top on wax paper or other non-stick surface. Trim the excess green stuff from around the edge of the top of the base. (You have to trim that edge a couple times throughout the process.)
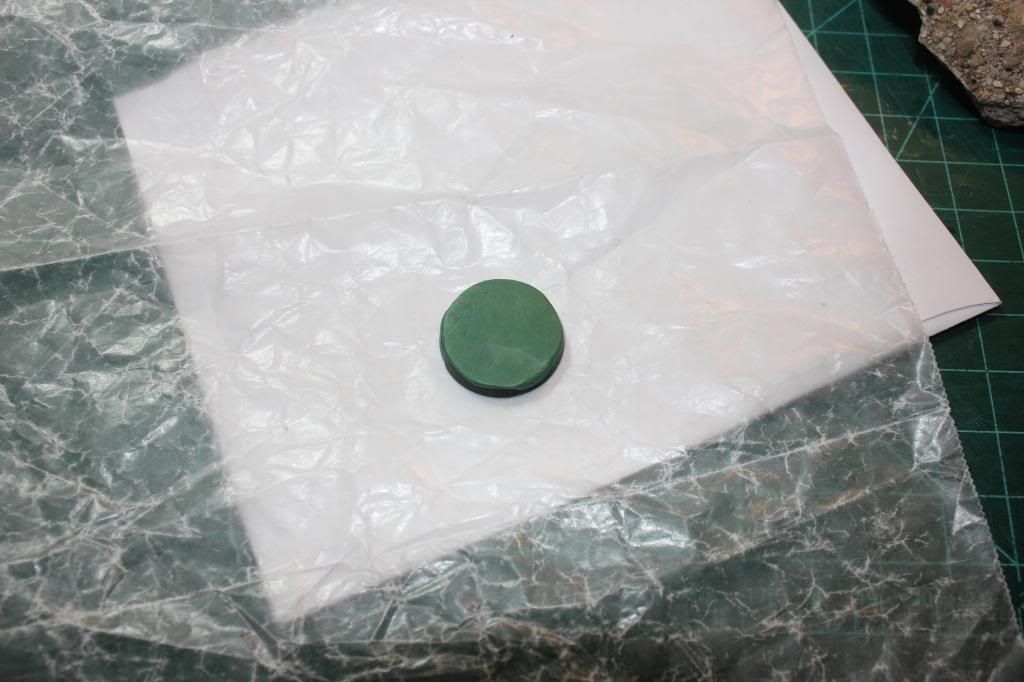
5. Press the smooth green stuff topping onto a chunk of concrete you find in your backyard (or garden if you live in the UK). Lift and repeat till you're happy with the surface detail. Do NOT leave the green stuff pressed into the chunk of concrete too long or it will stick to the chunk of concrete.
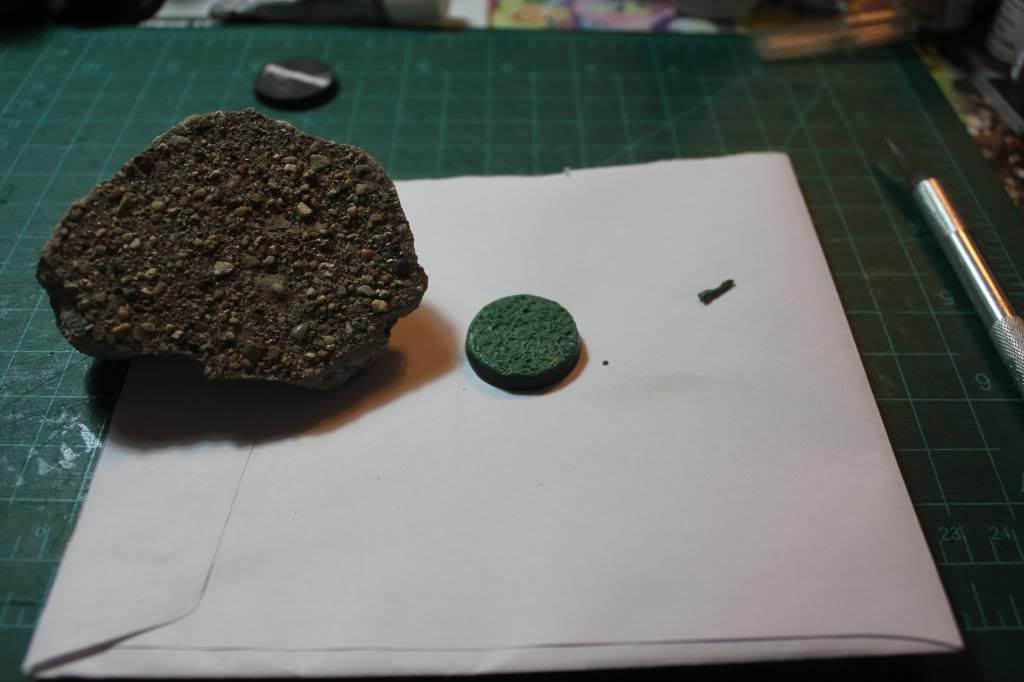
6. Cut a pattern into the surface with an X-acto knife. Be careful, blood and greens stuff don't mix well.
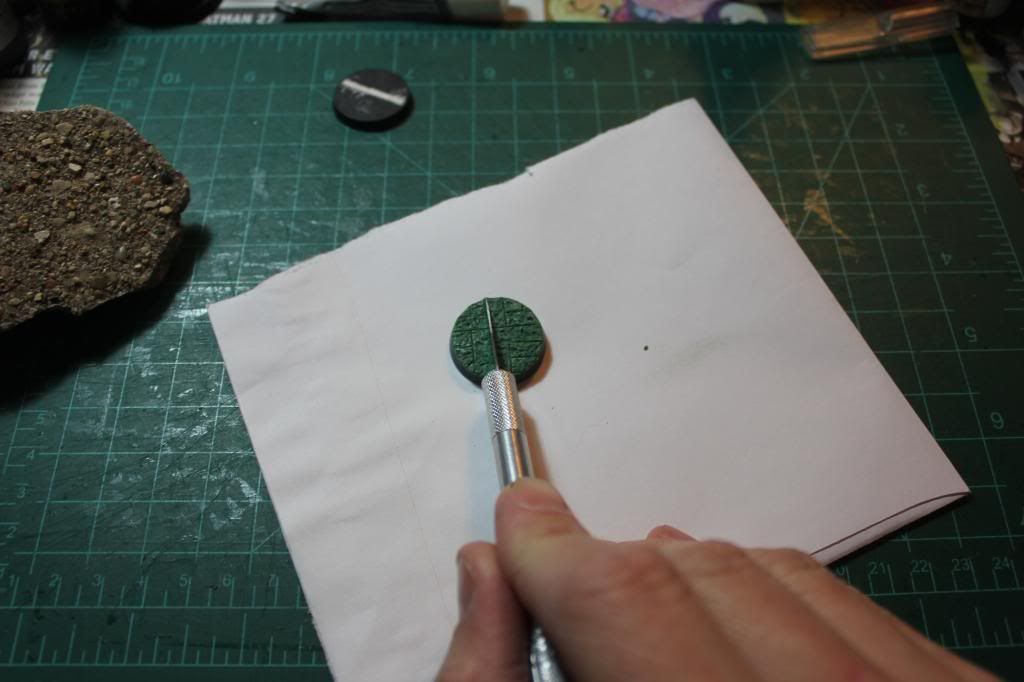
7. Wait a few minutes. Then follow the X-acto lines with a sculpting tool blade edge to widen the groove.
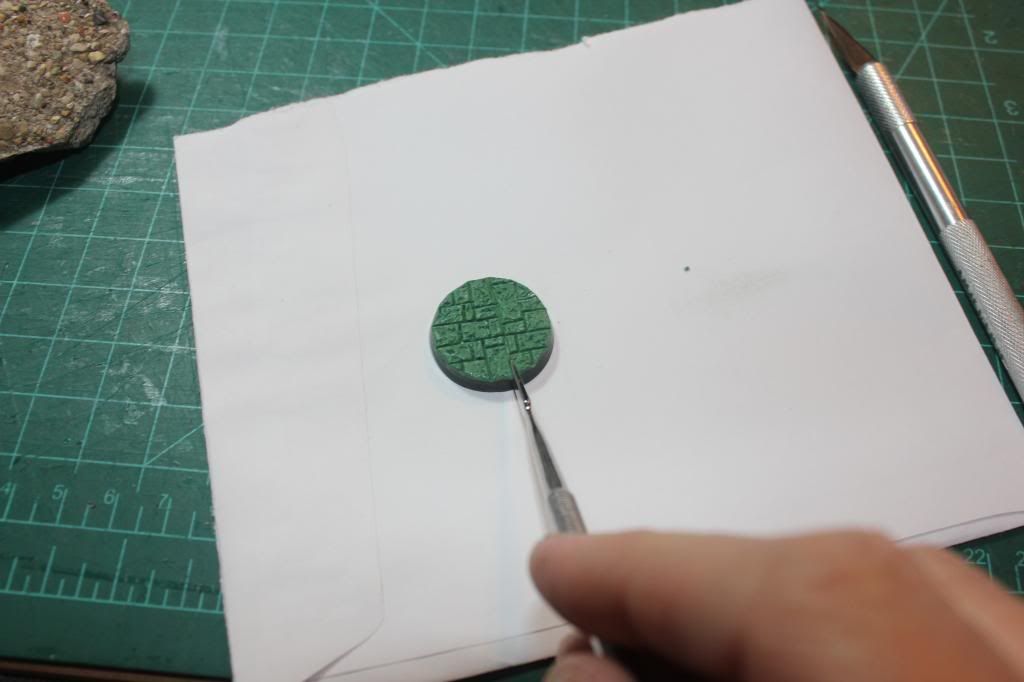
8. Do one final trim along the edge and that's all there is to it.
And here is an example of the bases painted.
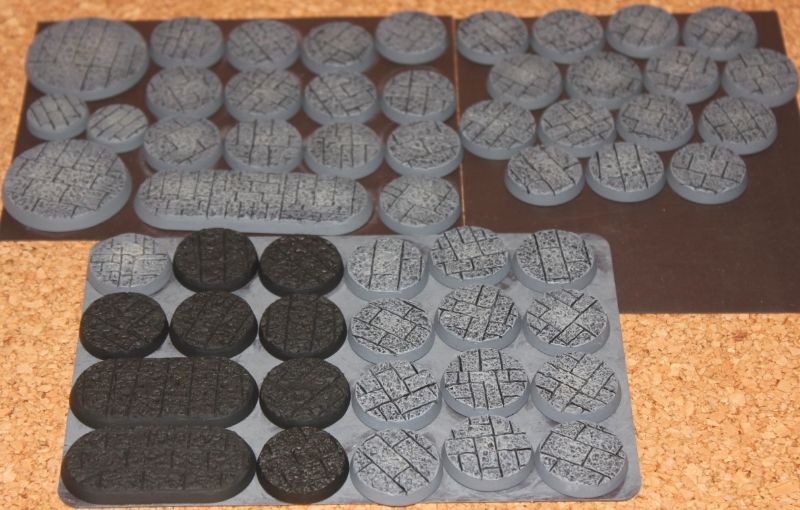
These bases are primed with black. (Isn't everything?) Starting with a heavy wet brush of Vallejo Model Color Basalt Grey. Followed by a medium drybrush of Reaper Dirty Grey. Then a light drybrush of Rainy Grey. Then a light stipple of Vallejo Model Color Stone Grey in the middle of the base. This creates a subtle spot light effect to the base. (In fact it's so subtle that if you skip this part you probably won't notice it.) Finally I go over the cracks with black. I tend to do the Basalt Grey, Dirty Grey and Rainy Grey passes with the bases on a magnet sheet.
This is the way I've been making bases for about two years now. I have listed the paint colors I'm currently using, as Reaper made some of the older colors harder to find. I don't know what I'm going to do when my Dirty Grey paint runs out. I recently made base toppers with Super Sculpey for my Stone Giants. They turned out fine, but the Sculpey bases do not have as much detail as the green stuff ones do. It's worth the lose of detail when I can cover a 50mm base with something other then Green Stuff. Hope this is useful.
1. Cut the slotta supports out of the slotta bases. Trim around the inside edges of the base so the washer fits inside the base in step three. (Don't forget to scrap off all the logos and other unnecessary printing inside the base.)

2. Draw a circle around a 3/4inch washer onto a piece of .040 sheet plastic. This should fit inside the top of a hollowed out slotta base.

3. Glue the plastic circle into the hollowed out slotta base. Then glue a 7/8th inch washer on top of the plastic circle inside the base. Flip the base over and putty up the slot on top. Wait for the putty to dry. The washer provides weight to the base, and gives the base something to attach it to magnet sheet for transport.

4. Mix up some green stuff. Then press it in place on top of the base. Flatten the top on wax paper or other non-stick surface. Trim the excess green stuff from around the edge of the top of the base. (You have to trim that edge a couple times throughout the process.)

5. Press the smooth green stuff topping onto a chunk of concrete you find in your backyard (or garden if you live in the UK). Lift and repeat till you're happy with the surface detail. Do NOT leave the green stuff pressed into the chunk of concrete too long or it will stick to the chunk of concrete.

6. Cut a pattern into the surface with an X-acto knife. Be careful, blood and greens stuff don't mix well.

7. Wait a few minutes. Then follow the X-acto lines with a sculpting tool blade edge to widen the groove.

8. Do one final trim along the edge and that's all there is to it.
And here is an example of the bases painted.

These bases are primed with black. (Isn't everything?) Starting with a heavy wet brush of Vallejo Model Color Basalt Grey. Followed by a medium drybrush of Reaper Dirty Grey. Then a light drybrush of Rainy Grey. Then a light stipple of Vallejo Model Color Stone Grey in the middle of the base. This creates a subtle spot light effect to the base. (In fact it's so subtle that if you skip this part you probably won't notice it.) Finally I go over the cracks with black. I tend to do the Basalt Grey, Dirty Grey and Rainy Grey passes with the bases on a magnet sheet.
This is the way I've been making bases for about two years now. I have listed the paint colors I'm currently using, as Reaper made some of the older colors harder to find. I don't know what I'm going to do when my Dirty Grey paint runs out. I recently made base toppers with Super Sculpey for my Stone Giants. They turned out fine, but the Sculpey bases do not have as much detail as the green stuff ones do. It's worth the lose of detail when I can cover a 50mm base with something other then Green Stuff. Hope this is useful.


 Cheers!
 Cheers!