|
|
Post by bobdrewbert on Sept 5, 2015 21:12:05 GMT
I know I've seen some around the site, but I would very much be interested in seeing how you make wooden palisades that can be reused to make multiple wooden forts, shanty towns, encampments etc.
|
|
sotf
Advice Guru

Posts: 1,084 
|
Post by sotf on Sept 5, 2015 23:03:31 GMT
They're actually rather easy to make, and you only really need a gate, straight, inside turn, and outside turn.
The easiest way is to go buy a few of the wooden dowels from the craft store, cut them to roughly the same length as you wan the palisade height to be, then take a pencil sharpener to one end (clip the actual tip off after sharpening), then take some foam, cut it in lengths you want the wall pieces to be as a wedge. use either cardboard or whatever you want as a base, attach the wedges along one side then the row of wood with hot glue (Adding some washers between the two is something that is helpful in keeping it weighted properly, but not always necessary depending upon the width of the base). You can improve the look by weaving thread through it, a pass one way and then the reverse in a couple rows evenly spaced vertically.
If you want a platform, take wooden coffee stirrers and make a line at the right distance from the top, wide side flat against the row of dowels so that it's slightly more than the right height to have minis looking over it, then use that lip to add one or two rows of popsicle sticks to provide a place for minis to stand on, brace that with toothpicks that link the edge of the platform back to link points between the dowels.
Then, if you want it to look better for use, take some filler and cover the gaps between the foam and the base, and on the other side of the pallisades, nun some across the base roughly and then take a large, hard brush and muck it up to look like trampled muck for the interior or whatever ground you want there.
Then paint it up, flock it, and seal it up.
The gate is a bit harder to assemble, but it's basically the same type of thing.
Towers and such are more difficult though
|
|
|
|
Post by SpielMeisterKev! on Sept 6, 2015 0:33:04 GMT
Howdy, I made some test pieces, a gate and two walls with fighting platforms, out of drinking straws wrapped in textured tp with foam tips.   Kev! |
|
|
|
Post by curufin on Sept 6, 2015 15:23:24 GMT
A made some years ago. It's nothing more than balsa wood scraps and matchsticks glues together and then hot glued to a pieces of cardstock. I clipped the corners of the bases and steep angles so I could butt them up next to each other at any angle, eliminating the need for corner pieces. You just need straight pieces of varying lengths. 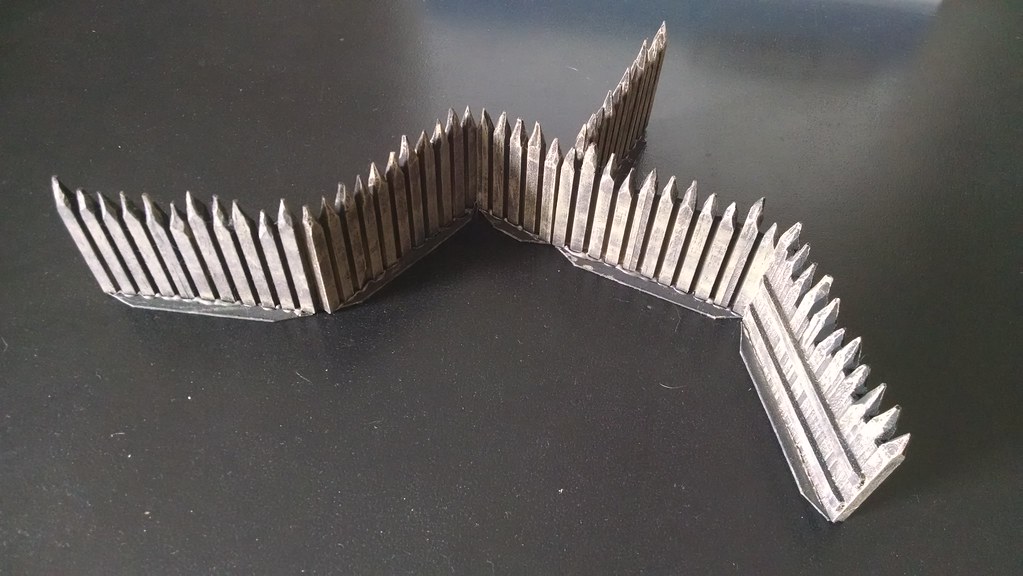 If I were to do it again, I would just buy packs of wooden pencils from the dollar store (the kind that come 24 in a pack). Cut them in half (or even thirds depending on the overall height you are looking for. Sharpen one end of each piece. Hot glue them together using a craft sticks or coffee stirrer as the horizontal piece. Glue down to a piece of cardstock and paint. |
|
sotf
Advice Guru
Posts: 1,084
|
Post by sotf on Sept 7, 2015 2:20:16 GMT
Actually, the dowels end up cheaper there, meaning the yard long ones or similar because you can get about the same length in total and you don't have the sharp snap issues where they don't splinter apart like pencils tend to...plus they're round rather than hex in shape |
|
|
|
Post by bobdrewbert on Sept 10, 2015 9:48:52 GMT
Thanks for the advice. I'd still love to see Scotty do it though, something about the way he explains these projects just makes me understand better.
|
|
|
|
Post by adamsouza on Sept 10, 2015 15:07:48 GMT
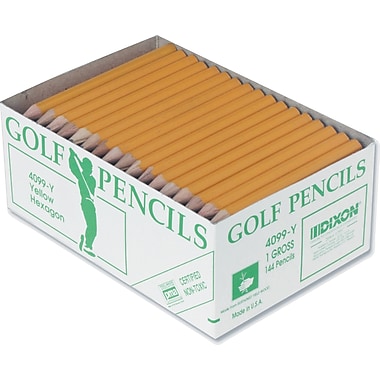 Golf Pencils are already cut to size and you can get 144 for about $5-$9 |
|
|
|
Post by michka on Sept 10, 2015 23:44:19 GMT
Good idea adamsouza, even if it is gross.  |
|
|
|
Post by bluecloud2k2 on Sept 11, 2015 18:12:15 GMT
I find I must Smite thee for that pun...
|
|
|
|
Post by michka on Sept 12, 2015 14:19:43 GMT
Ouch.
|
|
|
|
Post by bluecloud2k2 on Sept 12, 2015 19:49:03 GMT
Puns I don't mind. Bad puns I do.
|
|
sotf
Advice Guru
Posts: 1,084
|
Post by sotf on Sept 13, 2015 1:16:55 GMT
Golf Pencils are already cut to size and you can get 144 for about $5-$9 Only major issue is that they splinter badly if they crack, and you'll need to trim the tips in most situations to prevent cuts and scrapes on the players |
|
|
|
Post by bluecloud2k2 on Sept 13, 2015 4:16:47 GMT
Sandpaper and a few coats of Elmer's glue before priming should help with that.
|
|
sotf
Advice Guru
Posts: 1,084
|
Post by sotf on Sept 13, 2015 4:44:38 GMT
Sandpaper and a few coats of Elmer's glue before priming should help with that. Not as much, the issue comes with palisades being higher and thin, they break quite easily with any of them, but pencils, especially cheap ones, tend to break into jagged edges due to the core for the graphite. The stratches come from the tip where you need to work it down to something that isn't a hazard for those working near it. |
|
|
|
Post by bluecloud2k2 on Sept 13, 2015 9:54:01 GMT
Yeah wooden dowels and an electric pencil sharpener (or bamboo chopsticks from a Chinese carryout) would probably be the best way to go.
|
|
|
|
Post by curufin on Sept 13, 2015 20:06:34 GMT
Okay, I think I found the fastest, easiest, best authentic looking, no paint needed, palisades. I just grabbed some sticks from the yard, cut them to size, use a pencil sharpener on one end, hot glued together on a card stock base, and added some smaller pieces for the horizontal beams. 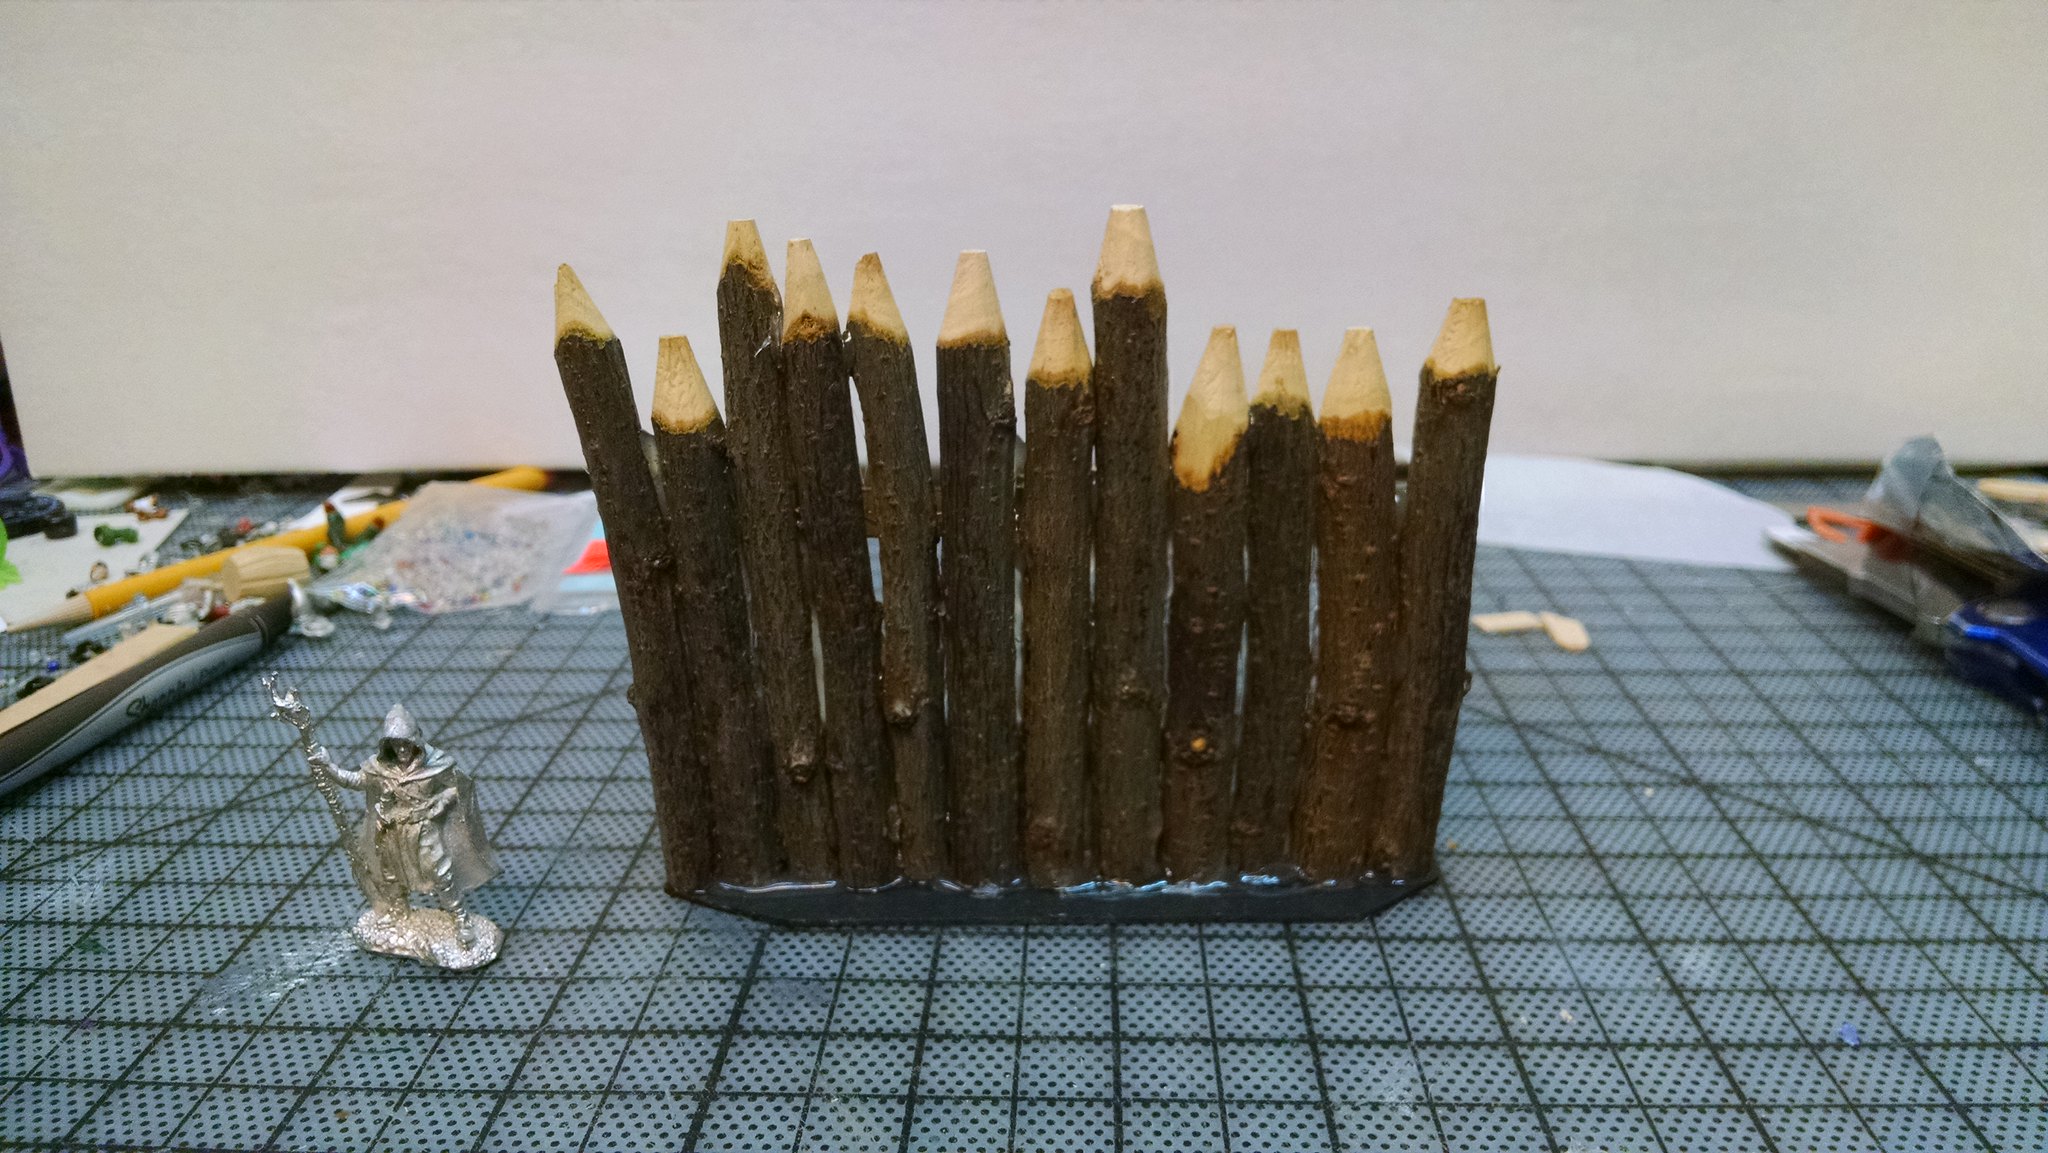 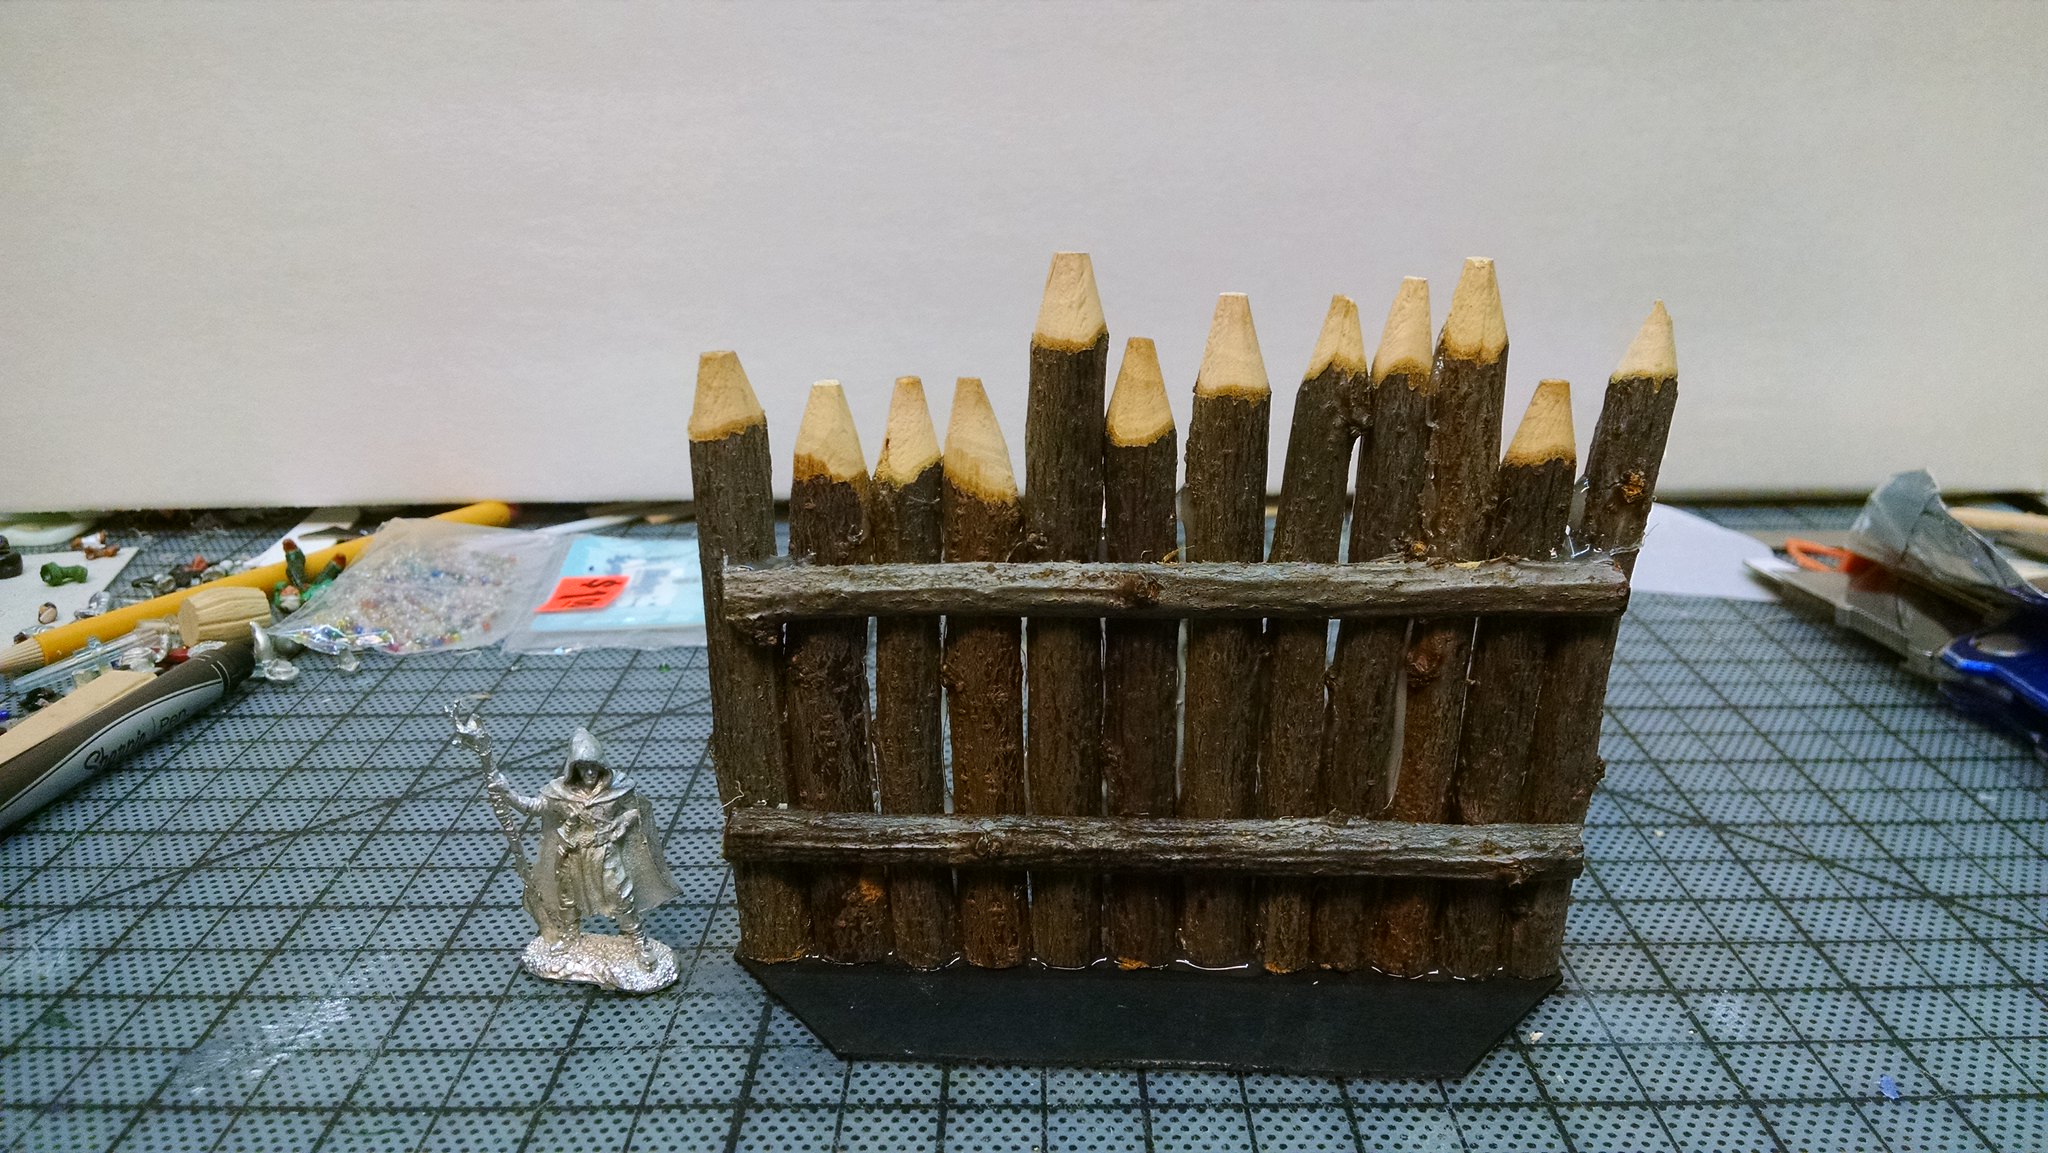 You could also add a few craft sticks to them to create a platform for minis.... 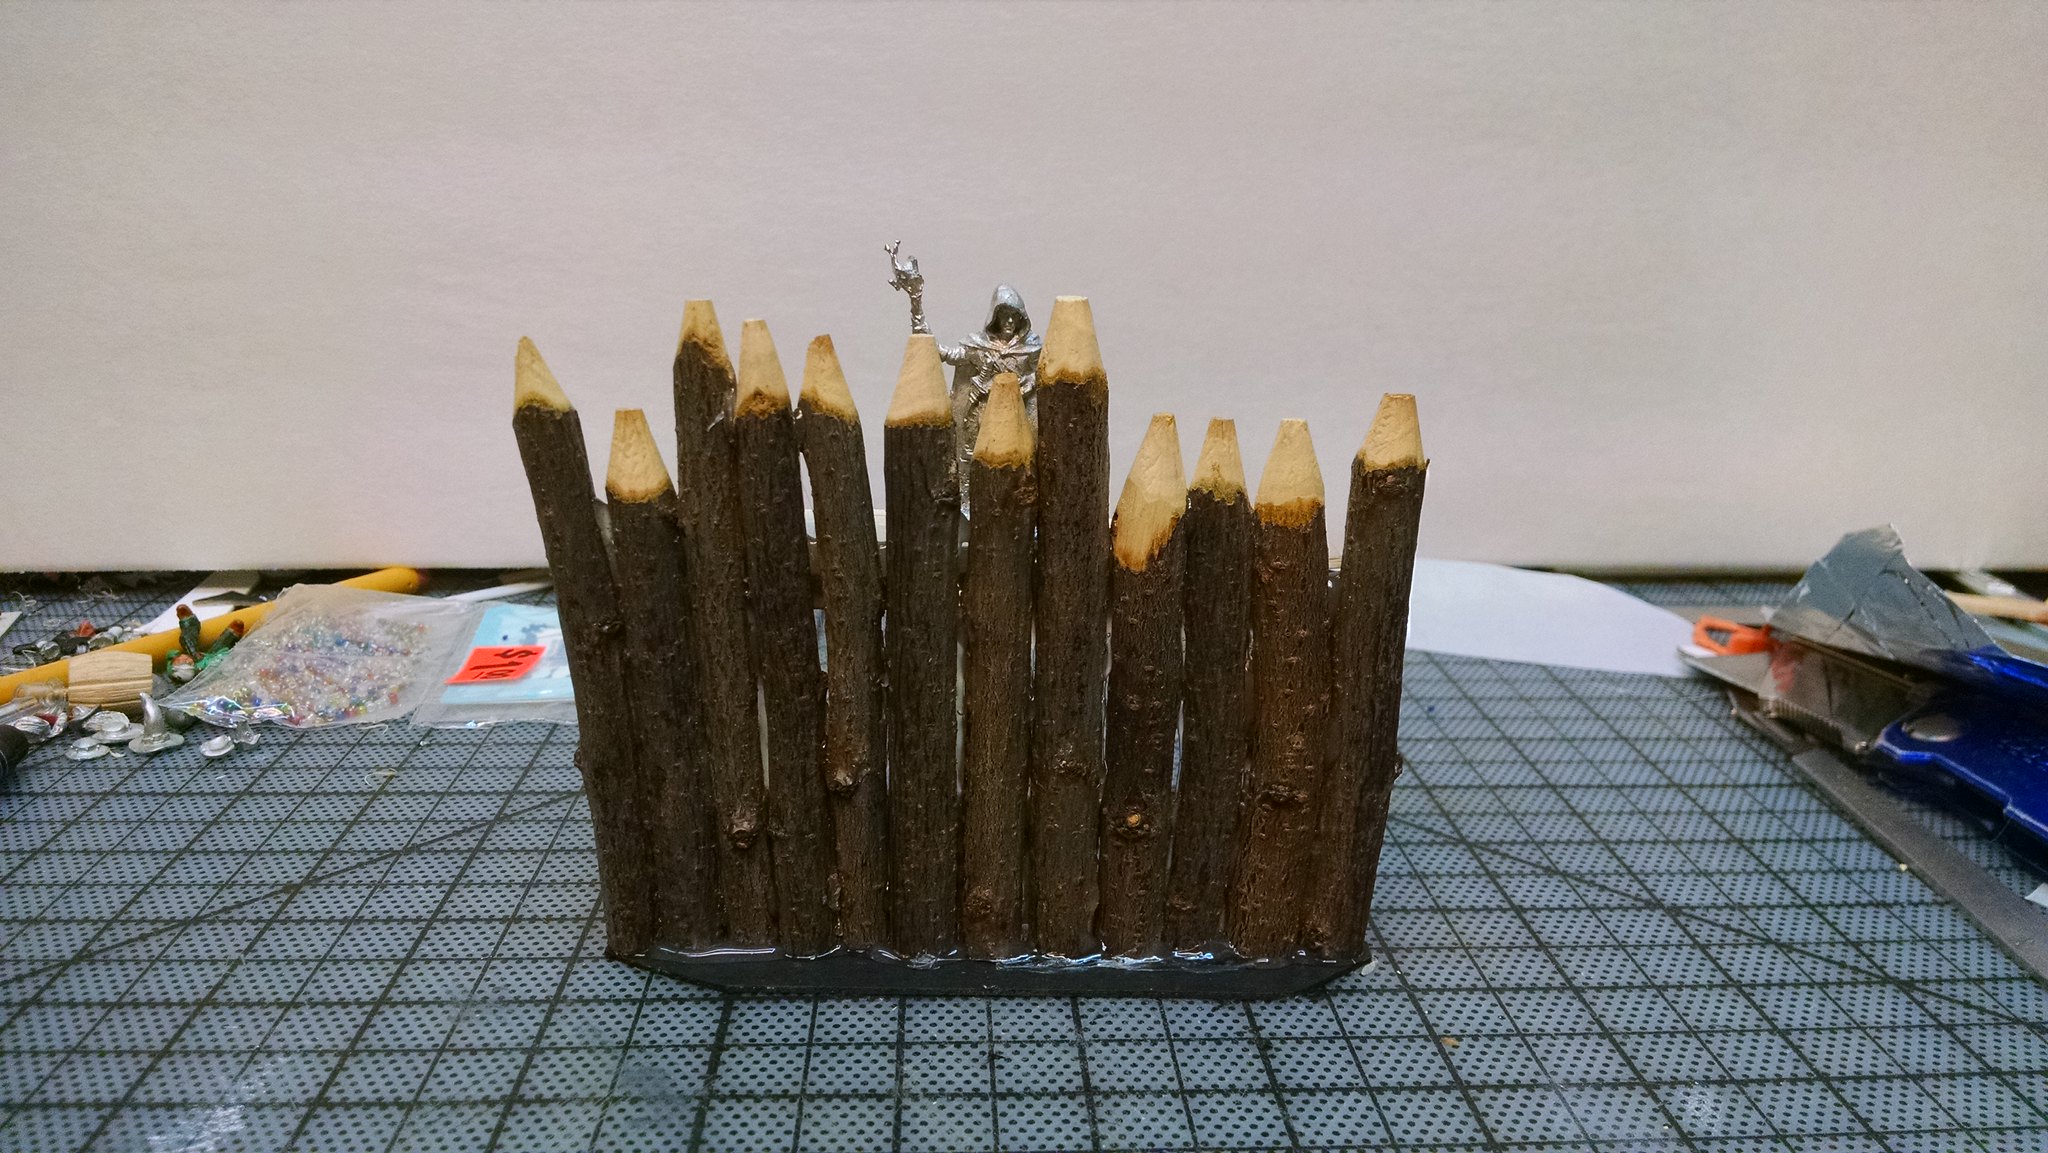 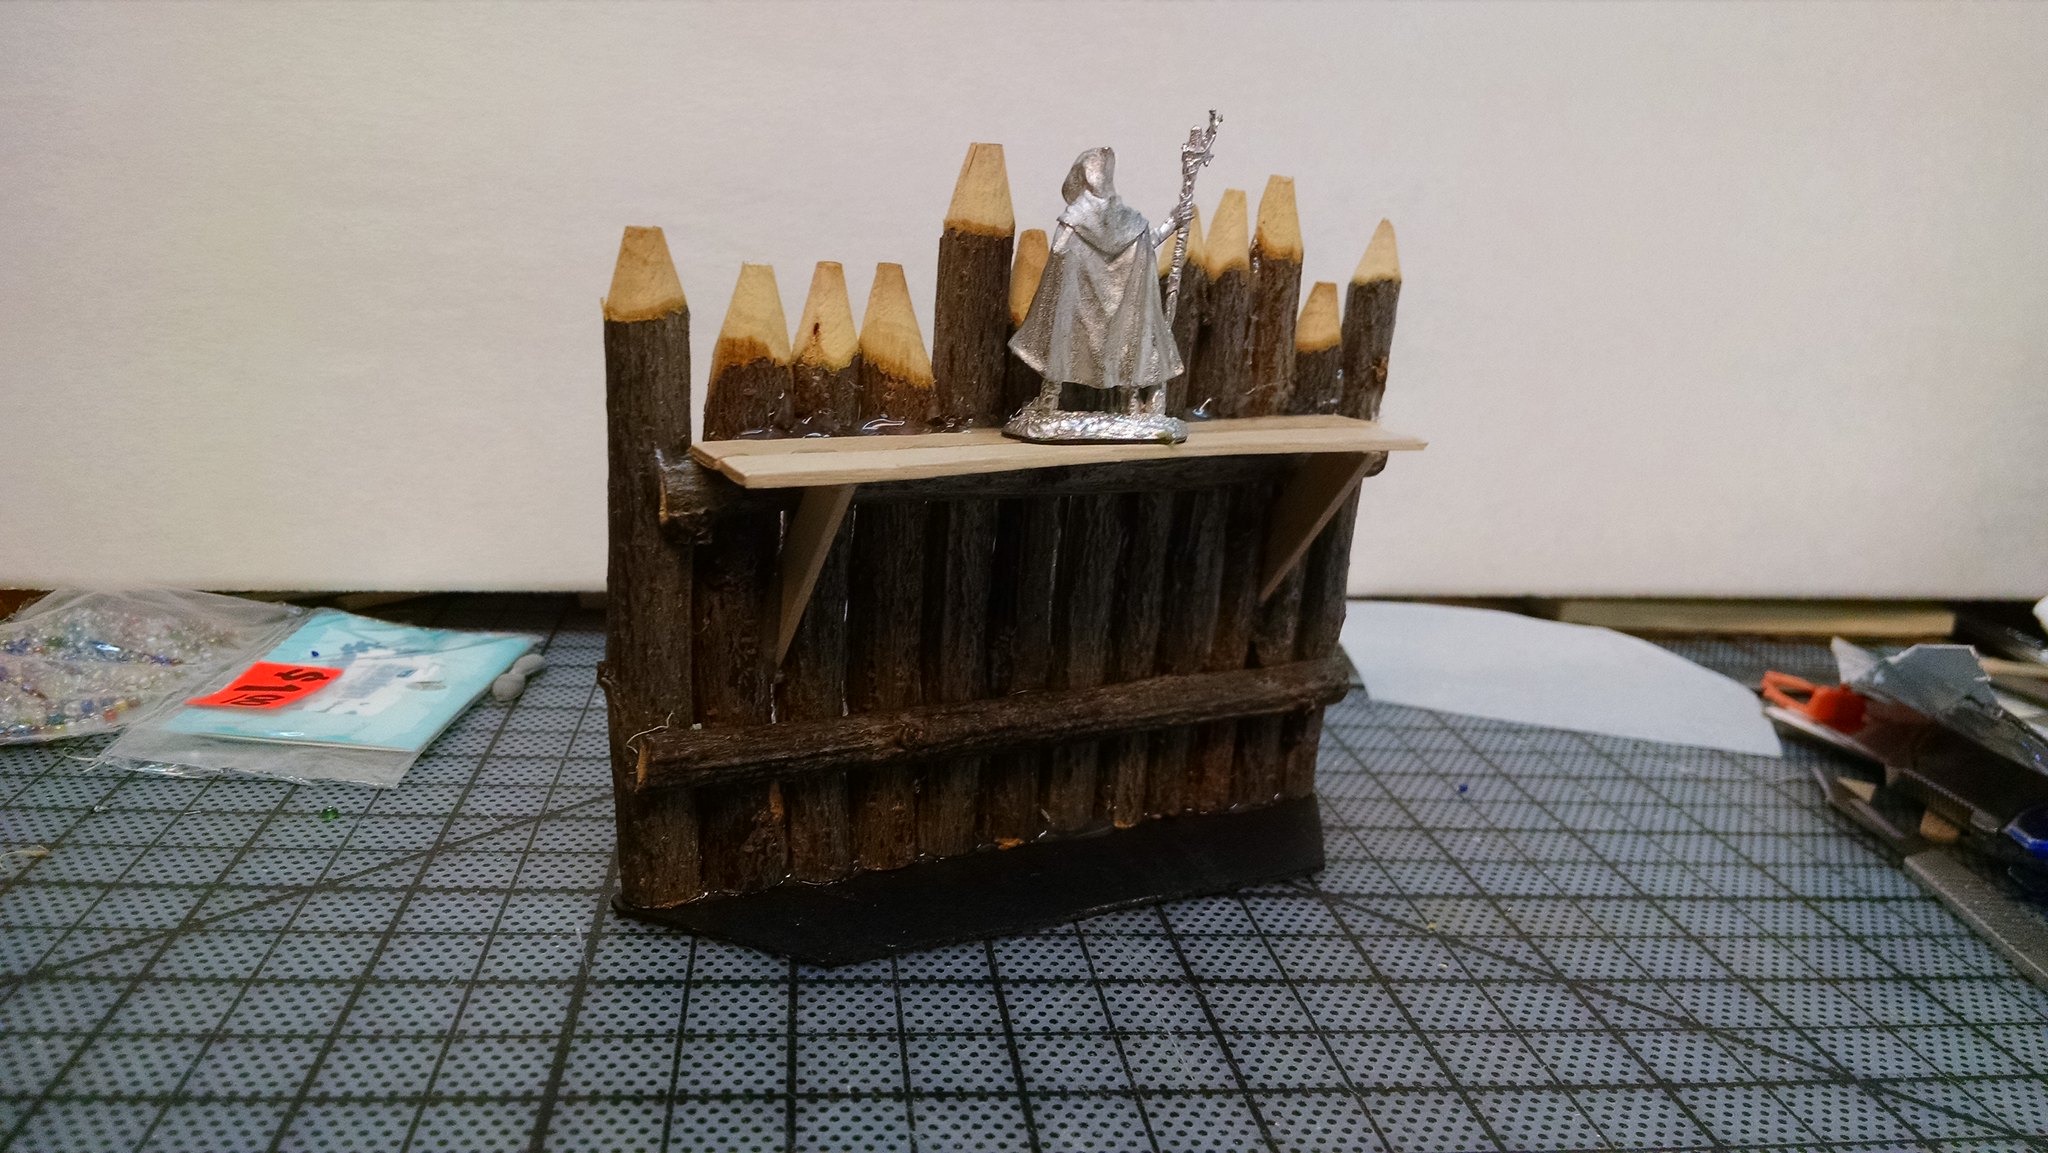 This was stupid fast to do. It took me longer to take/upload pics and create this post than it took to build the thing. |
|
sotf
Advice Guru
Posts: 1,084
|
Post by sotf on Sept 13, 2015 23:32:14 GMT
Okay, I think I found the fastest, easiest, best authentic looking, no paint needed, palisades. I just grabbed some sticks from the yard, cut them to size, use a pencil sharpener on one end, hot glued together on a card stock base, and added some smaller pieces for the horizontal beams. This was stupid fast to do. It took me longer to take/upload pics and create this post than it took to build the thing. When using natural wood pieces, you pretty much need to disinfect them before using or they can grow mold and spread other things. The easy way is to take aluminum foil, lay the pile on it and seal it up. Then put it in the oven set at a 300 degrees F, for about a half hour. Then immediately pull it out and let it cool down before sticking it in the freezer over night. That kills pretty much everything and anything that could be troublesome. And even then seal it with at least glue and/or matte varnish spray |
|
|
|
Post by SpielMeisterKev! on Sept 14, 2015 15:41:27 GMT
Howdy, It took me longer to take/upload pics and create this post than it took to build the thing. Showoff! I tried the same but was unsatisfied with the result. Kev! |
|
|
|
Post by adamsouza on Sept 15, 2015 4:41:17 GMT
Making some with golf pencils, and I have to say it's stupidly easy, and I've managed not to impale or splinter myself  ~ I'll post pictures when they are finished. Box of 144 makes 14 3 inch sections |
|
sotf
Advice Guru
Posts: 1,084
|
Post by sotf on Sept 15, 2015 5:29:59 GMT
Making some with golf pencils, and I have to say it's stupidly easy, and I've managed not to impale or splinter myself ~ I'll post pictures when they are finished. Box of 144 makes 14 3 inch sections Wasn't actually talking about during construction, that tends to be when you're expecting things to go wrong and are careful, it's when they're in play that you have the problems with it... |
|


 ~
~

 Cheers!
 Cheers!