|
|
Post by curufin on Feb 19, 2016 4:12:28 GMT
I just buy junk brushes like these Craft Smart brushes. link There is usually one or two wide brushes like this in the pack: 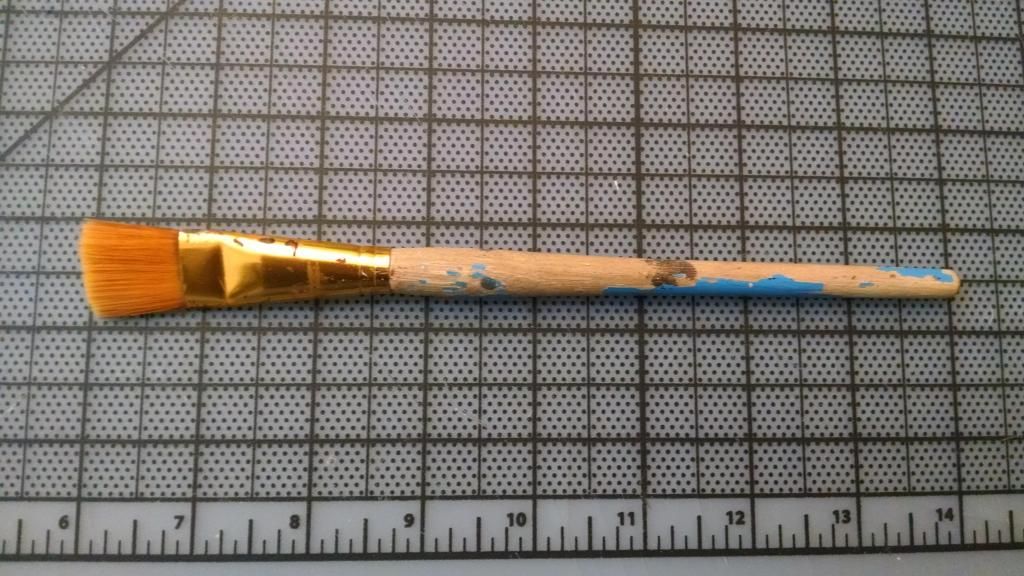 I use these for most of my dry bushing. |
|
|
|
Post by Sleepy Hollow Mike on Feb 19, 2016 5:59:15 GMT
Nice privies! I do the same never wash only dry brush at different levels of "push down"
|
|
|
|
Post by jennifer on Feb 19, 2016 7:05:38 GMT
Well this is the best I could do with what I had. The object below is 3D printed.  I bought the Americana Burnt Umber and Americana Cocoa today. I couldn't find the terra cotta so I bought burnt orange. I mixed the burnt orange with a little of the burnt umber to try and get a terra cotta tone but don't think I did very well. I also need to work on the Blender sculpting. I need deeper grains, less grains, and not so ripply like bark. What do you think? Btw, the piece above is just a test/practice piece (with deliberate gaps) for ease of practicing your wonderful painting technique. If you look close you'll notice all 8 of the planks are the same 3D object copied and pasted. AFter I get this all down, there will be 12 unique planks -- I'll actually spend time to sculpt them all after I verify I can pull this off. Ultimately the tile would be configured like WYloch's tavern tile but as 2x2. |
|
|
|
Post by Wyloch on Feb 19, 2016 15:51:27 GMT
I used the Apple Barrel terra cotta.
Also I think those look great as is. Wouldn't change a thing. I think when you have them set close together, and in the checkerboard arrangement, the effect will be very different that what you see in that picture.
|
|
|
|
Privy
Feb 20, 2016 0:18:37 GMT
Post by jennifer on Feb 20, 2016 0:18:37 GMT
I used the Apple Barrel terra cotta. Also I think those look great as is. Wouldn't change a thing. I think when you have them set close together, and in the checkerboard arrangement, the effect will be very different that what you see in that picture. Hey Wyloch, where did you get the Apple Barrel terra cotta? |
|
sotf
Advice Guru

Posts: 1,084 
|
Privy
Feb 20, 2016 1:37:26 GMT
Post by sotf on Feb 20, 2016 1:37:26 GMT
As far as painting goes: I only dry-brush. I have never done a 'wash' in my life. I dry brush all of my wood pieces the same way. 1. Base coat with black spray paint. 2. Dry brush a dark brown. I use Burnt Umber. 3. Dry brush a lighter brown. I use Terra Cotta. (It is actually a sort of orangey brown) 4. Dry brush an even lighter brown. I use Cocoa. The paints are just the cheap acrylic paints that come in the small 2oz bottles from Michaels, or another craft store. I hope this helps. Let me know if there is anything else I need to add or clarify. You could probably end up with a better wood look with a wood stain followed by a dark ink or wash. Then seal it like most people seal just about anything for the tabletop. |
|
|
|
Privy
Feb 20, 2016 2:08:59 GMT
Post by jennifer on Feb 20, 2016 2:08:59 GMT
sotf, I couldn't use his technique on my simulated wood 3D printed tile!
|
|
sotf
Advice Guru
Posts: 1,084
|
Privy
Feb 21, 2016 1:28:30 GMT
Post by sotf on Feb 21, 2016 1:28:30 GMT
sotf, I couldn't use his technique on my simulated wood 3D printed tile! Works quite well if you prime white or a lighter grey first with other plastics. It takes a little bit of time because it takes a bit to dry, but it looks very good. While I didn't use it on a printed tile, I did use it along with a few friends I game with when we were helping a friend with the plastic palisades she'd bought for use. Though, they had a little bit more work due to the bark vs exposed wood of the sculpts. It is also extremely simple to do with a more uniform surface (Meaning that it the entire thing is supposed to be the same type of thing such as wood planking rather than some of the mixed coloration for stonework at times or different types of wood that can't be done separately). End results are actually better looking for detailed patterns because of the natural shifts it creates. |
|


 Cheers!
 Cheers!