And the river's runnin' through my veins...
Dec 23, 2014 22:57:10 GMT
DMScotty, daveb, and 12 more like this
Post by justicechest on Dec 23, 2014 22:57:10 GMT
I made my first attempt at a river with resin and thought folks may be interested in the process. This is actually for my mother in law's Christmas village but the parallels are clear, and this came out of my terrain crafting forays so i thought I'd share. I think it turned out pretty good though there was some rush on the finishing and some things I would do differently next time. Having done once it may be a while before I try again, but I'll eventually want a modular set for myself. A Christmas village doesn't demand the same versatility.
This project kicked my butt a couple times and was more cost intensive than hot glue by a fair margin. The resin was about $15, and I used 90% of it (235ml pack). The gel for the rippling was about the same but I have maybe 1/2-2/3 of that left. $5 for a pack of the snow mats they sell for villages (I only used a tiny fraction of it but didn't see smaller packs), and a healthy supply of glue, bit of paint and then the sand and gravel I had on hand and got for free anyway. All told this was probly about 50 bucks, but would have been more if I didn't have a lot of supplies already on hand, like the plastic signboard.
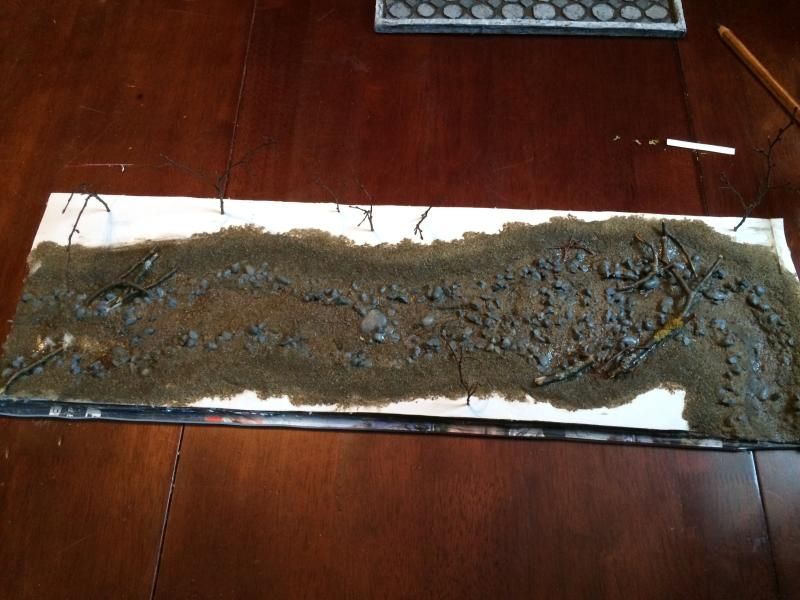
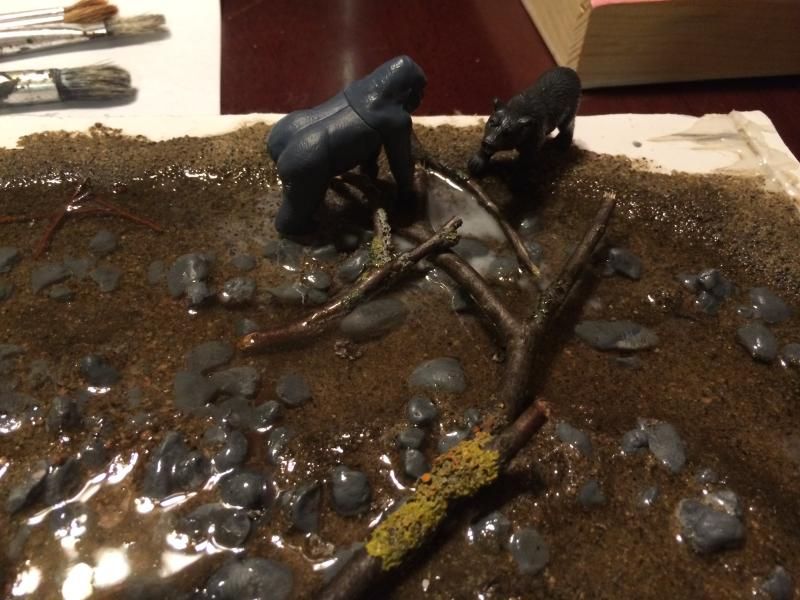
I only started photographing when I had finished the original riverbed and glued it to the signboard, but up to that point it was mostly a series of mistakes anyway. I started by carving a channel 1 layer deep in 2 ply cardboard, but it was too shallow, and besides the cardboard warped badly, necessitating the signboard to flatten it out. This first pic is the bed, on the board, and with foam board added to the sides to increase depth. The bed is aquarium gravel painted grey then laid with a couple grades of sand. The trees were only there for my reference at this stage and I scaled them back a lot in the final installation.
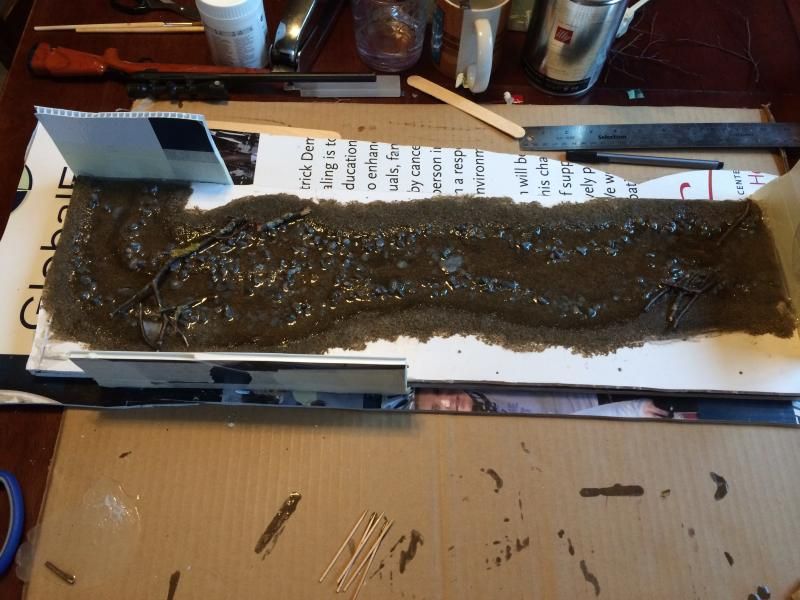
After the pour. I dammed the ends to prevent seepage. I've seen a quick 15 minute epoxy recommended for a seal on the dam but I had neither that nor the time to get some, so I used hot glue and peeled it out after. Suboptimal but I had a time crunch heh. It turned out alright in spite of it, and I didn't destroy the kitchen table which was a plus!
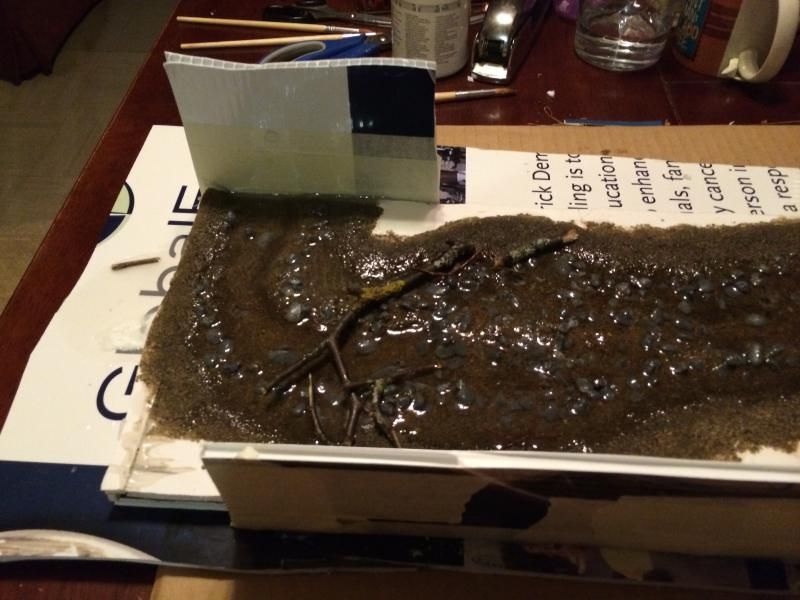
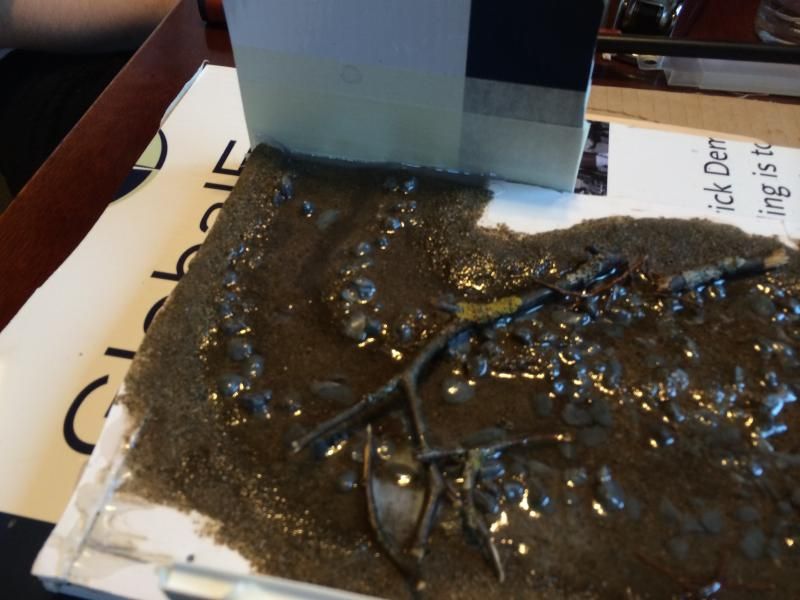
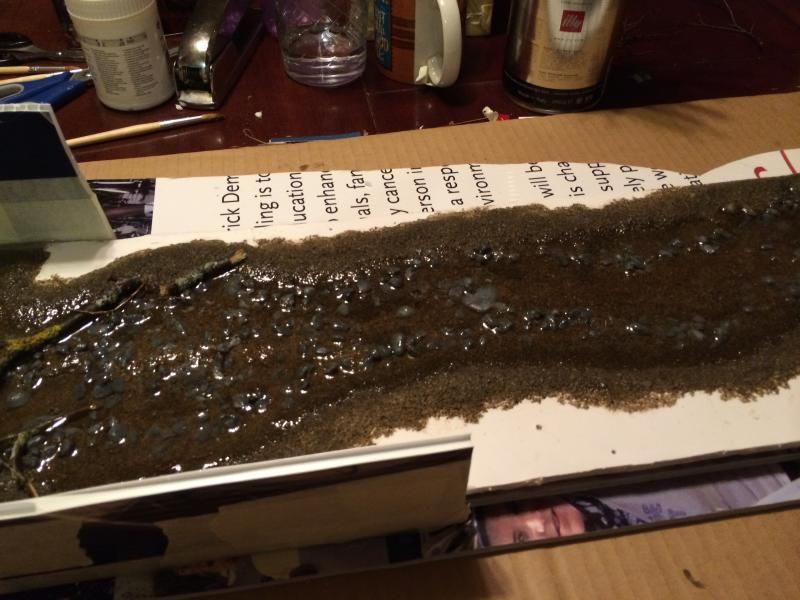
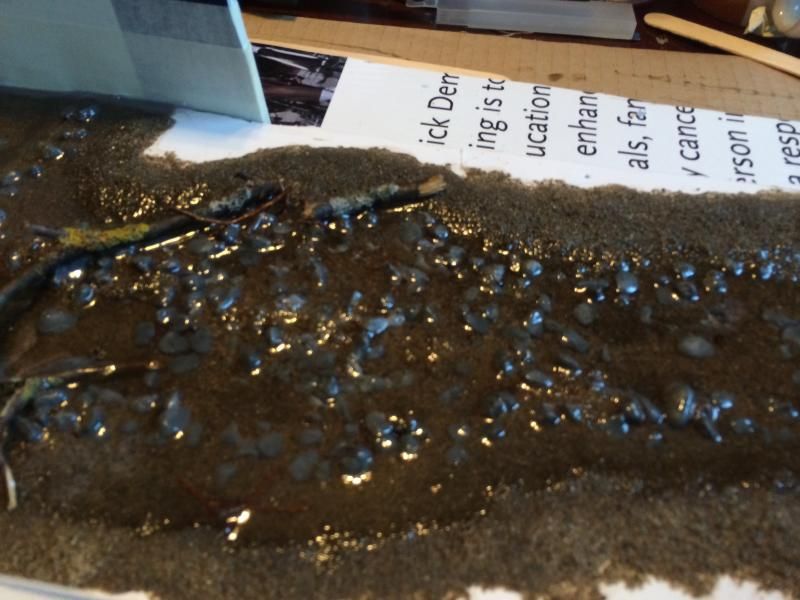
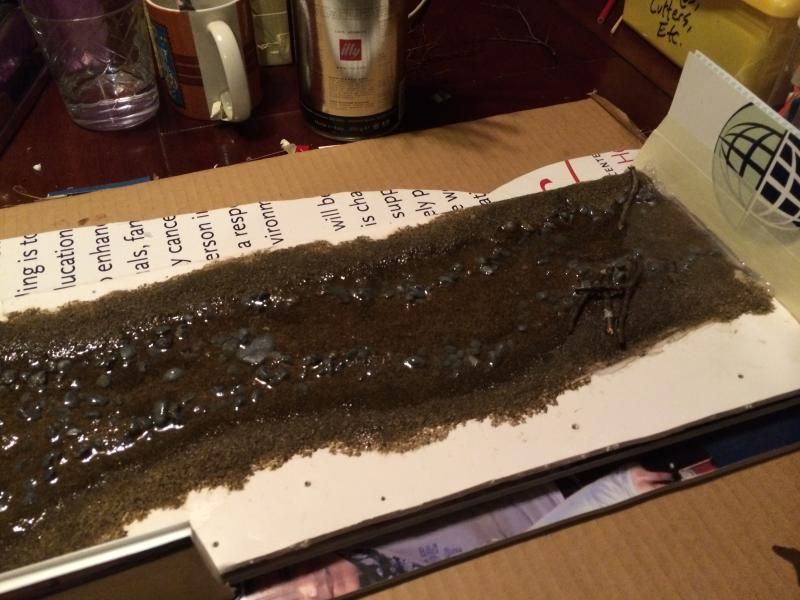
With the dams removed I noticed that the edge had crept up the dams. I was able to trim it and conceal it but I'll try to fix that if I make a modular set for myself because this would look really bad at the seams.
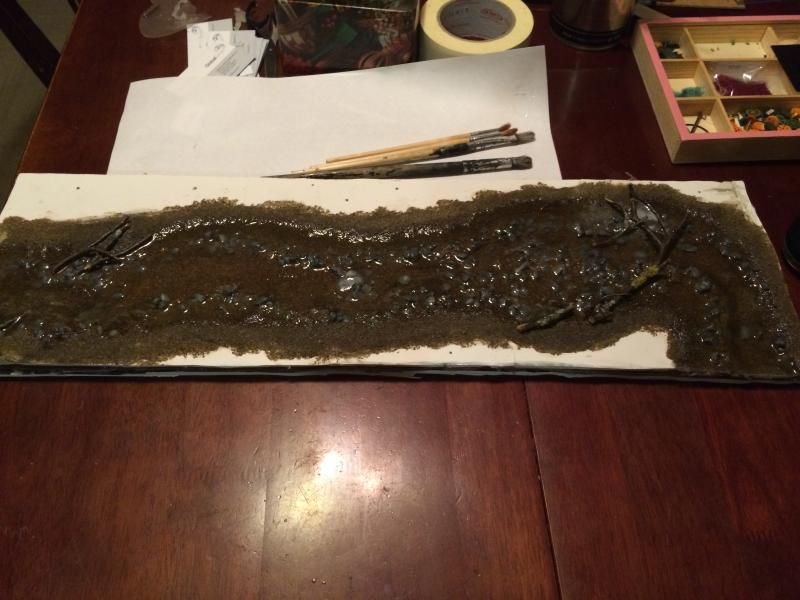
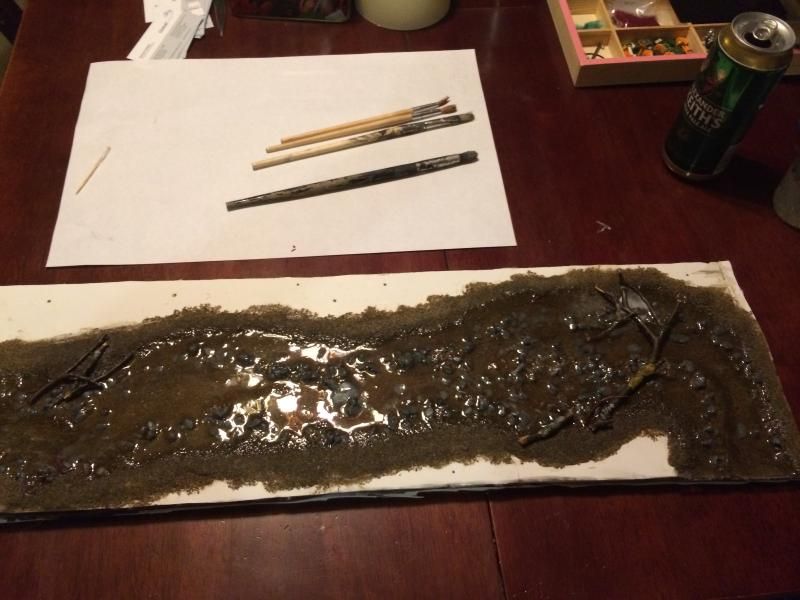
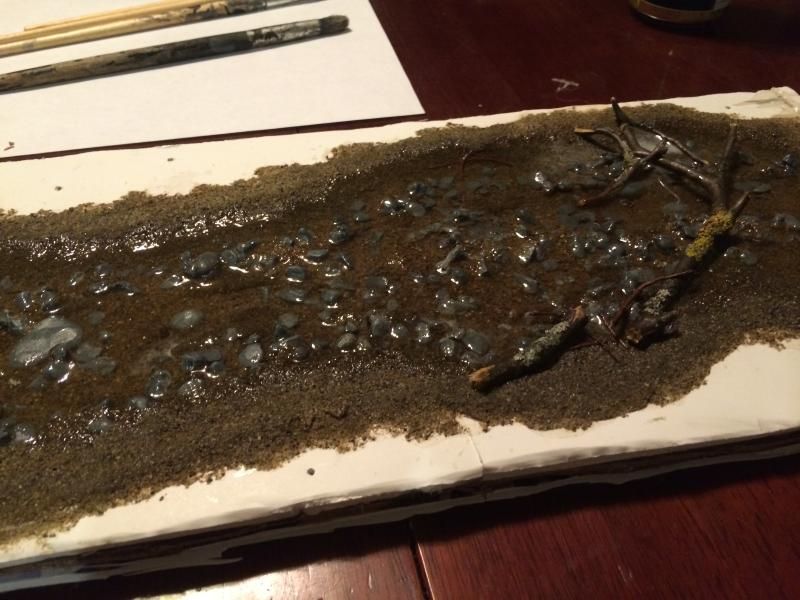
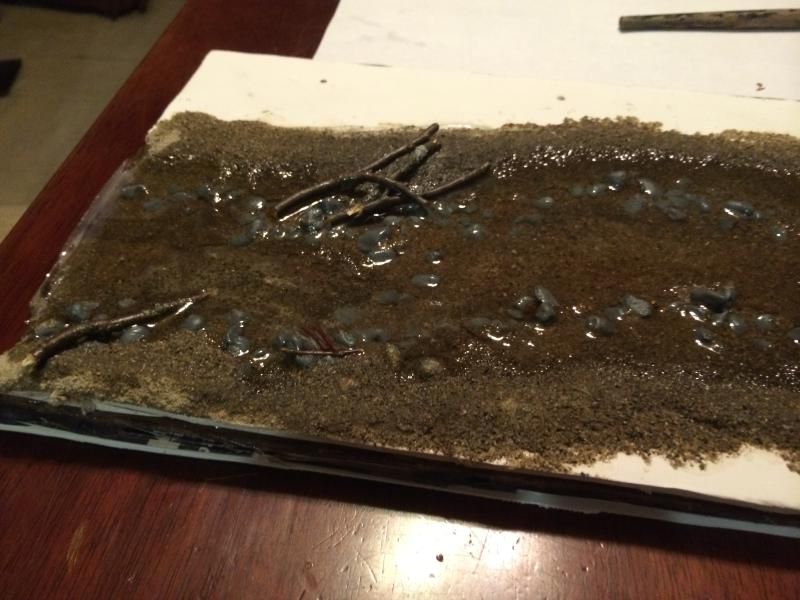
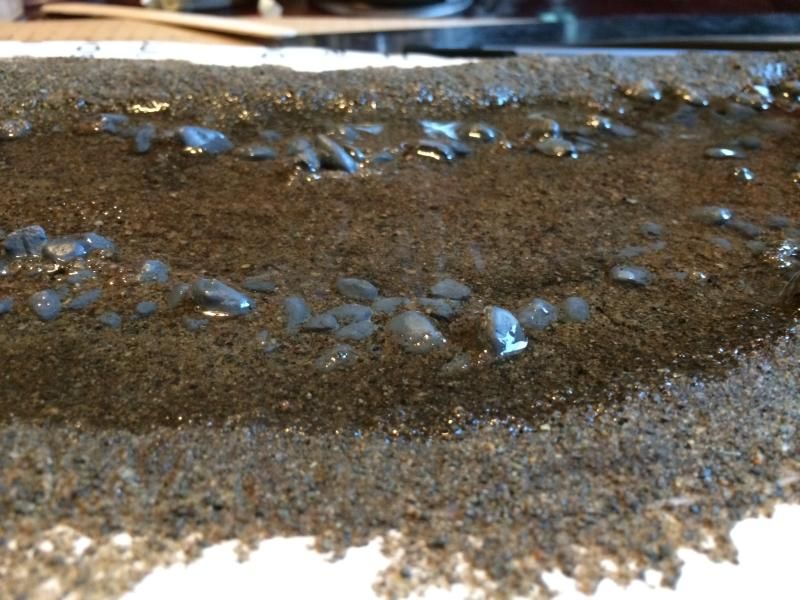
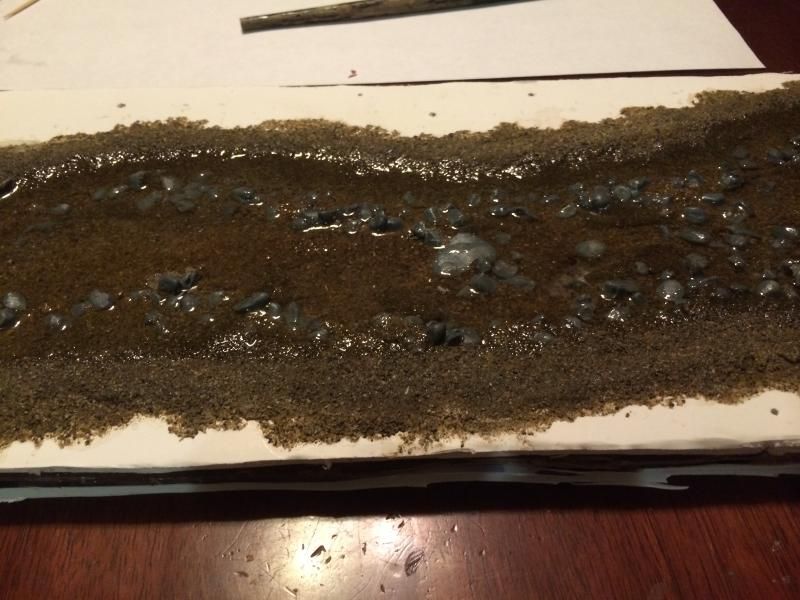
This was looking good but lacked dynamism. I used heavy gloss gel to add in the ripples
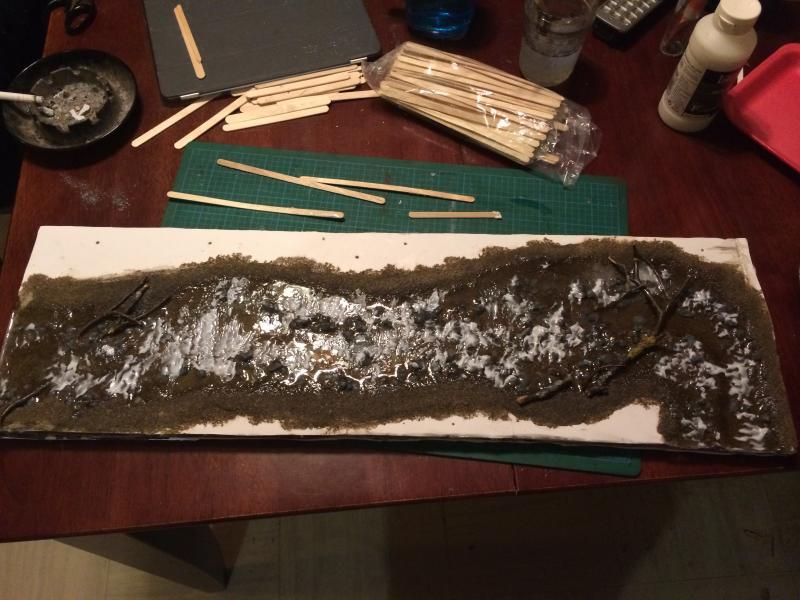
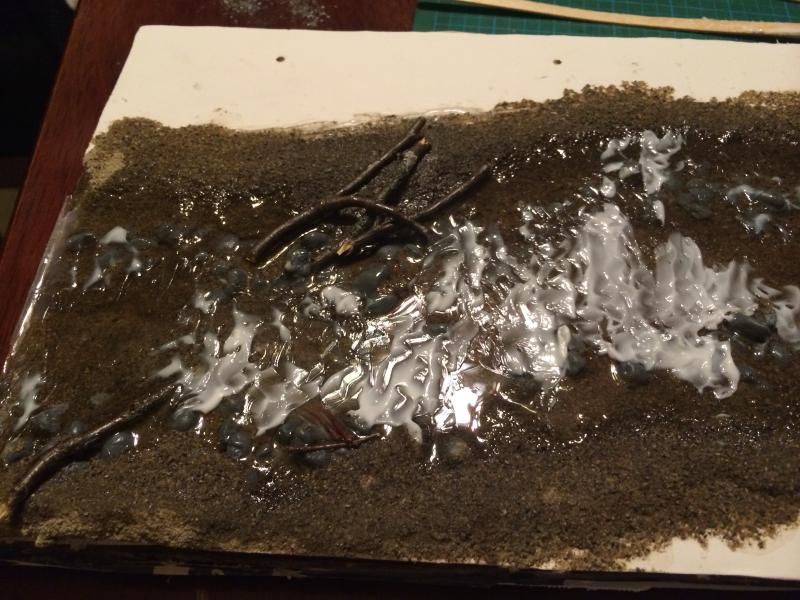
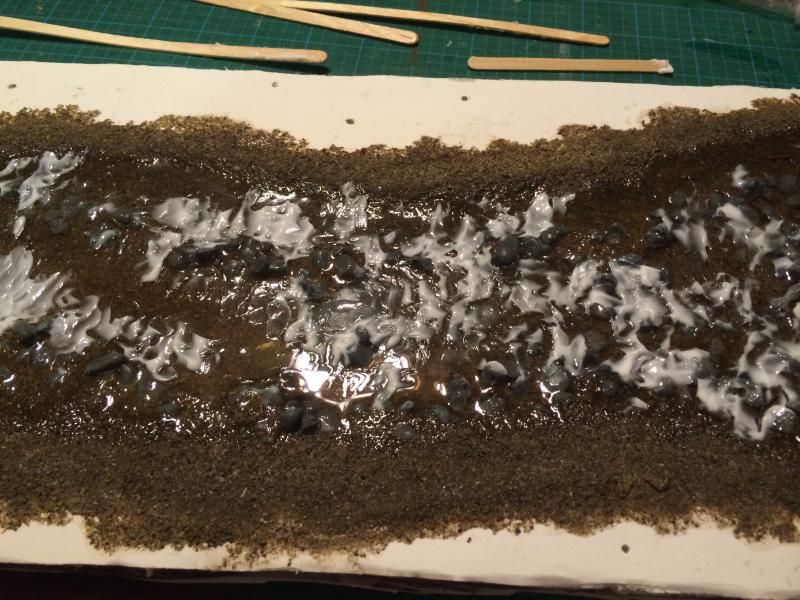
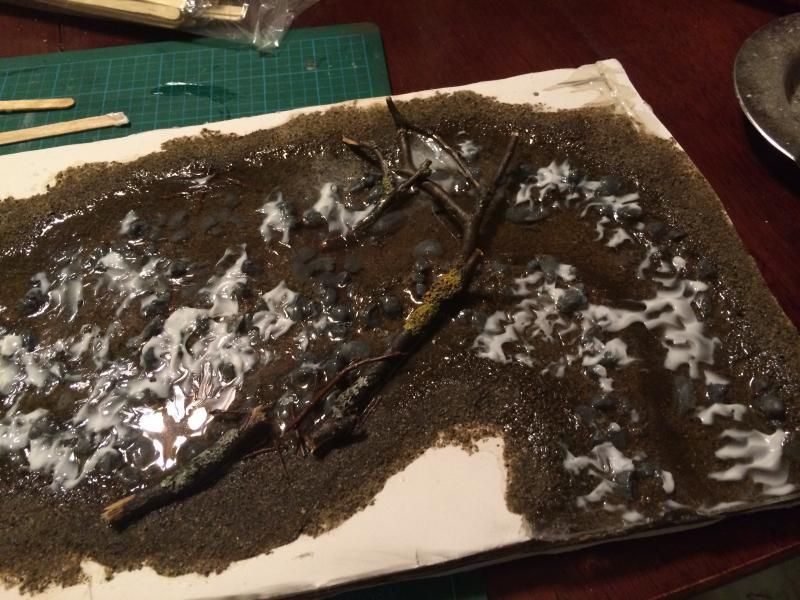
I ended up doing 2 applications of gel because the effect was very subtle and i needed to bring it out a bit more. After it dries it's seamless from the resin, though that took some practice to hid the stroke marks.
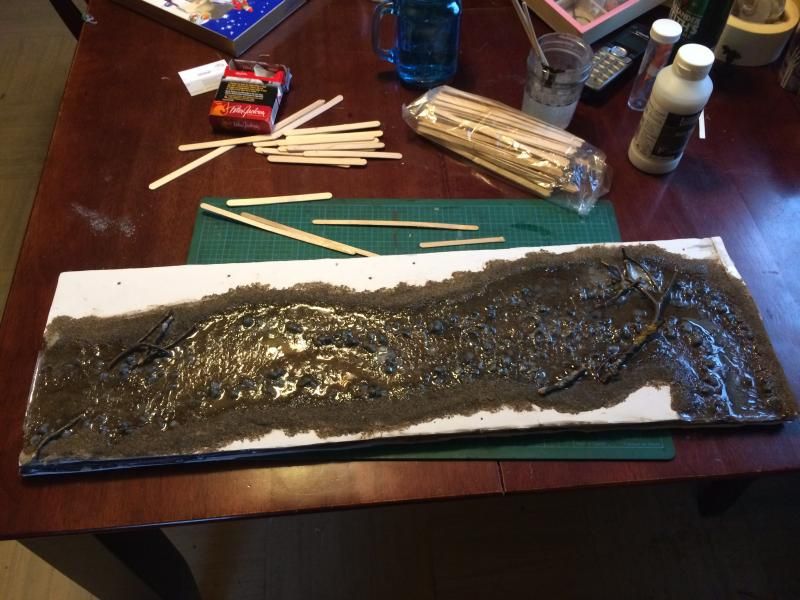
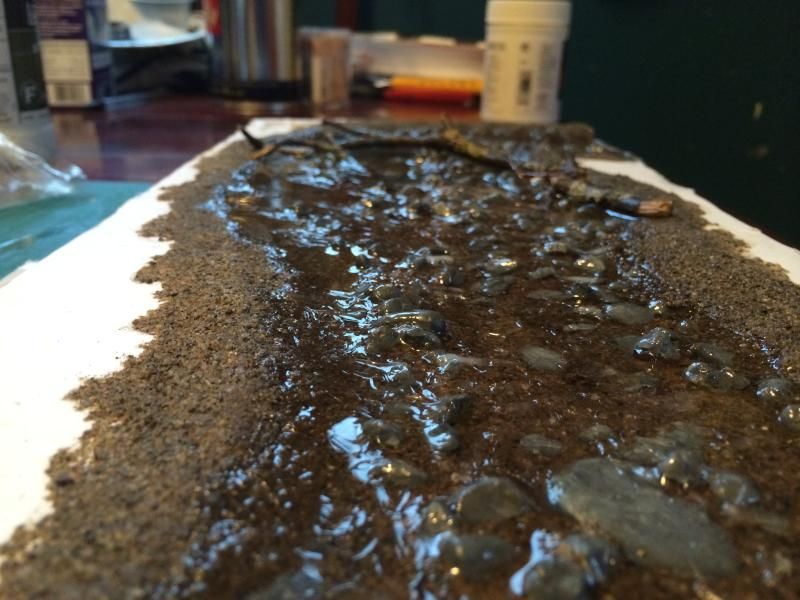
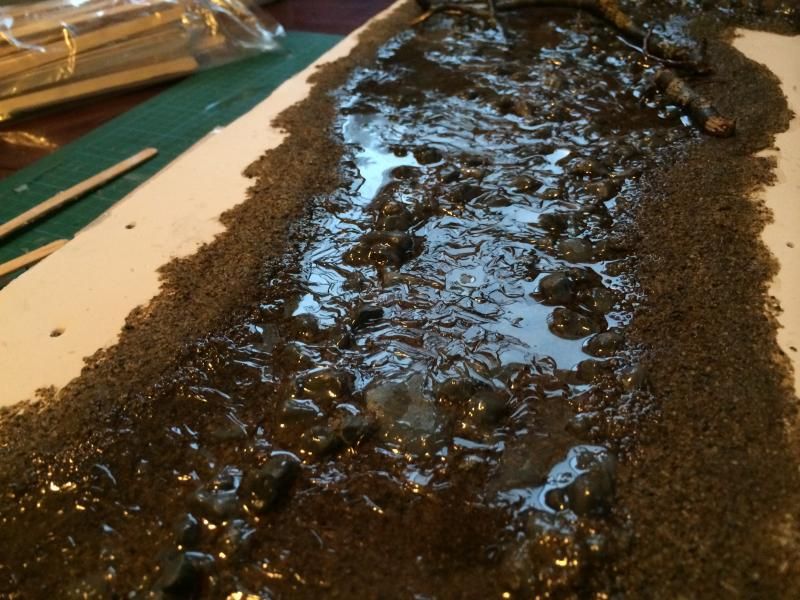
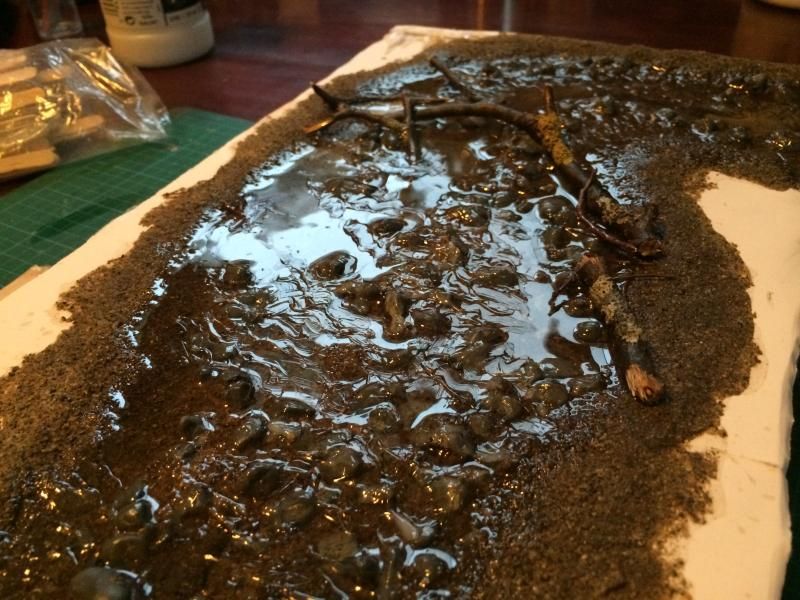
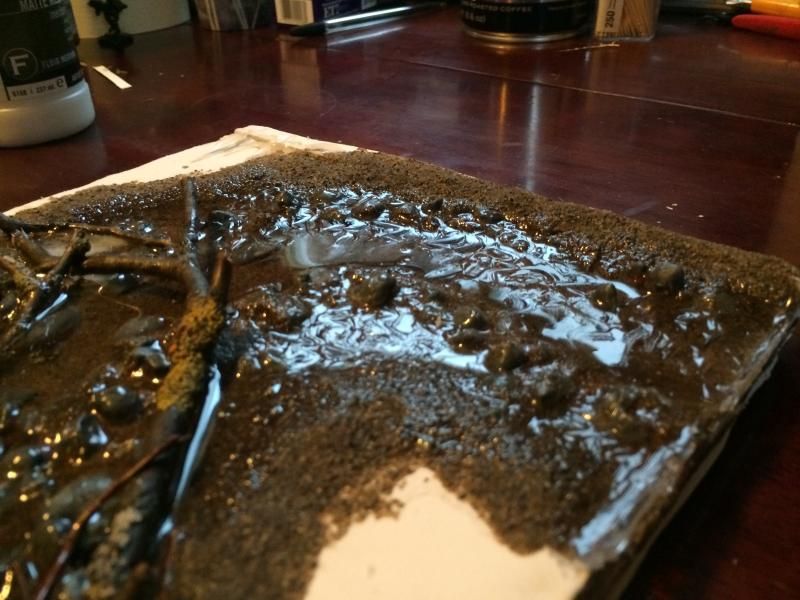
With that done I just had to add the snow and trees. Hmm, just... Heh. Just means staying up till 3-4am Saturday night finishing it haha. I cut the wool/snow to fit, glued it down, pierced the trees through it and used Krazy Glue to keep them in place, and then drybrushed the transition, exposed rocks and logs to give it that frosty look.
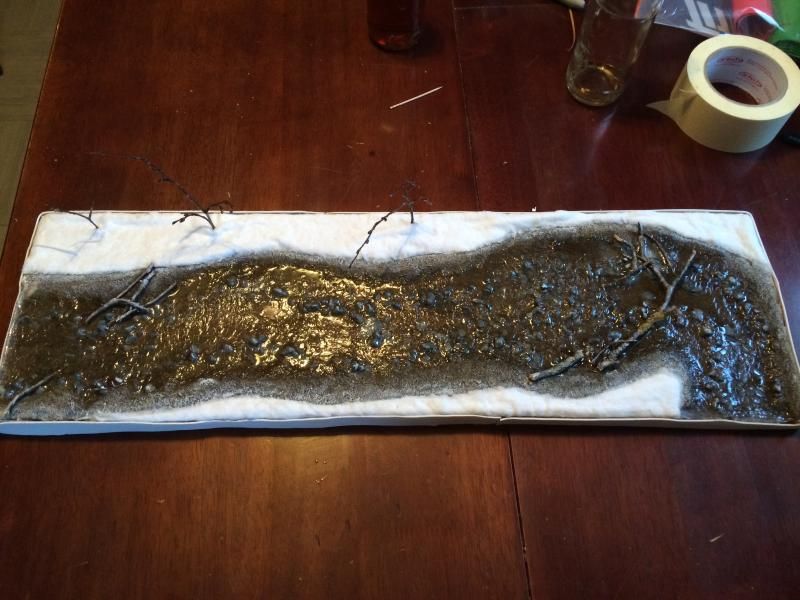
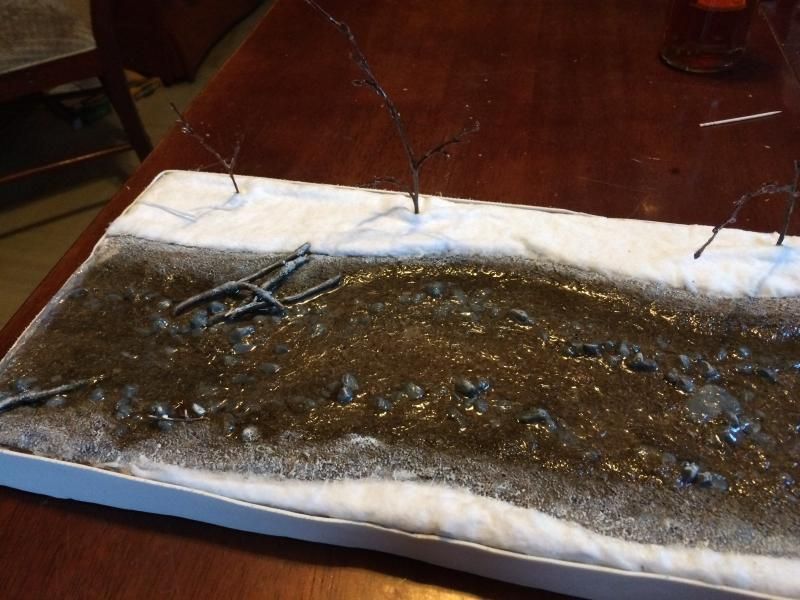
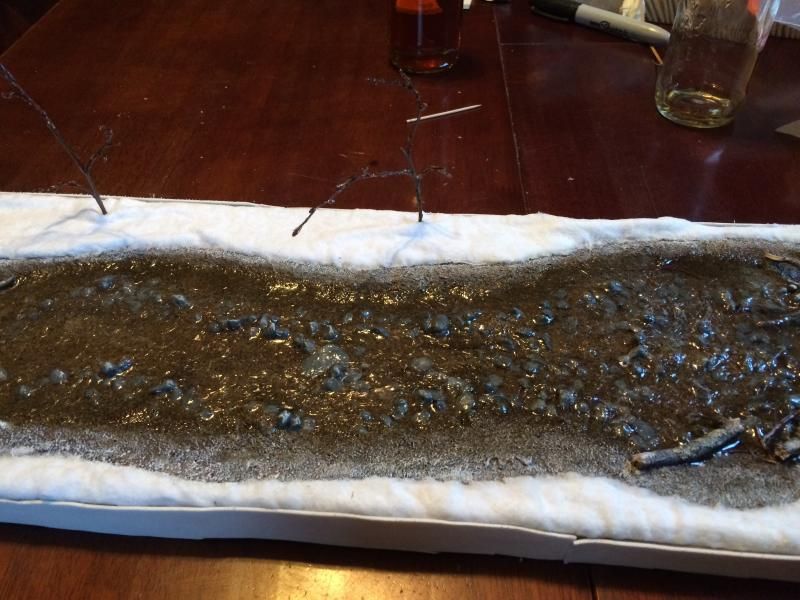
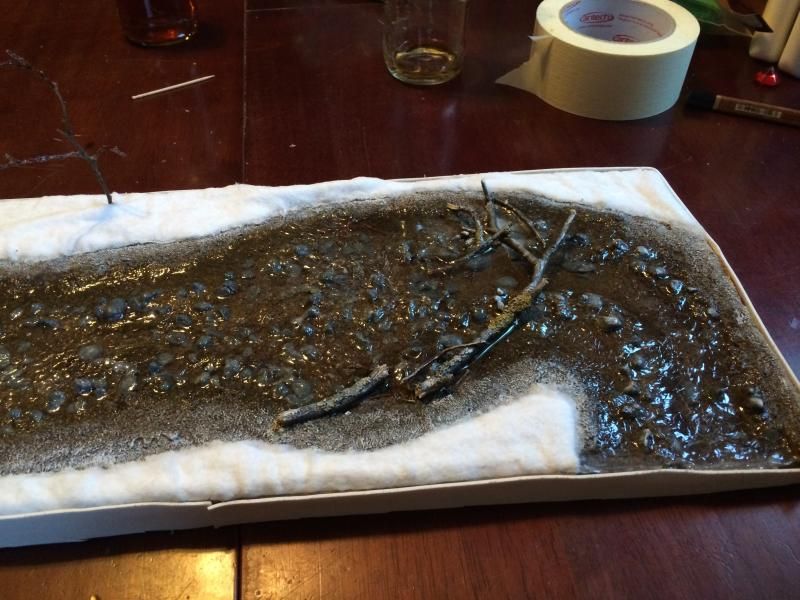
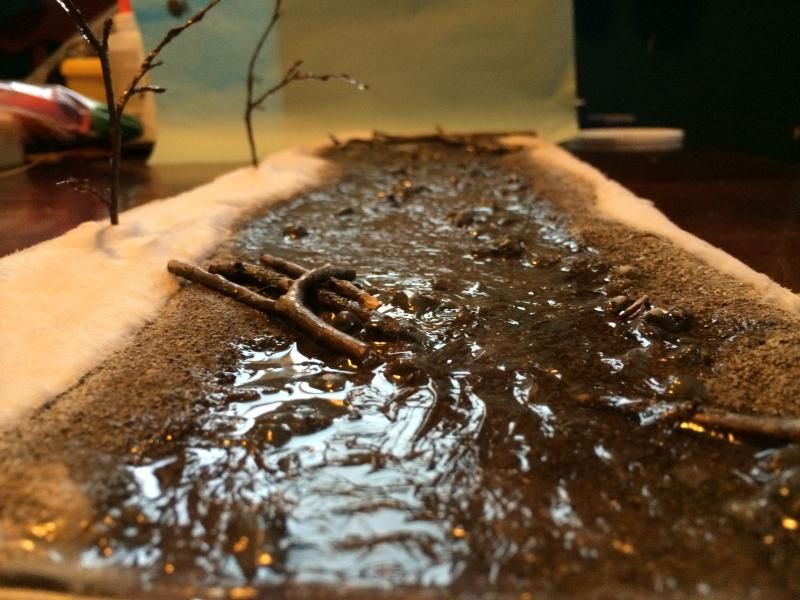
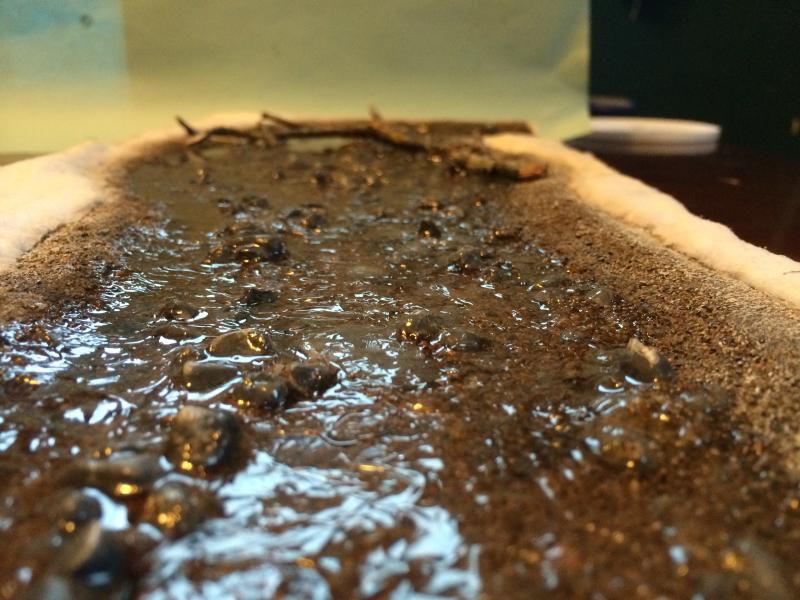
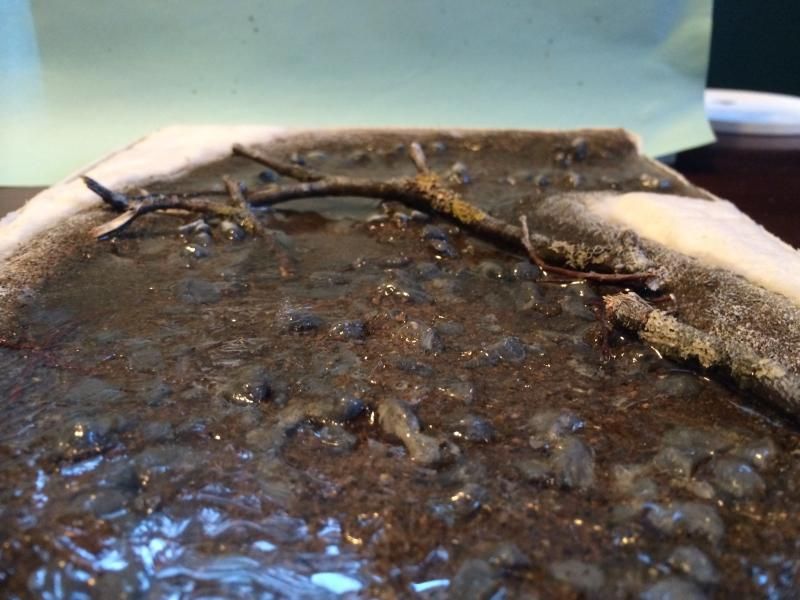
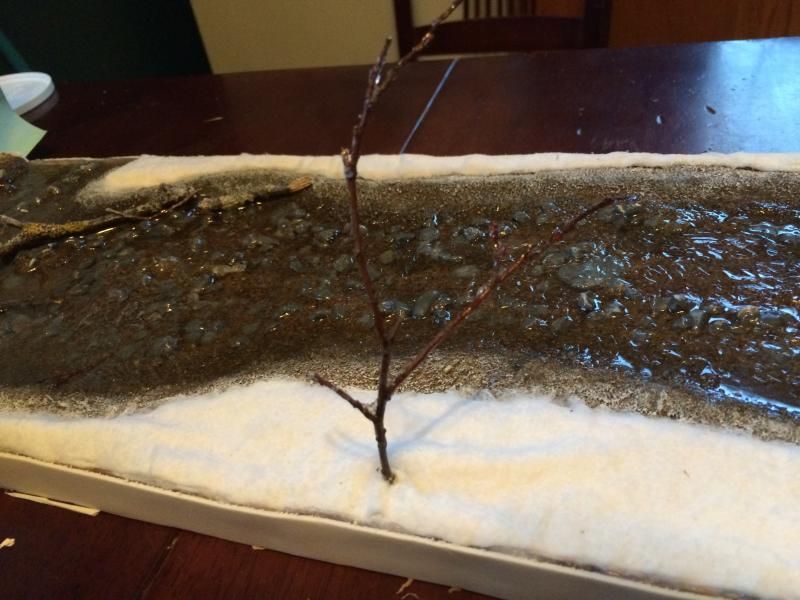
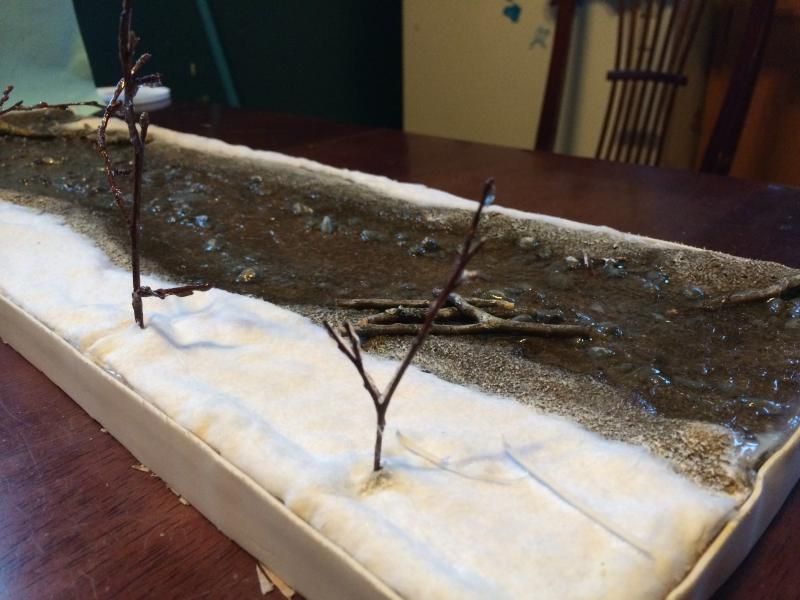
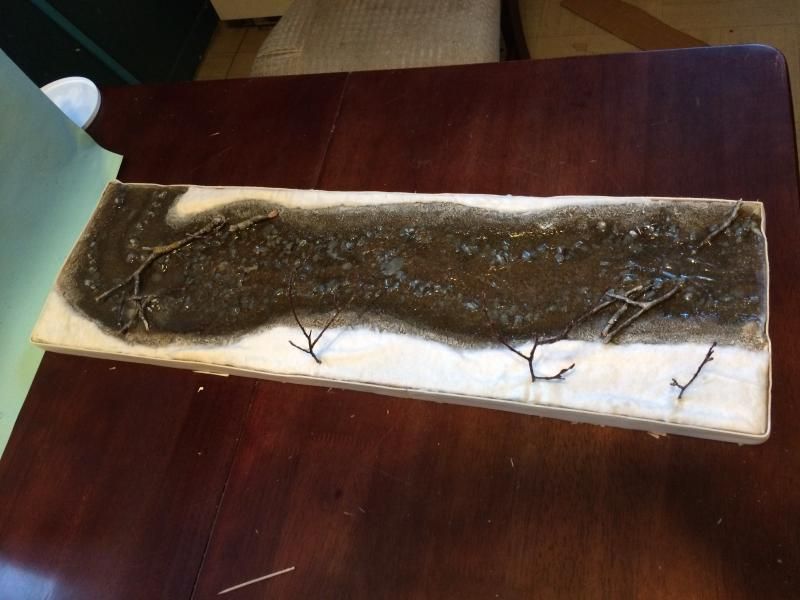
I could have gone heavier on the drybrush but no biggie. I added some of the gel to the trees as well to make ice, but it didn't come out well in these pics. All in all I like the result. Enough to be willing to go through the pain again to have my own haha.
This project kicked my butt a couple times and was more cost intensive than hot glue by a fair margin. The resin was about $15, and I used 90% of it (235ml pack). The gel for the rippling was about the same but I have maybe 1/2-2/3 of that left. $5 for a pack of the snow mats they sell for villages (I only used a tiny fraction of it but didn't see smaller packs), and a healthy supply of glue, bit of paint and then the sand and gravel I had on hand and got for free anyway. All told this was probly about 50 bucks, but would have been more if I didn't have a lot of supplies already on hand, like the plastic signboard.
I only started photographing when I had finished the original riverbed and glued it to the signboard, but up to that point it was mostly a series of mistakes anyway. I started by carving a channel 1 layer deep in 2 ply cardboard, but it was too shallow, and besides the cardboard warped badly, necessitating the signboard to flatten it out. This first pic is the bed, on the board, and with foam board added to the sides to increase depth. The bed is aquarium gravel painted grey then laid with a couple grades of sand. The trees were only there for my reference at this stage and I scaled them back a lot in the final installation.

After the pour. I dammed the ends to prevent seepage. I've seen a quick 15 minute epoxy recommended for a seal on the dam but I had neither that nor the time to get some, so I used hot glue and peeled it out after. Suboptimal but I had a time crunch heh. It turned out alright in spite of it, and I didn't destroy the kitchen table which was a plus!


With the dams removed I noticed that the edge had crept up the dams. I was able to trim it and conceal it but I'll try to fix that if I make a modular set for myself because this would look really bad at the seams.


This was looking good but lacked dynamism. I used heavy gloss gel to add in the ripples


I ended up doing 2 applications of gel because the effect was very subtle and i needed to bring it out a bit more. After it dries it's seamless from the resin, though that took some practice to hid the stroke marks.


With that done I just had to add the snow and trees. Hmm, just... Heh. Just means staying up till 3-4am Saturday night finishing it haha. I cut the wool/snow to fit, glued it down, pierced the trees through it and used Krazy Glue to keep them in place, and then drybrushed the transition, exposed rocks and logs to give it that frosty look.


I could have gone heavier on the drybrush but no biggie. I added some of the gel to the trees as well to make ice, but it didn't come out well in these pics. All in all I like the result. Enough to be willing to go through the pain again to have my own haha.




 Cheers!