|
|
Post by DMNate on May 27, 2014 21:03:36 GMT
I've decided to do my next campaign in 1/2 inch scale (roughly 15mm). The decision mostly came down to a desire to conserve space, on the table and in storage. This, however, will allow me to fit 4 times the play space in the same area. Everything I wanted to do would simply fit better if I made everything smaller, but I was worried about the minis. I had invested a great deal into 1" scale minis, and didn't want to spend much money. So, I decided to try my hand at sculpting a couple characters. They came out pretty nice, if I say so myself. I'll probably continue to add to this thread, so if you want to follow the development, leave a comment. Feedback always welcome.  |
|
grogg
Cardboard Collector

Posts: 39 
|
Post by grogg on May 27, 2014 21:15:50 GMT
What medium did you sculpt these in?
|
|
|
|
Post by DMNate on May 27, 2014 22:17:01 GMT
Sculpey. However, it's very difficult to get the kind of detail I'd like, so I'm considering moving to a 2-part epoxy, like greenstuff. It's just hard to give up the work time.
|
|
|
|
Post by yothebob on May 27, 2014 22:30:34 GMT
hey im not a sculpting expert but if sculpey dries could you get your more detailed look by scratching the surface with a needle?
|
|
|
|
Post by DMNate on May 27, 2014 22:36:52 GMT
You could, but it would take longer than it would be worth. I'm going to have to bust out 6-8 minis per session, and wouldn't have time to scratch detail all of them. I may just have to invest in some nicer clay.
|
|
|
|
Post by yebittendog on May 28, 2014 15:44:05 GMT
Cool. I'd love to see them painted.
|
|
grogg
Cardboard Collector

Posts: 39 
|
Post by grogg on May 28, 2014 19:08:08 GMT
I've found that rolling sculpy thin between sheets of plain white paper and allowing it to sit for a day or so draws out some of the plastisizers making the clay firmer to work.
|
|
|
|
Post by DMNate on Jun 2, 2014 7:30:06 GMT
Here's one I just finished for a player in our campaign. I think he turn out pretty cool. I like how the ragged cloak turned out. 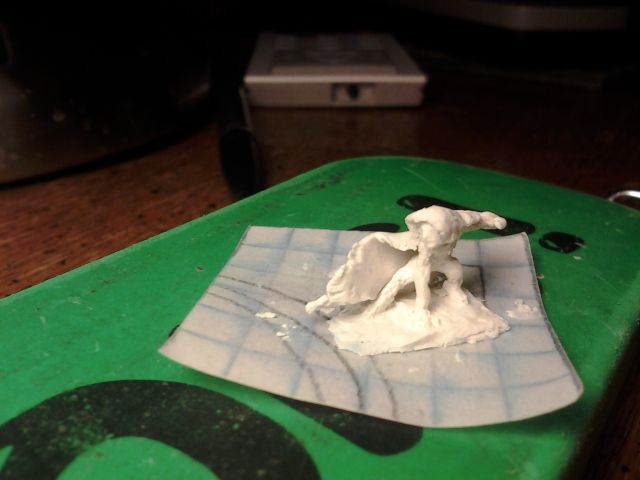 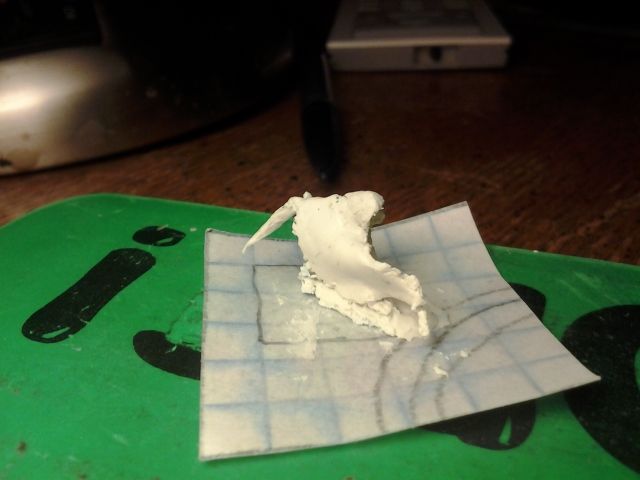 |
|
|
|
Post by grym247 on Jun 2, 2014 8:47:29 GMT
Very cool work dude
|
|
|
|
Post by Deleted on Jun 2, 2014 11:43:55 GMT
I'd love to see a video of you making one of those Nate, it looks pretty tricky.
|
|
|
|
Post by DMNate on Jun 2, 2014 11:49:24 GMT
Oh, I don't have any video equipment. Maybe I'll invest in a web cam one of these days.
|
|
|
|
Post by beerfrog on Jun 3, 2014 15:14:15 GMT
Those all look great. I am trying to paint minis and here comes Nate sculpting them, lol. Good job, Bud.
|
|
|
|
Post by Draklith on Jun 3, 2014 16:37:10 GMT
Very nice sculptin' DMNate, very inspiring  |
|
|
|
Post by DMNate on Jun 3, 2014 18:18:58 GMT
|
|
daveb
Paint Manipulator
  Member is Online!
Posts: 139 
|
Post by daveb on Jun 3, 2014 18:23:01 GMT
Great work, DMNate!
Are you starting from wire armatures? If so, could you post a pic or two of them?
Thanks!
|
|
|
|
Post by DMNate on Jun 3, 2014 18:26:05 GMT
I am... sort of. At such a small scale, It's difficult to get the wire just right, where it's not in the way. I usually just use wire for the legs so it can support itself while I work with it. I'll post a picture of it when I start another one.
|
|
|
|
Post by DMNate on Jun 6, 2014 21:43:56 GMT
Just finished another model. I haven't forgotten to take pictures of the armature, I just haven't started a new one in a few days (I end up spending about 5 hours on each of these, and needed to take a break for a bit) I'll start a new one tomorrow. This model had a strange armature in it. I just had a single straight wire that ran up one leg and through the body. It made it difficult to start, but gave me a lot of flexability when it came to the pose. I may use that technique from here on out. 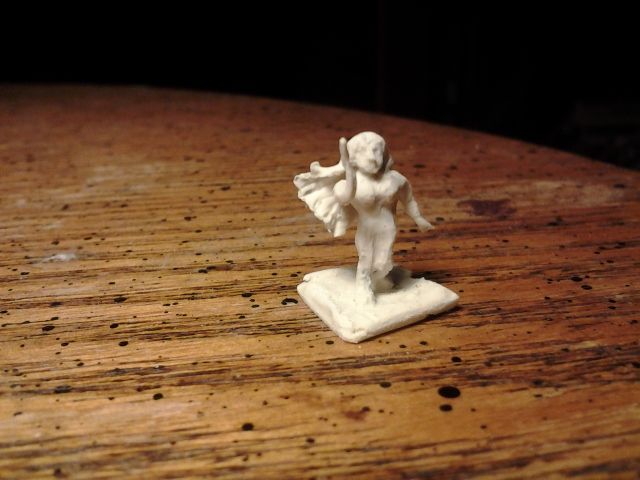 |
|
|
|
Post by DMNate on Jun 12, 2014 5:52:36 GMT
Here is a new sculpt. I remembered to take lots of pictures for you friends. This dude took me about 2 hours to make. If you are going to try and do this, know that getting to the 4th picture will take most of your time (at this scale) It's slow going, but be patient. 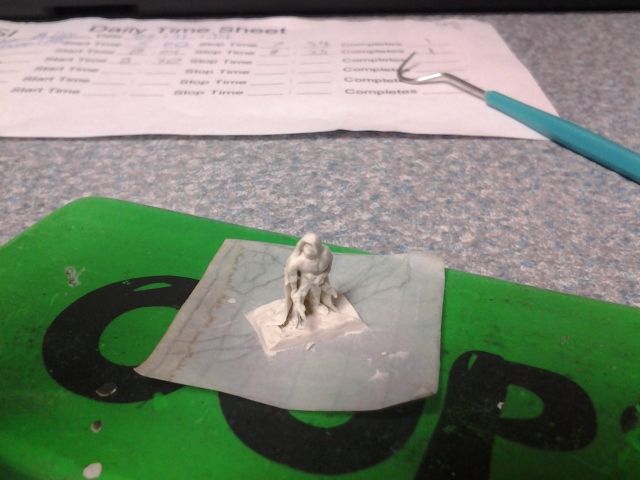 1. Armature 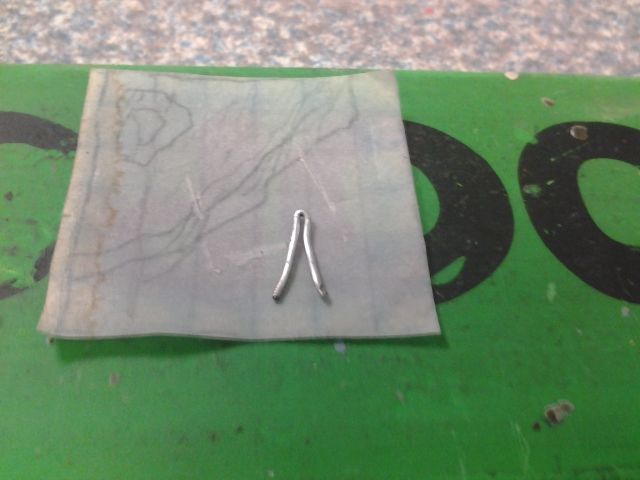 2, Begin applying clay 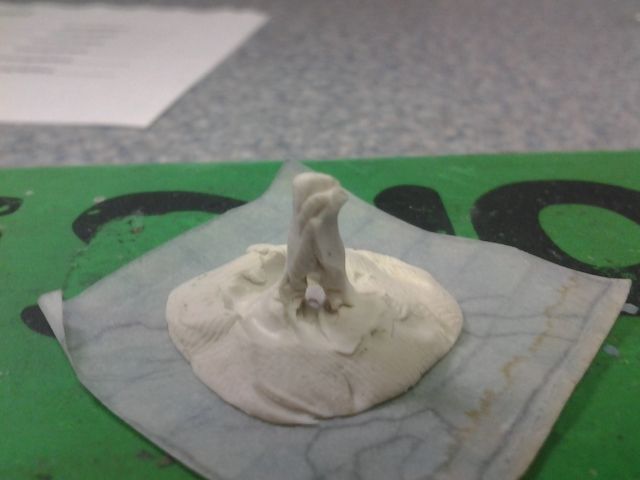 3. Create basic form 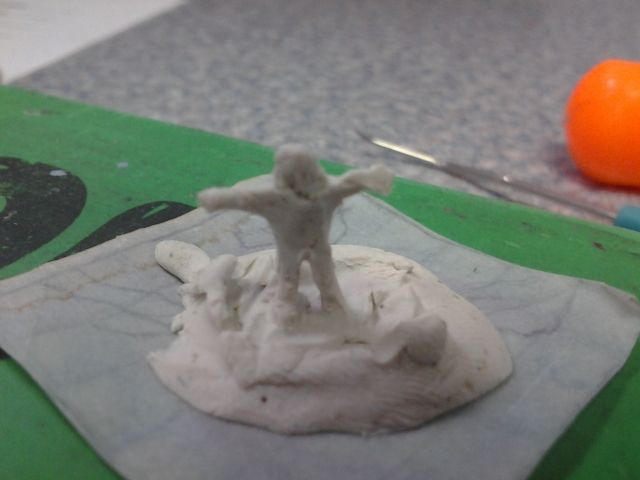 4. Get correct proportions.  5. Pose  6. Adding cloak 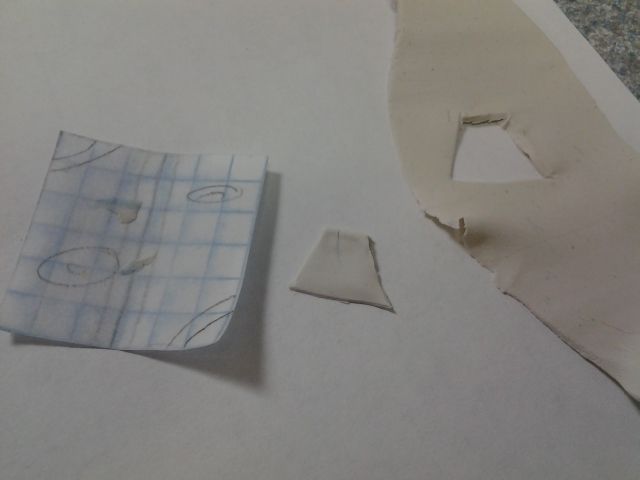 7. Texturing cloak 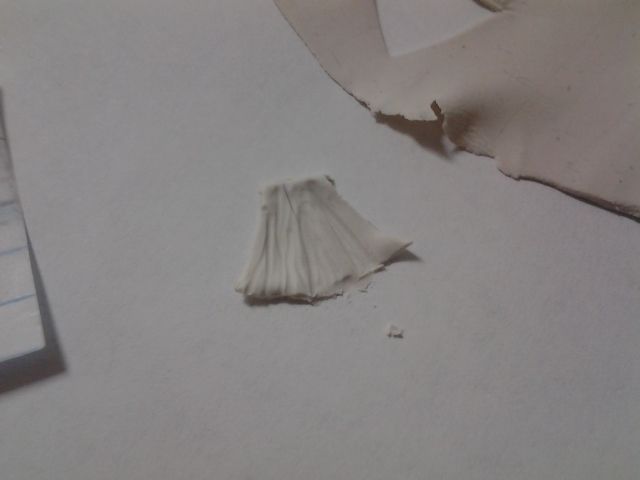 8. Apply cloak 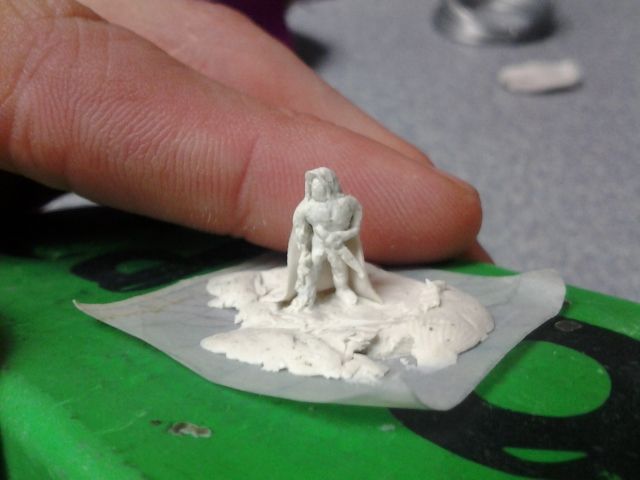 Details details...  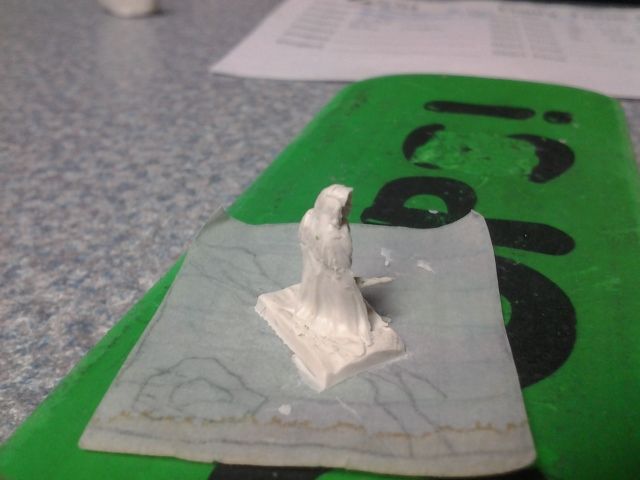 |
|
uncledog
Paint Manipulator
  I'm going to take a few points in White-glue Mage.
Posts: 108 
|
Post by uncledog on Jun 12, 2014 5:56:19 GMT
Wow.. just wow. Fantastic, thanks for the tut and for sharing. Amazed. I keep getting my mind blown on this forum.
|
|
|
|
Post by DMNate on Jun 12, 2014 6:02:53 GMT
Thanks friend.  Stick around. There are many a new craft to learn. |
|