|
|
Post by erho on Jan 14, 2018 7:03:37 GMT
I missed it!
I’m free next Saturday
|
|
|
|
Post by erho on Jan 12, 2018 17:10:39 GMT
Very nice!
However, you really don’t want to be with a gal that has friends like those green dudes... but those boots...
Roll initiative!!!!!
|
|
|
|
Post by erho on Jan 12, 2018 0:58:21 GMT
Nice! I’d be honored to slay them at my table!
|
|
|
|
Post by erho on Jan 12, 2018 0:52:00 GMT
Looking great! The coloured guys are well done, you may put them up in a collection on drivethrurpg.com or something!
|
|
|
|
Post by erho on Jan 12, 2018 0:47:57 GMT
I really dig the cavern texture, I look at it every time o co e to the thread!
Was it toilet paper or paper towels or what?
|
|
|
|
Post by erho on Jan 10, 2018 22:30:48 GMT
Make the rest "Dire Pigeons" (CR 4)  |
|
|
|
Post by erho on Jan 10, 2018 22:29:22 GMT
Great... Dabbing has infiltrated our hobby! LOL
|
|
|
|
Post by erho on Jan 10, 2018 22:28:31 GMT
Snowman is awesome!
|
|
|
|
Post by erho on Jan 10, 2018 22:19:58 GMT
Dried up solid as a rock! Leaving the sails until I get time to detail it up. 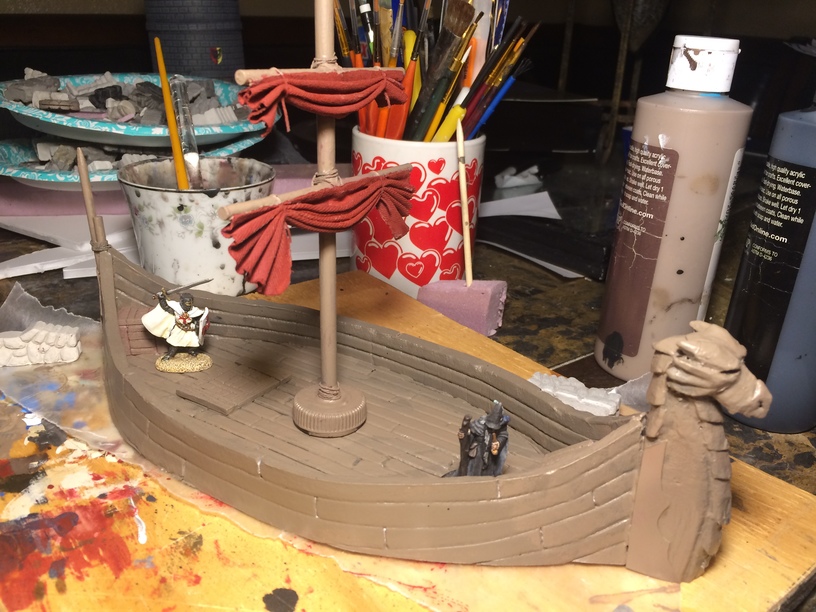 The patina for the bronze is always fun to do! 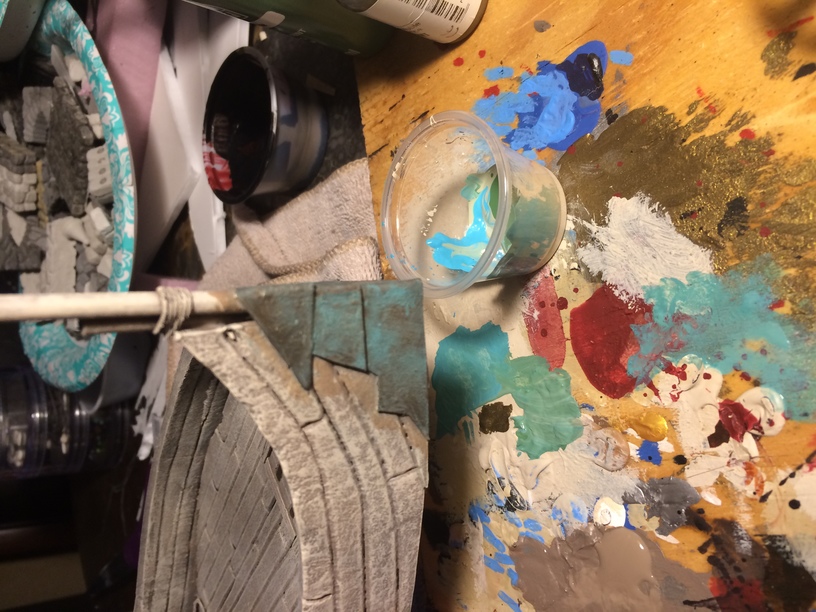 Painted first with tinbitz, or any other brown metallic, then a mix of blue green watered down 50/50 or so, when dry hit it with really thin white, followed up by the bronze/dark gold on just raised edges.  Added a quick highlight to the wood, alot more work on that, so pay no attention to the quality there! That’s all the time I have for it until next week Monday, I’ll post as I go make some textile rolls, barrels and mayber some harpoons for the deck and final touches. I hope you all enjoyed as much as I enjoyed sharing it! |
|
|
|
Post by erho on Jan 10, 2018 22:17:16 GMT
Paint it up with MP and paint mix as before.  I know its crummy looking but I was cool with it and just carved it down to a slimmer shape and added wood grain.  Here it is attached and the removable mast made from wooden dowels and waterbottle cap stuffed with metal washers for weight. Wrapped joins with string for hemp lashings. Added the back posts with bronze cladding on the side of bow dragon and the aft, as well as a cargo hatch and a few crates 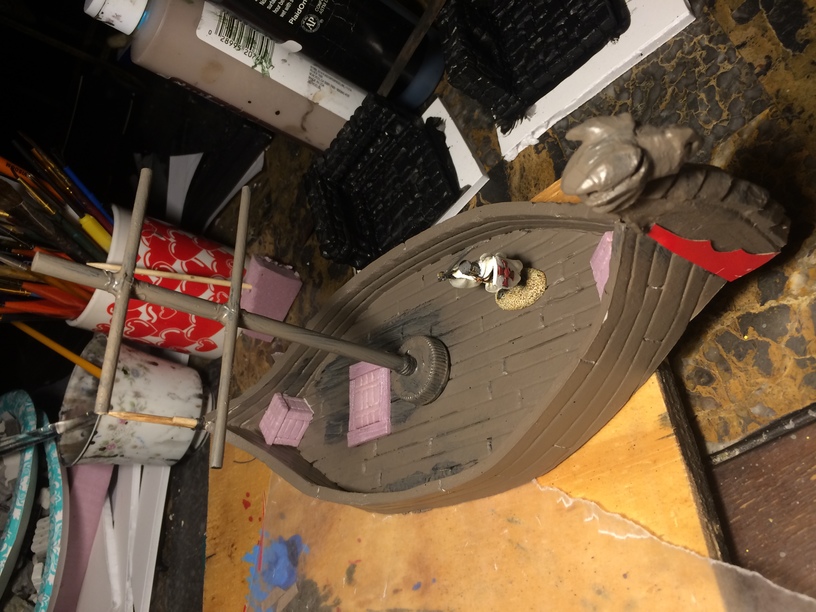 Sails!!! I used an old camo pants from my son’s old clothes superglued them to the mast. Mixxed dark red, water and PVA to soak into the cloth and harden it up solid once I pleated and tied off with string. Looks like it was hoisted up neatly 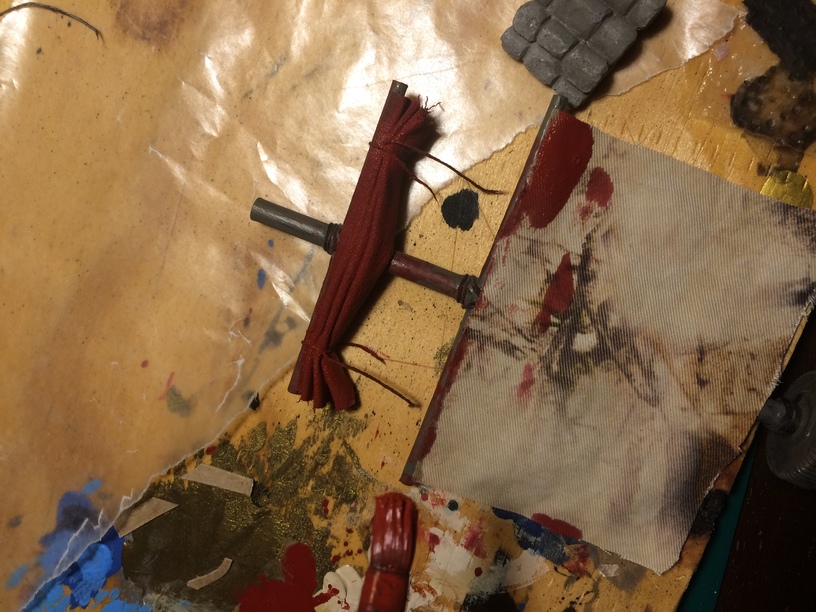 Drying up, didn’t take long at all to do!  |
|
|
|
Post by erho on Jan 10, 2018 22:16:06 GMT
So I started a 3rd boat in the style of Black Magic Craft’s vid, and I like it more than the first two (project gallery here; imgur.com/a/4cPyo ) This one is smaller and more table friendly for our group, and I’d like to show you the progress as well as make me accountable to you all to actually finish it by next session(Jan 19th) The plans are available from DriveThruRPG I believe, they are simple you almost don’t need them. I freehanded the shapes for this one out of foamboard. I forgot what a pain it was to carve the wood plank sides on such thin foam, you can see through some of it in this pic right as I glued it together. 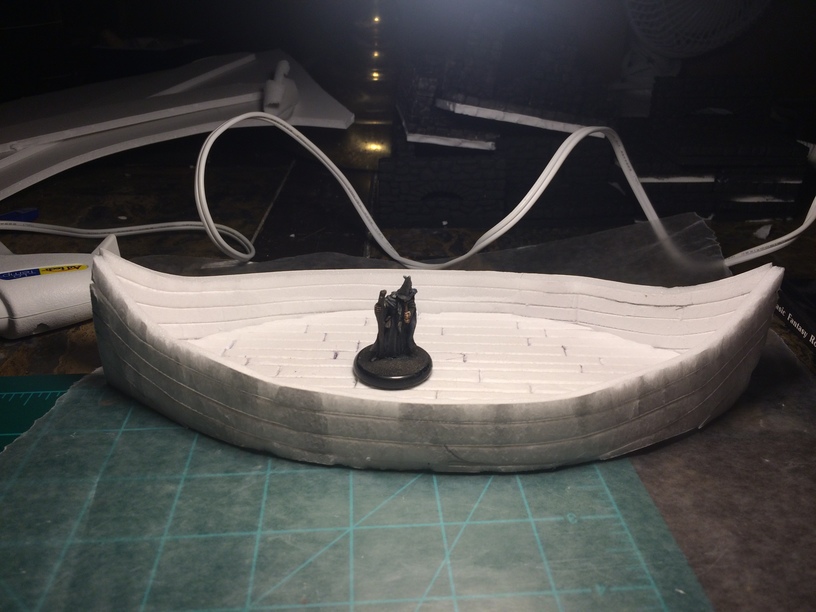 Initial base coat after some touch ups on gaps. I mixed brown and modpodge for this step, which made it a lot more stable.  Now the figurehead for the bow! The originals have carved foamboard, which have broken twice each on my other 2, so I decided to use xps and a Vorpal hobby knife. 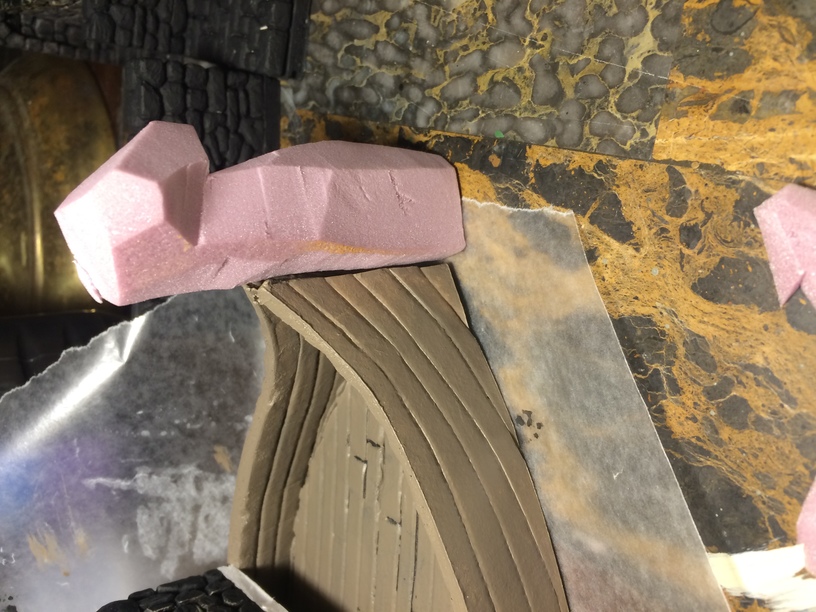 basic shapes 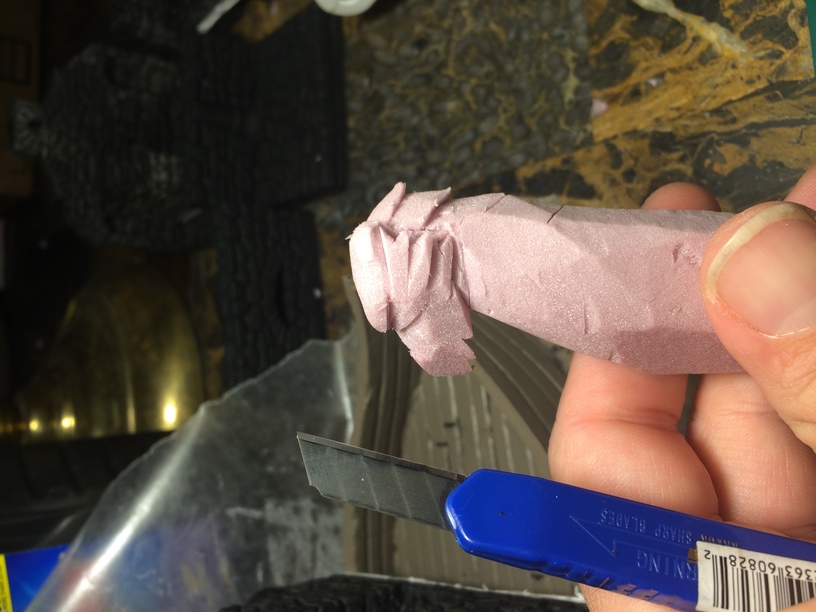  |
|
|
|
Post by erho on Jan 10, 2018 21:00:24 GMT
I'd like to get a peek at your campaign notes for these fun guys!
|
|
|
|
Post by erho on Jan 10, 2018 20:51:31 GMT
Basically you just Took 20 on that?
|
|
|
|
Post by erho on Jan 9, 2018 17:15:46 GMT
Plastic fork tines! Cool work!
I love the small gems like that in this hobby!
|
|
|
|
Post by erho on Jan 9, 2018 17:09:56 GMT
I wouldnt worry about special glues, straight white glue(PVA), wood glue(PVA yellowish and stronger) and some hot glue will be more than enough.
Also consider youll likely be sealing it all together when you get to the texturing and then sealing stages too.
Start using both pva spots and then hot glue to place the larger pieces together, along with toothpicks.
If you are using a continuous floating type of stairway, consider using a single thick wire(clothes hanger or wind smaller gauges together) to connect them all?
|
|
|
|
Post by erho on Jan 9, 2018 17:02:51 GMT
I saw that one I think, he just kept spraying down the cliff face that had flock and moss all over it.
Ive gone the spray route, but usually 1/4 to 1/2 strength. Regardless of what I'm doing I put a small desk fan on the peices to help dry it out quicker.
Be mindful of the base you put it on doesnt warp with all the water.
Minwax poly sealer works great but its a little pricey when you can get by with a little PVA
|
|
|
|
Post by erho on Jan 8, 2018 22:01:02 GMT
i can tell you this much.. i have sealed stuff with Modpodge and it made the piece look like plastic toys. of course that was 100% modpodge, it was not diluted, then when i tryed sealing certain stuff with 50/50 PVA it made the thing much better and it left no real plastic like residu. so i'd say diluting the sealant for it to soak more is the better option. not sealing it will break your board much faster thenif it was sealed so to answer your original question. i'd definitely seal it if you intend to play with it often. Ive done that as well, it looks terrible with straight modpodge! In fact its a terrible sealer because if its a little hot and/or humid, it will stick to everything, especially foam and other modpodge sealed pieces. |
|
|
|
Post by erho on Jan 8, 2018 20:27:31 GMT
Notice the steering wheel in the 3rd to last one...the Gorgs have cars?!
I remember as a kid she freaked me out a little, but I always looked for stuff in her. Pretty sure there a gold ring in most appearances
|
|
|
|
Post by erho on Jan 8, 2018 18:00:46 GMT
All hail Madame Trashheap!  |
|
|
|
Post by erho on Jan 8, 2018 17:58:46 GMT
DMScotty uses the plastic sheeting with hot glue for texturing, turned out pretty nice
|
|


 Cheers!
 Cheers!