pepebe
Paint Manipulator

Posts: 187 
|
Post by pepebe on Mar 3, 2016 23:42:15 GMT
|
|
jeremy
Cardboard Collector

Posts: 5
|
Post by jeremy on Mar 4, 2016 4:45:07 GMT
Helped my aunt (Jennifer) make some scrolls for Frostgrave. Pretty stoked to play this game in the future! It was actually very easy to learn how to make them using a toothpick and some cheap white glue. Can't wait! P.s. I took the photo with my phone. I'm not a pro at it like my aunt haha.  |
|
|
|
Post by margaret on Mar 4, 2016 6:19:55 GMT
Nice job on the scrolls! You and your aunt are certainly going to have an impressive array of terrain and miniatures for that game.
|
|
jeremy
Cardboard Collector
Posts: 5
|
Post by jeremy on Mar 4, 2016 6:54:20 GMT
Nice job on the scrolls! You and your aunt are certainly going to have an impressive array of terrain and miniatures for that game. Thank you! Yeah she's so crazy! All of the scrolls that are made and including the ones that are yet to be made is seemingly endless. It's a lot of work but one day it will all be paid off when we get to play the game [finally]. I'm really looking forward to it. |
|
|
|
Post by Sleepy Hollow Mike on Mar 5, 2016 6:56:00 GMT
Nice that you enjoy the hobby!
|
|
|
|
Post by Sleepy Hollow Mike on Mar 5, 2016 6:59:18 GMT
Frostgrave BeastiaryTime to order beasts I am needing to fill out the Frostgrave beastiary requirements. UndeadI already have the skeletons, armored skeletons, ghouls and zombies covered with the nice Undead Encounters Box Kit I purchased from Annie the other day. The kit however does not include a wraith or vampire -- I need one of each. So for the wraith I am going to be placing an order with Reaper Miniatures for the Grave Wraith. It's $2.99 for the bones version.  Also I am going to be placing an order with Reaper for this Vampire. It's name is Tepes Tejan, is metal and costs $4.99. (I don't know who Tepes Tejan is--duck--but I thought the miniature looked the best of the affordable bunch.)  That satisfies the undead category now on to Animals. AnimalsI already have the two Ice Toads and White Gorilla -- 3D printed and flea market purchase, respectively. I also got a large snow leopard-like cat from the flea market. I still need a bear, boar, giant rats (4), ice spiders (2), wild dogs (2) and wolves (2). I can't find a good affordable bear that looks good. I saw some really nice dire bears on Reaper's site but they were like $12+ (no thanks). I'll probably just find a plastic one from the flea market (heck I might even have one laying around). For the boar and giant rats I am ordering from Annie's (The Dice Bag Lady) store the " Boar and Giant Rats" set for 6 quid. It's only 3 rats--need up to four; however, there is an undead rat in the undead kit I mentioned above, which I recently purchased--I am content with that.  For the Ice Spiders I've decided to order two of these Giant Spiders from Reaper for $2.49 each:  I didn't like the look of Frostgrave's "official" wild dogs set. I do like their Wolves x 4 offering though and am purchasing it from Annie for 6 quid. Since I only really need two wild dogs and two wolves, I am just going to use the Wolves x4 for them all (for the time being at least).  And that's it for the Animals category. Next up is the Constructs section. To be continued in the next post (soon). Mageknight has an awesome looking bear! That is where I found mine! I wish I had a pic but he is huge with arms wide opn and not in theat Creed song sort of way! |
|
|
|
Post by jennifer on Mar 5, 2016 8:24:48 GMT
This one Mike? I checked ebay and don't see it for sale. I wonder if a bear should be my first sculpey mini? I know I could probably etch the fur pretty easily. The open mouth with teeth would be more difficult. bleh I don't have time to sculpt a mini.. too many things to do! 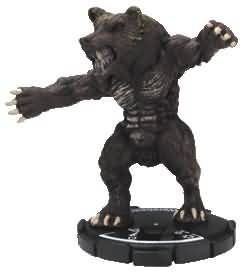 |
|
|
|
Post by jennifer on Mar 5, 2016 8:25:45 GMT
I still haven't placed my orders, so if anyone has a suggestion please let me know. I don't have to place this order immediately. I can wait a few days because I'll working on other stuff anyways.
|
|
|
|
Post by jennifer on Mar 6, 2016 21:25:56 GMT
Would an admin be kind enough to please move this thread back to General Crafting? It's not 3D printing related.
|
|
|
|
Post by jennifer on Mar 6, 2016 21:29:19 GMT
The Keep -- Ruins Added a rusty gothic barred window to my ruins piece (on the right--which is a copy of xintao's/meph's) to match the Tilescapes front on the left I made recently. I will be adding three more shorter corner pieces -- a couple of those with rusty barred windows as well. These 5 pieces will form the outer walls of The Keep, which will be 2 foot by 2 foot minimum. Then I'll have many ruined interior walls / levels -- I'd like a three or four level high piece as well, like 4ground offers. It'll be nice when it is done because I can use the pieces individually in other game scenarios, or as a set for the gigantic Keep Smiley Also, keeping the colors pretty neutral so I can reuse in any game setting. Not going to base the ruins pieces, so they'll work in any environment. I'll be making corner and wall piles of debree to temporarily butt up against various ruins pieces as a substitute--I'll be making standalone piles as well.  |
|
|
|
Post by bradleyj on Mar 8, 2016 1:00:26 GMT
www.reapermini.com/OnlineStore/bear/latest/77353 this looks like a good bear she should be to hard to pop off and a little greenstuff to resculpt fur for my original bear i just got a small vinyl one in a dollar store pack of animals for 1.50 hes fits nicely on a 40mm base
|
|
|
|
Post by sgtslag on Mar 8, 2016 16:35:59 GMT
I have a need for some Yeti, and the MK Wild Mountain Troll looks to be an acceptable proxy -- after painting it white, of course (I actually have a few of these in my horde collection of mini's, somewhere...). Thanks for posting this. Cheers!
|
|
|
|
Post by jennifer on Mar 9, 2016 16:44:49 GMT
Basing Trees
Here's a start anyways. Medium weight chipboard glued to 1/2" rigid insulation with Alene's tacky glue. Then carved with sharp boning knife then sanded and painted. (Most of the 1/2" insulation was carved off.. would of used 1/4" rigid insulation if I had it.) 
|
|
pepebe
Paint Manipulator
Posts: 187
|
Post by pepebe on Mar 9, 2016 17:55:19 GMT
I have a need for some Yeti, and the MK Wild Mountain Troll looks to be an acceptable proxy -- after painting it white, of course (I actually have a few of these in my horde collection of mini's, somewhere...). Thanks for posting this. Cheers! Another beautiful proxy can be found in the Burning Crusade Expansion for the World of Warcraft Boardgame. If you can get one, it will be a perfect fit: 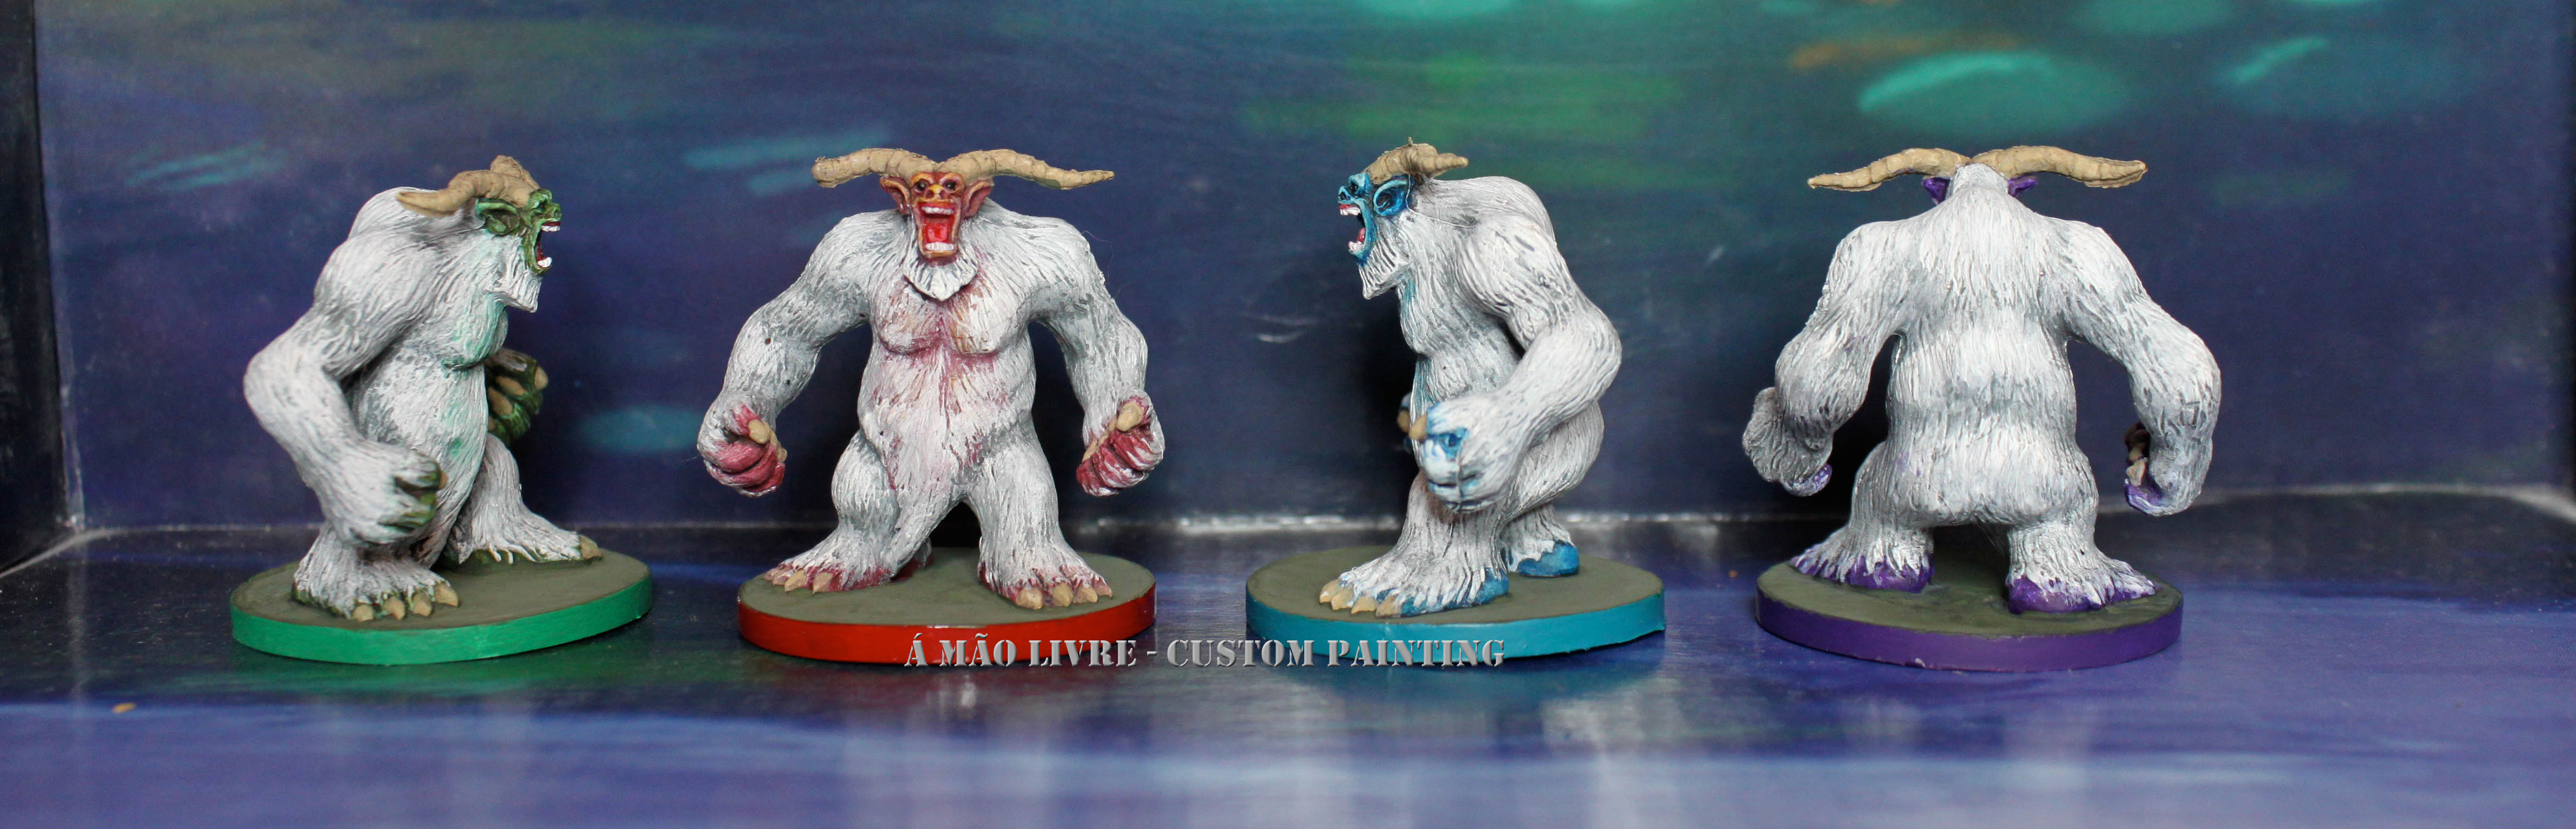 Source: amaolivre.wordpress.com/miniaturas/warcraft/The game includes 4 of them. If you live in Europe, you can get the whole box for about 20 EUR. That's 5 EUR per Yeti and you get about 50 other minis on top of this for free  |
|
|
|
Post by jennifer on Mar 10, 2016 16:17:11 GMT
Starting to paint one of the wizards I got from Annie -- package came in the mail yesterday. So far I based the staff and robe and did the drybrushing in layers on staff alll the way up to the highlights. I still need to highlight the robe -- dry brushed it as well. What do you think, will this technique work? Looking for some advice -- new to this all. The cape and the hood even (painted it wrong color) will be brown. Beard will be silver including eyebrows. And I have no idea how to do skin tones or eyes.  |
|
|
|
Post by margaret on Mar 10, 2016 18:26:56 GMT
Here's some tutorials.
www.reapermini.com/Thecraft/12
cipher-studios.com/2011/12/hobbyist-tactics-episode-2-the-eyes/
www.internetmodeler.com/2000/march/figures/figure_painting.htm
forum.rpg.net/archive/index.php/t-739149.html
I have a list of tips from another tutorial or from several lists of tips [can't find the original on line at the moment]:
Paint them first. Use a #0 brush or smaller for the white and iris. Tiny brushes dry out faster, though. But use the #0 when painting the face around the eye to avoid painting over it.
Paint the eye socket with your dark flesh shading color
Paint the eyeball / socket with white. Slightly thin paint so it flows just a bit. Use a #0 brush or smaller.
Using black, either add a dot for each iris or paint a vertical line for each iris. Again using a #0 brush or smaller.
The irises should be painted a little closer to the center of the face rather than centered in the eye socket. If centered in the eye socket, the figure will look wall-eyed.
If using the line method, you then add more vertical strokes on whichever side of the initial line you need in order to keep the irises properly positioned.
Anywhere the paint goes outside the socket, which is particularly likely with the line method, will be covered up next, using the dark flesh shading color.
You can also use a Pigma Micron pen for the iris.
If I can find the source(s) of these tips, I will post it later
And lots of skin tone options at this web site: www.how-to-paint-miniatures.com/miniature_painting_welcome.html |
|
|
|
Post by jennifer on Mar 12, 2016 15:51:29 GMT
Here's a start on the Frost Giant. Let me know if you like the colors. His skin will be light blue and have a white beard & brows. Probably a gold/gunmetal and silver weapon. Ignore his boots--I just quickly dry brushed the entire thing same as fur kilt just to get an idea. Boots are made of fur and leather and will be a combination of the belt & kilt in colors.  |
|
|
|
Post by kgstanley81 on Mar 12, 2016 15:58:23 GMT
Yep looks good to me
|
|
|
|
Post by wilmanric on Mar 12, 2016 16:45:49 GMT
The Keep -- Ruins Added a rusty gothic barred window to my ruins piece (on the right--which is a copy of xintao's/meph's) to match the Tilescapes front on the left I made recently. I will be adding three more shorter corner pieces -- a couple of those with rusty barred windows as well. These 5 pieces will form the outer walls of The Keep, which will be 2 foot by 2 foot minimum. Then I'll have many ruined interior walls / levels -- I'd like a three or four level high piece as well, like 4ground offers. It'll be nice when it is done because I can use the pieces individually in other game scenarios, or as a set for the gigantic Keep Smiley Also, keeping the colors pretty neutral so I can reuse in any game setting. Not going to base the ruins pieces, so they'll work in any environment. I'll be making corner and wall piles of debree to temporarily butt up against various ruins pieces as a substitute--I'll be making standalone piles as well. Are those printed? If so wow. If not WOW! If so, can you point me to the .stls? Need these for Frostgrave immediately if printable, otherwise I'll need to imitate your work.  |
|
|
|
Post by jennifer on Mar 12, 2016 16:59:16 GMT
The Keep -- Ruins Added a rusty gothic barred window to my ruins piece (on the right--which is a copy of xintao's/meph's) to match the Tilescapes front on the left I made recently. I will be adding three more shorter corner pieces -- a couple of those with rusty barred windows as well. These 5 pieces will form the outer walls of The Keep, which will be 2 foot by 2 foot minimum. Then I'll have many ruined interior walls / levels -- I'd like a three or four level high piece as well, like 4ground offers. It'll be nice when it is done because I can use the pieces individually in other game scenarios, or as a set for the gigantic Keep Smiley Also, keeping the colors pretty neutral so I can reuse in any game setting. Not going to base the ruins pieces, so they'll work in any environment. I'll be making corner and wall piles of debree to temporarily butt up against various ruins pieces as a substitute--I'll be making standalone piles as well. Are those printed? If so wow. If not WOW! If so, can you point me to the .stls? Need these for Frostgrave immediately if printable, otherwise I'll need to imitate your work. only thing that is printed is the window inserts . Search thingiverse for "arch window" the rest is 1/2" rigid foam insulation (pink foam) |
|


 Cheers!
 Cheers!