


My DIY ancient maps and scroll (update)
Feb 27, 2015 19:46:47 GMT
Admin, tauster, and 9 more like this
Post by Alexis on Feb 27, 2015 19:46:47 GMT
Hey fellow crafters! Back in december I made some christmas gifts myself and I just thought that it would be nice to show you. I have some friends that are huge fans of the Lord of the rings and the Hobbit. Pretty much everything Tolkien related. Since I am also a big fan I decided to make some maps so they could decorate their homes. I started out with just a white sheet of paper and this is how it turned out in the end:
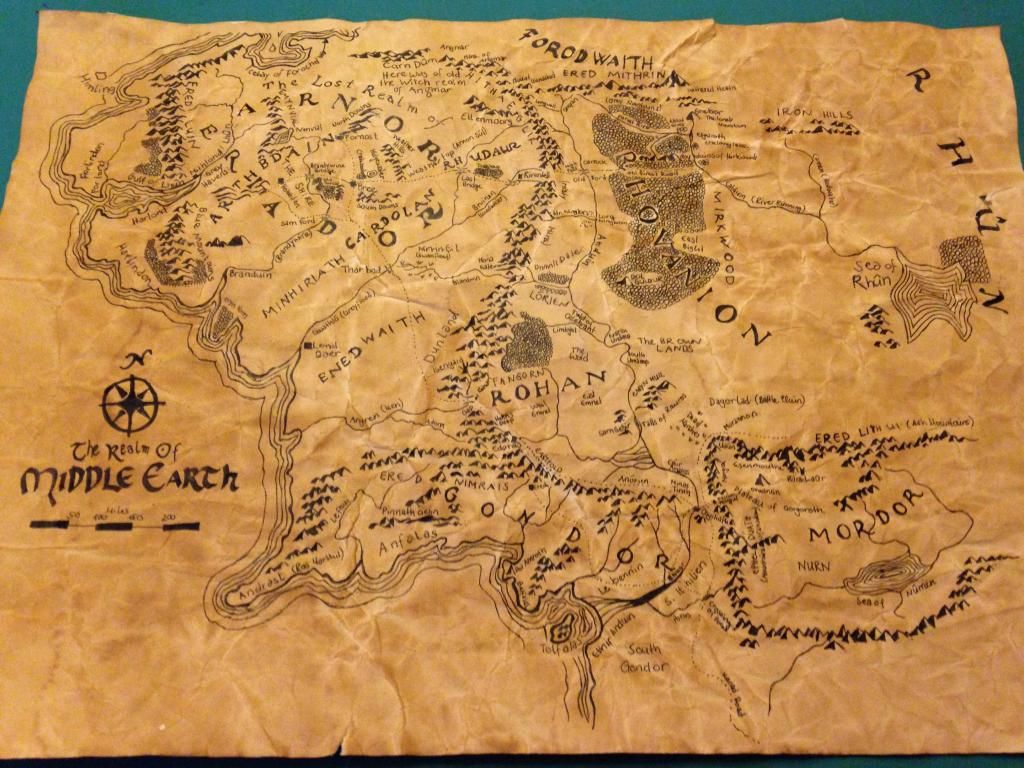
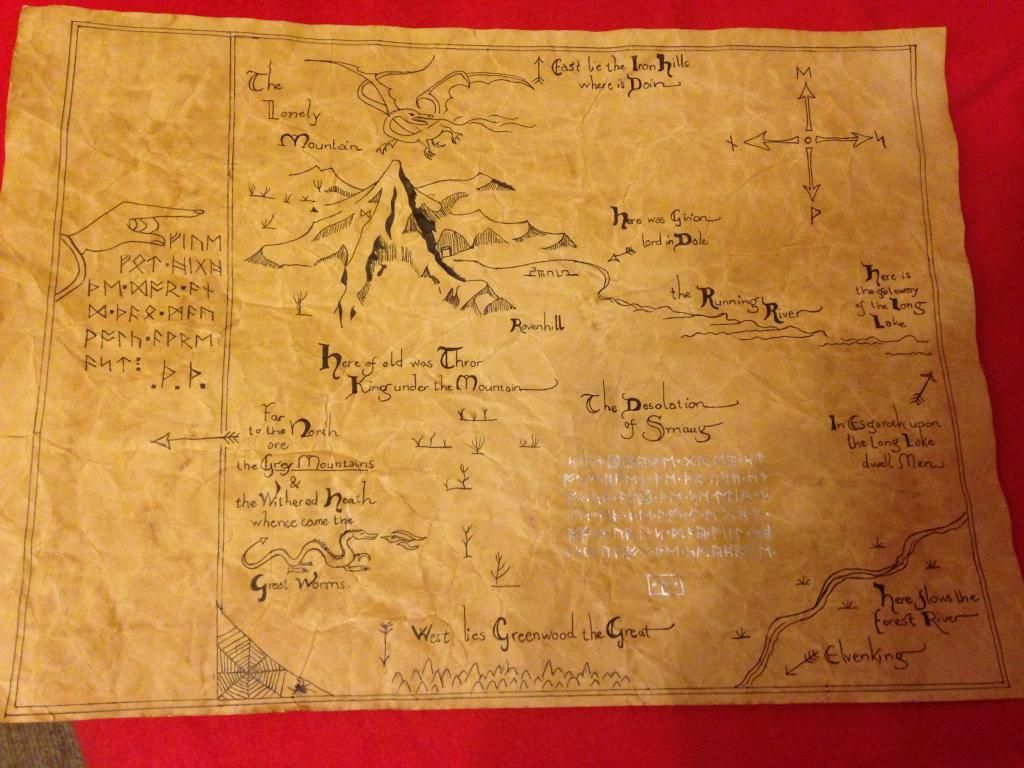
The first one is obviously a map of middle earth and the second one is Thorin's map as seen in the Hobbit movies. I put the maps in a nice wooden frame before I gave them away. Unfortunately I don't have a picture of the maps inside the frames. It added a nice touch though.
So now to the part where I tell you how I did make the maps. As I already said i started out with a white sheet of paper. I crunched it up into a ball to make it nice and wrinkly. Then I carefully unfolded it again making sure I wasn't ripping it apart. Next I just used some coffee and basically painted the whole sheet with it covering everything. You could probably just wait until dry but I am a very impatient person so I used my blowdryer on the wet piece of paper. Then I repeated the coffee and blowdryer step again on the other side of the paper. After everything was dry I just used a pencil to sketch the maps and then painted it on with a black pen. A nice side effect of using coffee is that it smells really nice ;-) to make it more intersting you could also burn some of the edges or sprinkle some coffee powder across the paper while it's still wet. I didn't do that on those maps though.
Making the paper look really old is actually quite simple (painting the maps is quite a bit more effort). I thought I would just share my method with you and I hope some of you find it useful. So what do you think of my maps? Do you have other methods to "age" paper?
Edit:
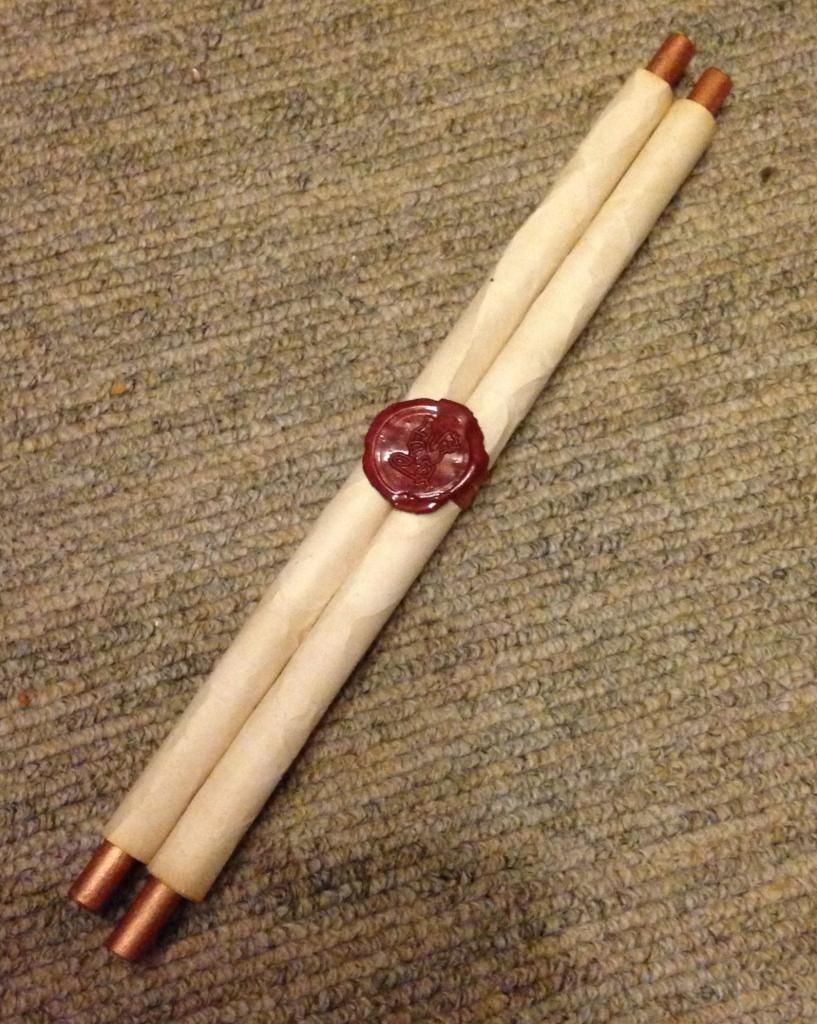
I also used the same method to make a scroll. I used it as a birthday card a while back. I just glued two pieces of wooden sticks I had lying around (from crafting some arrows) at the edges of the paper and rolled it up. The bits of wood that are showing I painted with some acrylic paint. I put a ribbon around it so jt wouldn't open again and just to make it look extra fancy I put a wax seal on top of it.
That is the result:

It's a simple idea but maybe someone will find it useful ;-)
The first one is obviously a map of middle earth and the second one is Thorin's map as seen in the Hobbit movies. I put the maps in a nice wooden frame before I gave them away. Unfortunately I don't have a picture of the maps inside the frames. It added a nice touch though.
So now to the part where I tell you how I did make the maps. As I already said i started out with a white sheet of paper. I crunched it up into a ball to make it nice and wrinkly. Then I carefully unfolded it again making sure I wasn't ripping it apart. Next I just used some coffee and basically painted the whole sheet with it covering everything. You could probably just wait until dry but I am a very impatient person so I used my blowdryer on the wet piece of paper. Then I repeated the coffee and blowdryer step again on the other side of the paper. After everything was dry I just used a pencil to sketch the maps and then painted it on with a black pen. A nice side effect of using coffee is that it smells really nice ;-) to make it more intersting you could also burn some of the edges or sprinkle some coffee powder across the paper while it's still wet. I didn't do that on those maps though.
Making the paper look really old is actually quite simple (painting the maps is quite a bit more effort). I thought I would just share my method with you and I hope some of you find it useful. So what do you think of my maps? Do you have other methods to "age" paper?
Edit:
I also used the same method to make a scroll. I used it as a birthday card a while back. I just glued two pieces of wooden sticks I had lying around (from crafting some arrows) at the edges of the paper and rolled it up. The bits of wood that are showing I painted with some acrylic paint. I put a ribbon around it so jt wouldn't open again and just to make it look extra fancy I put a wax seal on top of it.
That is the result:
It's a simple idea but maybe someone will find it useful ;-)


 Cheers!
 Cheers!